
A couple days ago I shared my version of a Target Halloween Felt Skull Pillow found HERE. Well there was a second pillow at Target that I loved, except it was more than I wanted to spend on a Halloween decoration. So I decided I would create my own version of that pillow too!
Here is the original pillow from Target sold in stores:

I decided the easiest way for me to replicate the pillow was to do a Freezer Paper Stencil. You can find a tutorial on how to use Freezer Paper Stencils HERE.
I didn’t need to buy many supplies since I already had a fabric that would work {left over IKEA curtains that were almost the same color fabric as the original}. I had the freezer paper and batting on hand as well. I ended up only needing to purchase black fabric paint, and ribbon for the edges.
Here’s what I did.
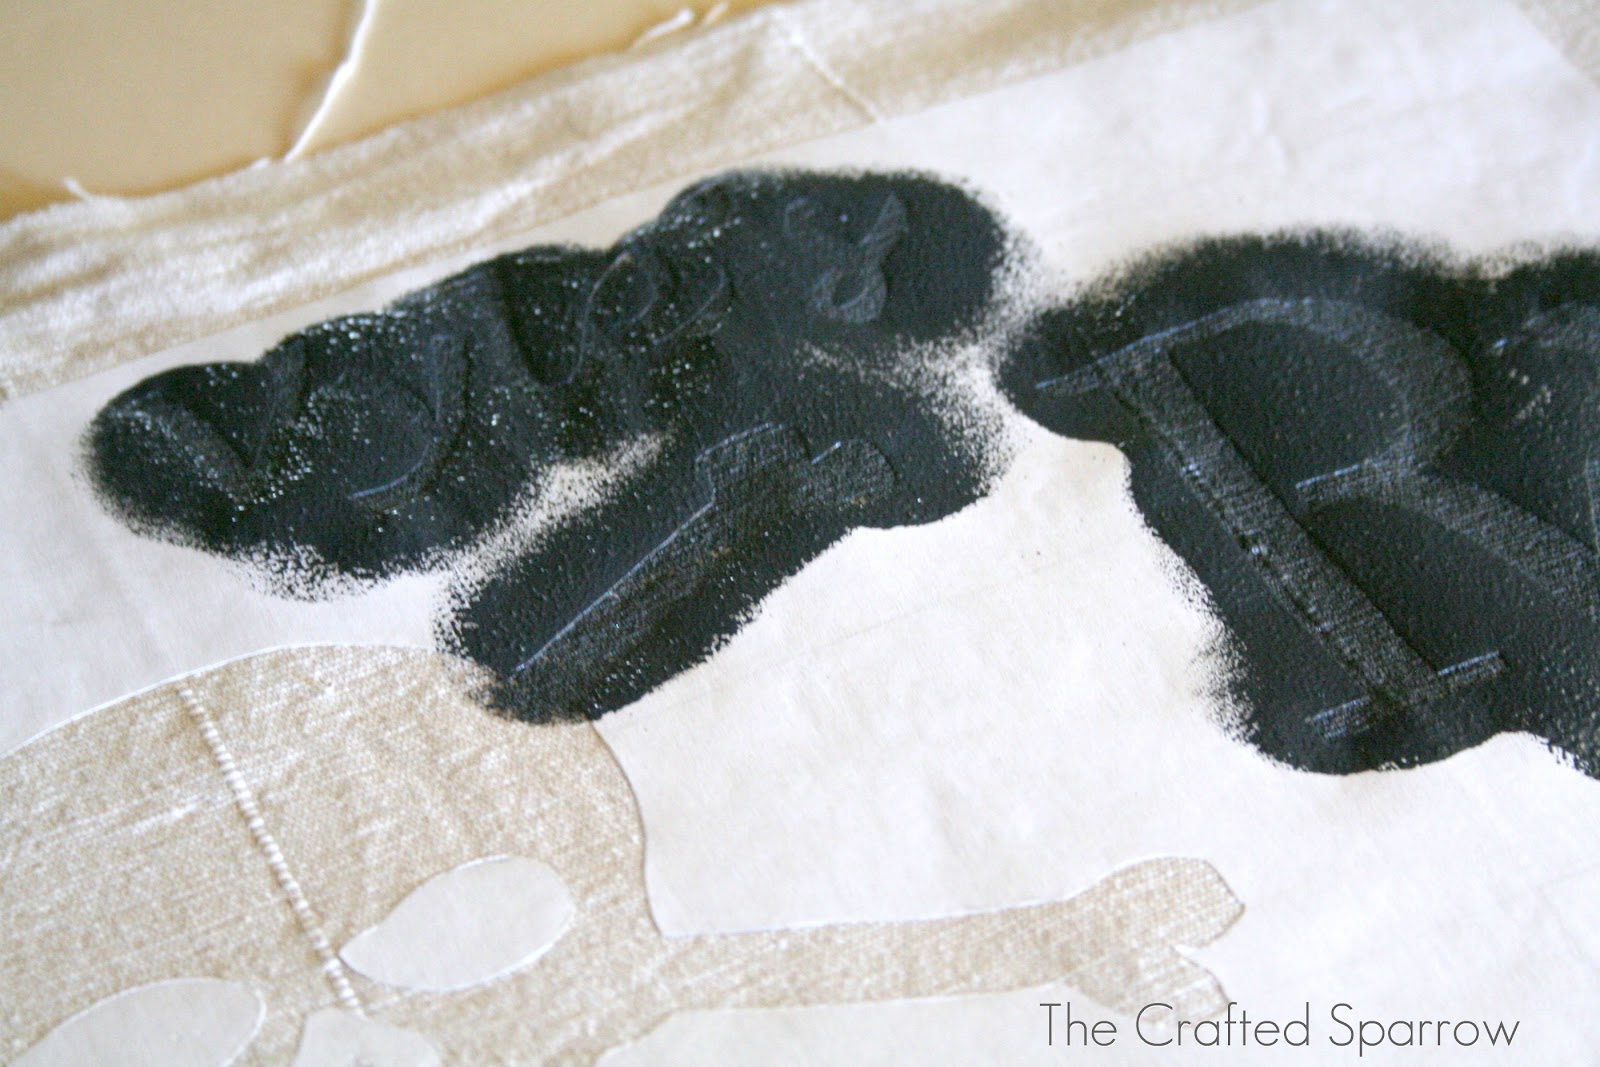
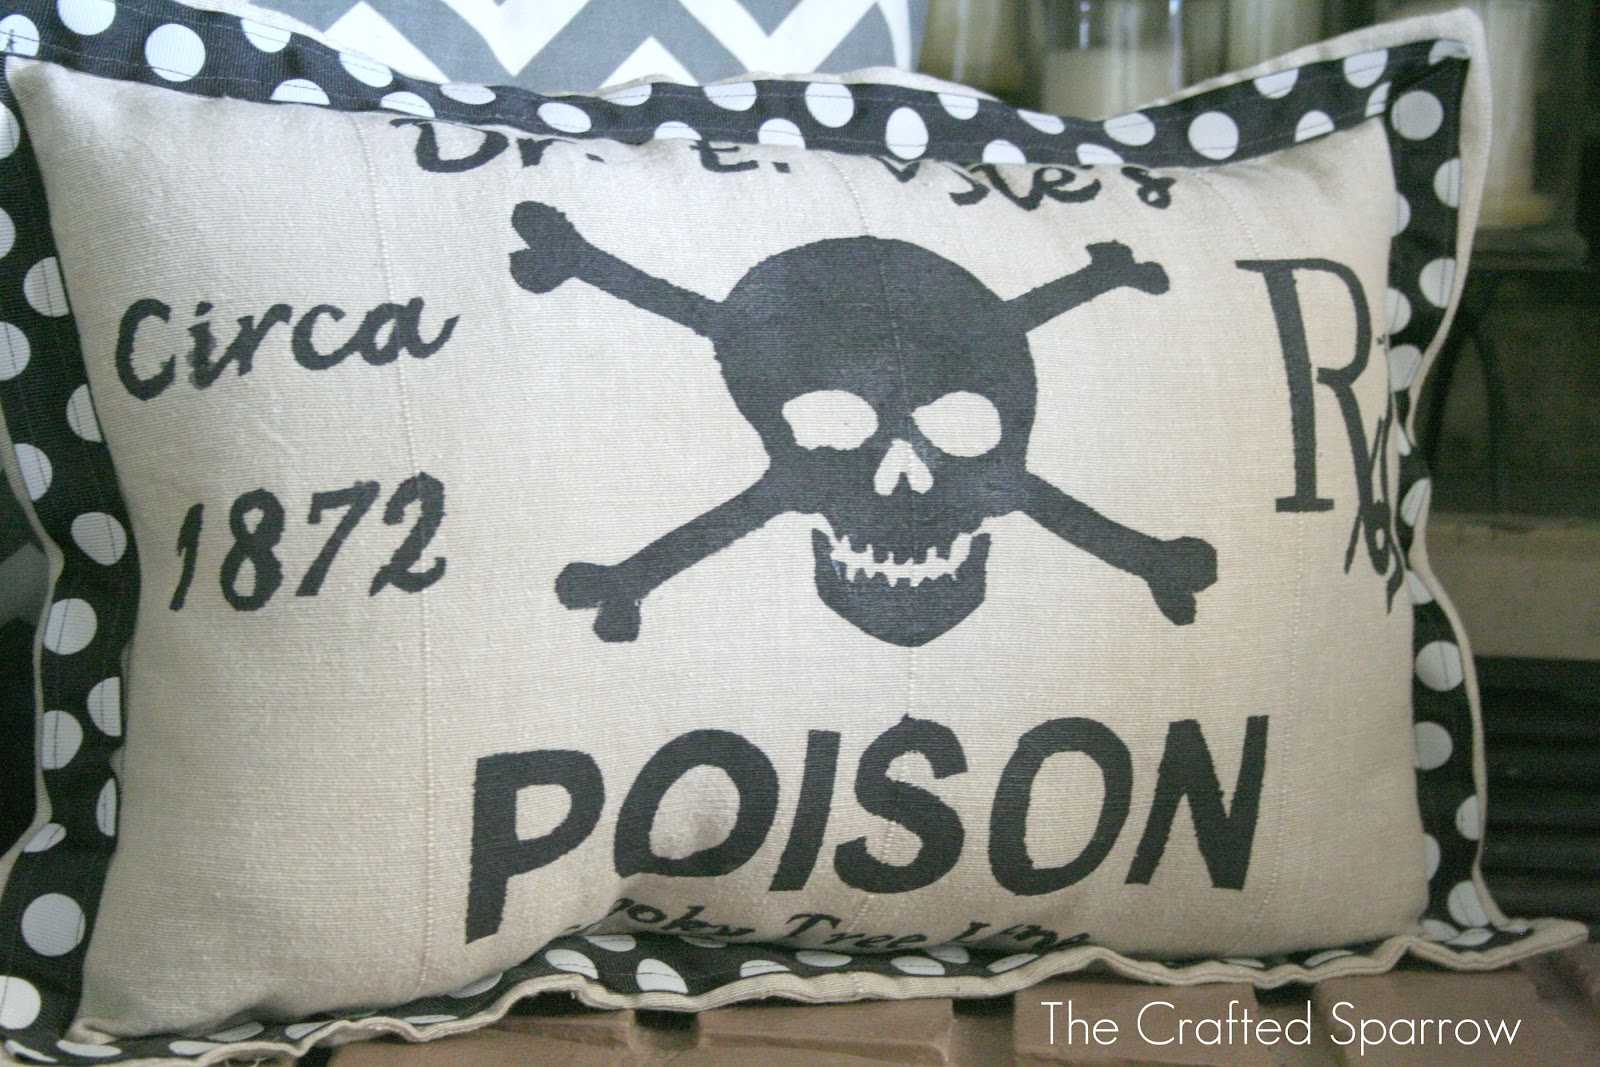
I started by creating a stencil with my freezer paper. I found clip art that I liked that resembled or came as close to the original Target pillows look. I changed the date on the pillow just because, I thought something should differ a bit from their pillow. I lined everything up on my freezer paper and traced the design on to it, then using my xacto knife {getto version of a silhouette cameo} I cut it all out by hand. Next I cut two pieces of fabric to the measurements I wanted {forgot to measure sorry} you can make yours any width you want. I ironed on my freezer paper stencil on to one of my pieces of fabric. Be sure to iron it well so all the edges are down as much as possible. {sometimes this works better than other times}

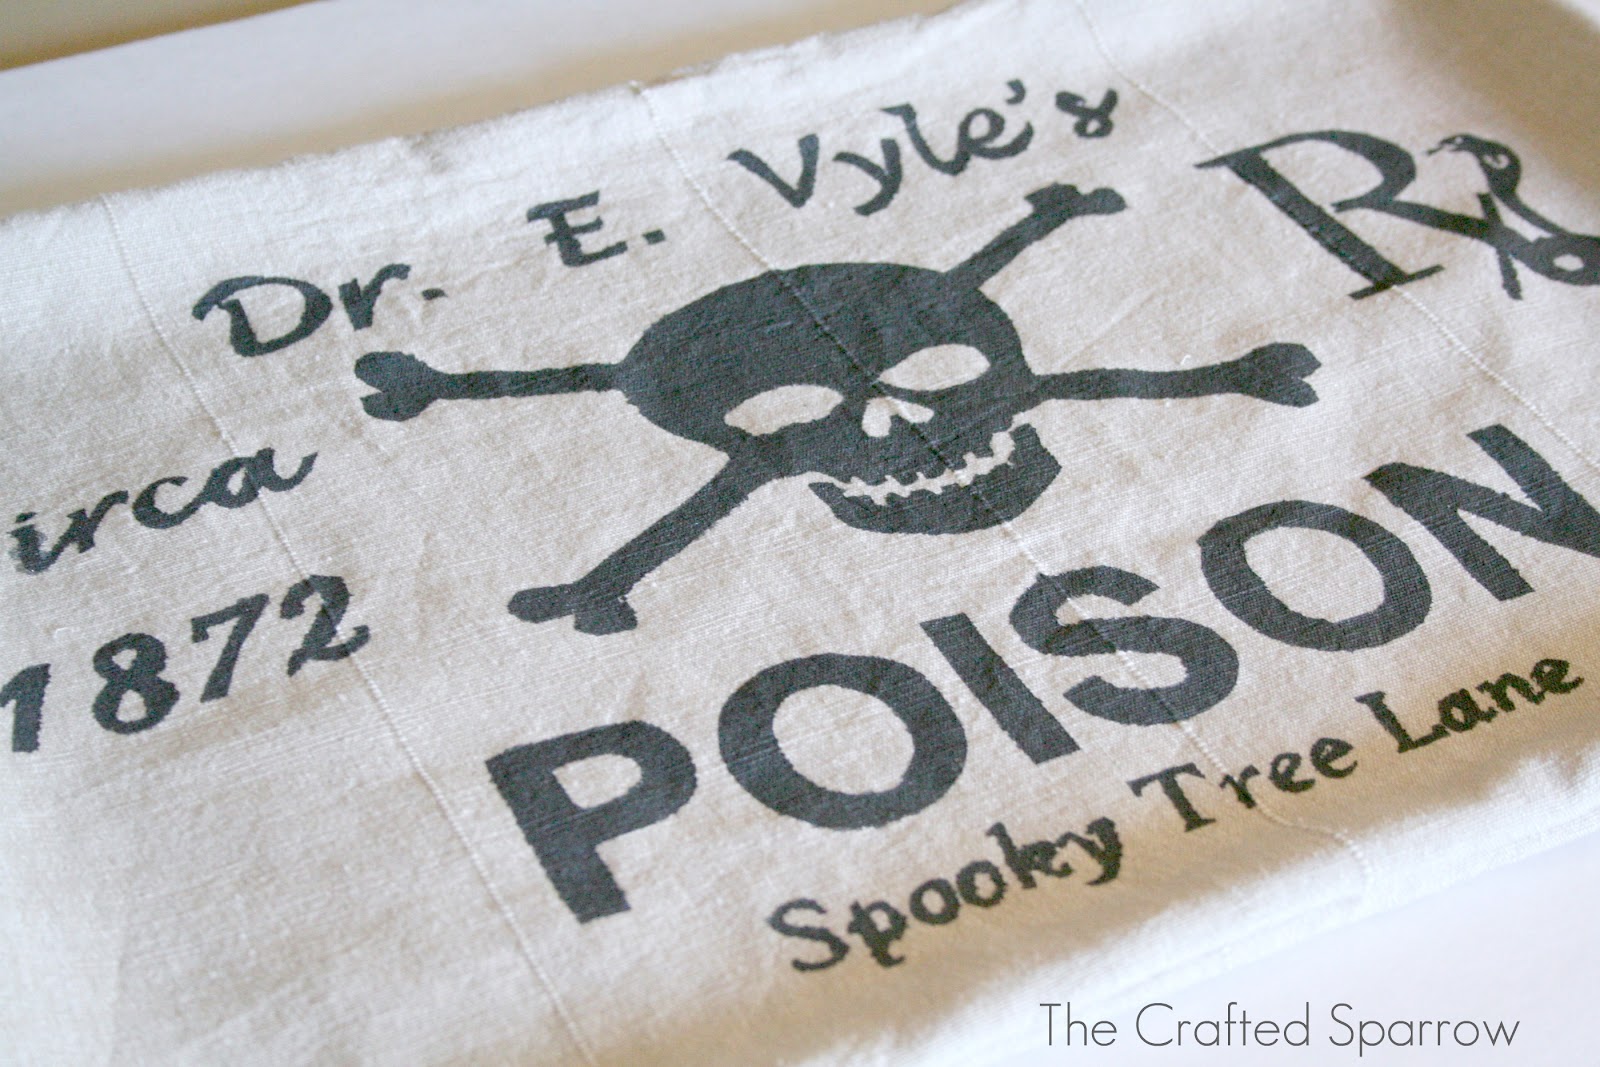
I then started painting it, I used a foam pouncer brush with my fabric paint. I had to do a couple of coats, just depends on your fabric type. Once it’s completely dry you can peel your stencil away. Unfortunately mine bled through in a few spots, but not anything super noticeable. I actually kind of like where it bled through, makes it look not so perfect.

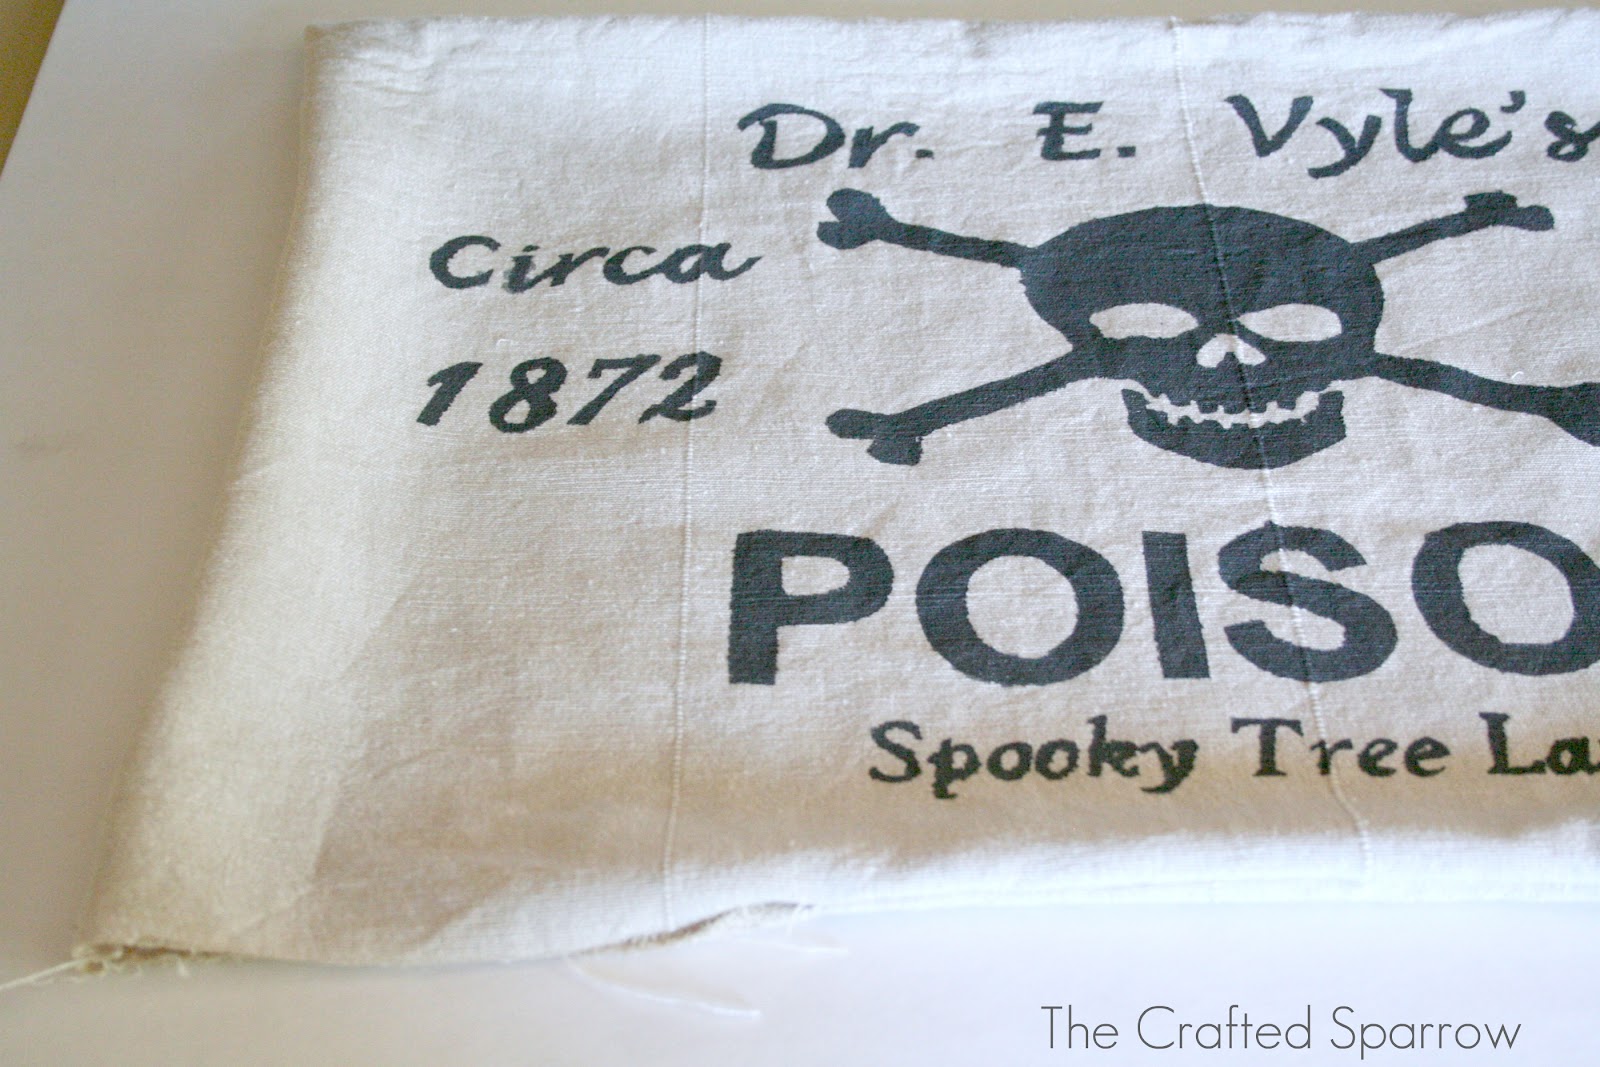
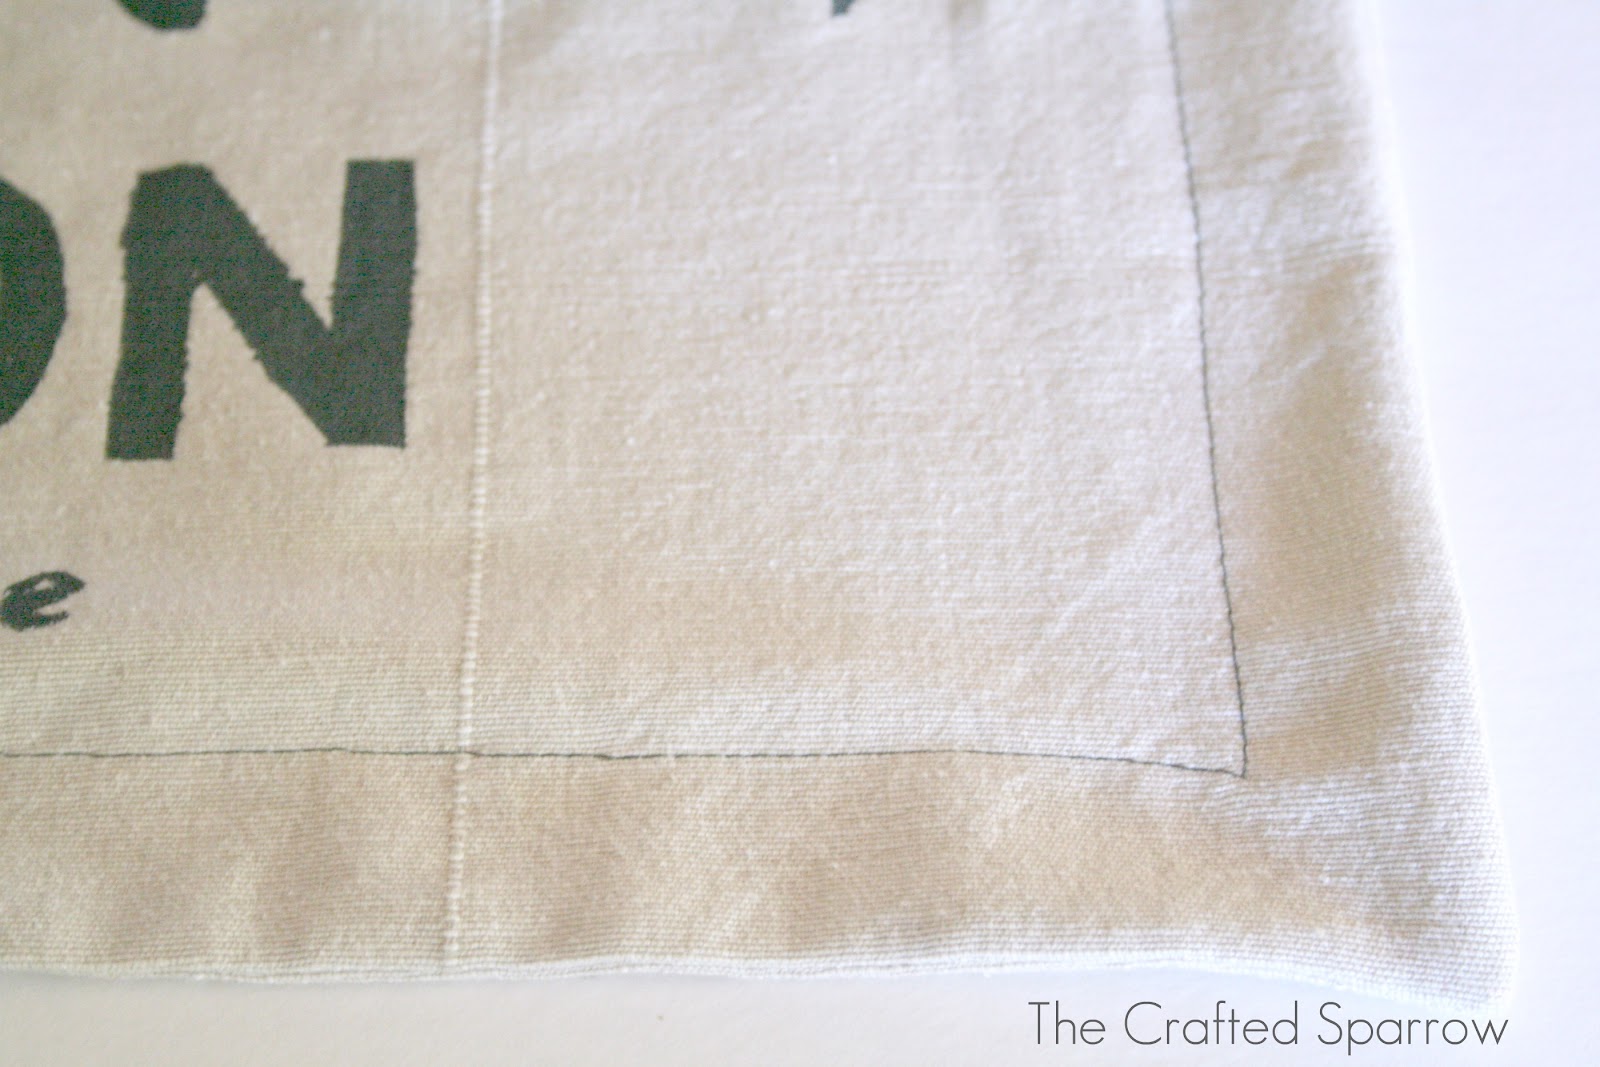
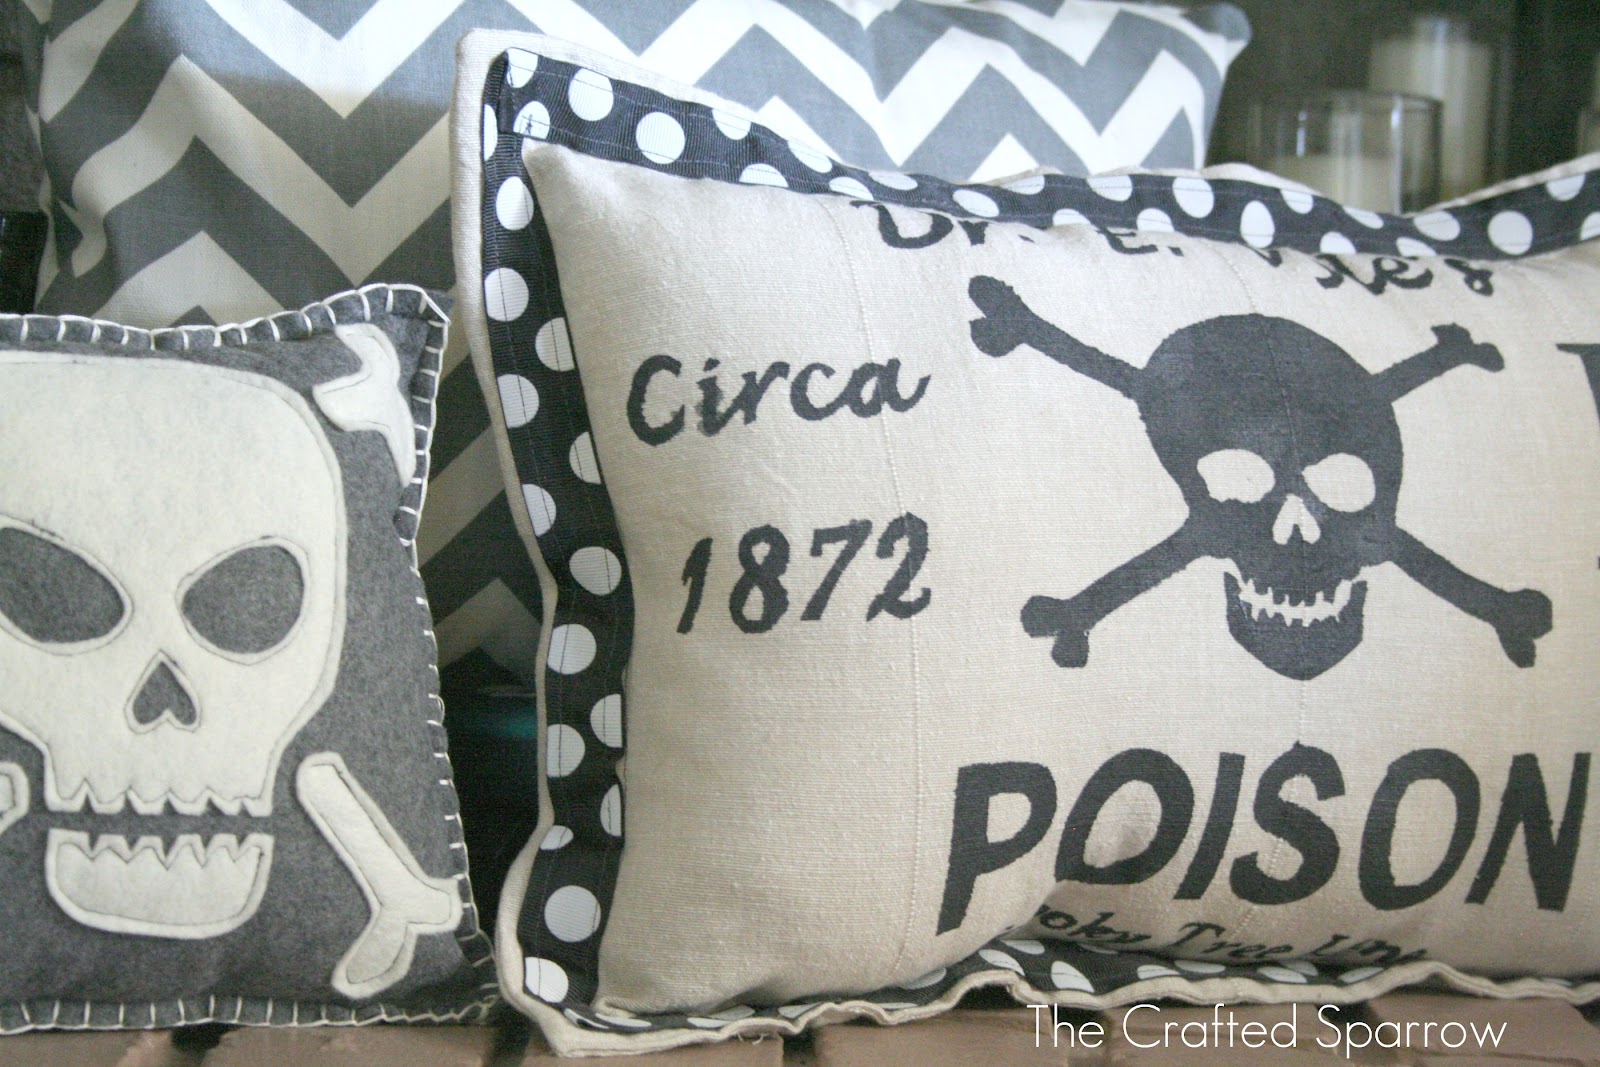
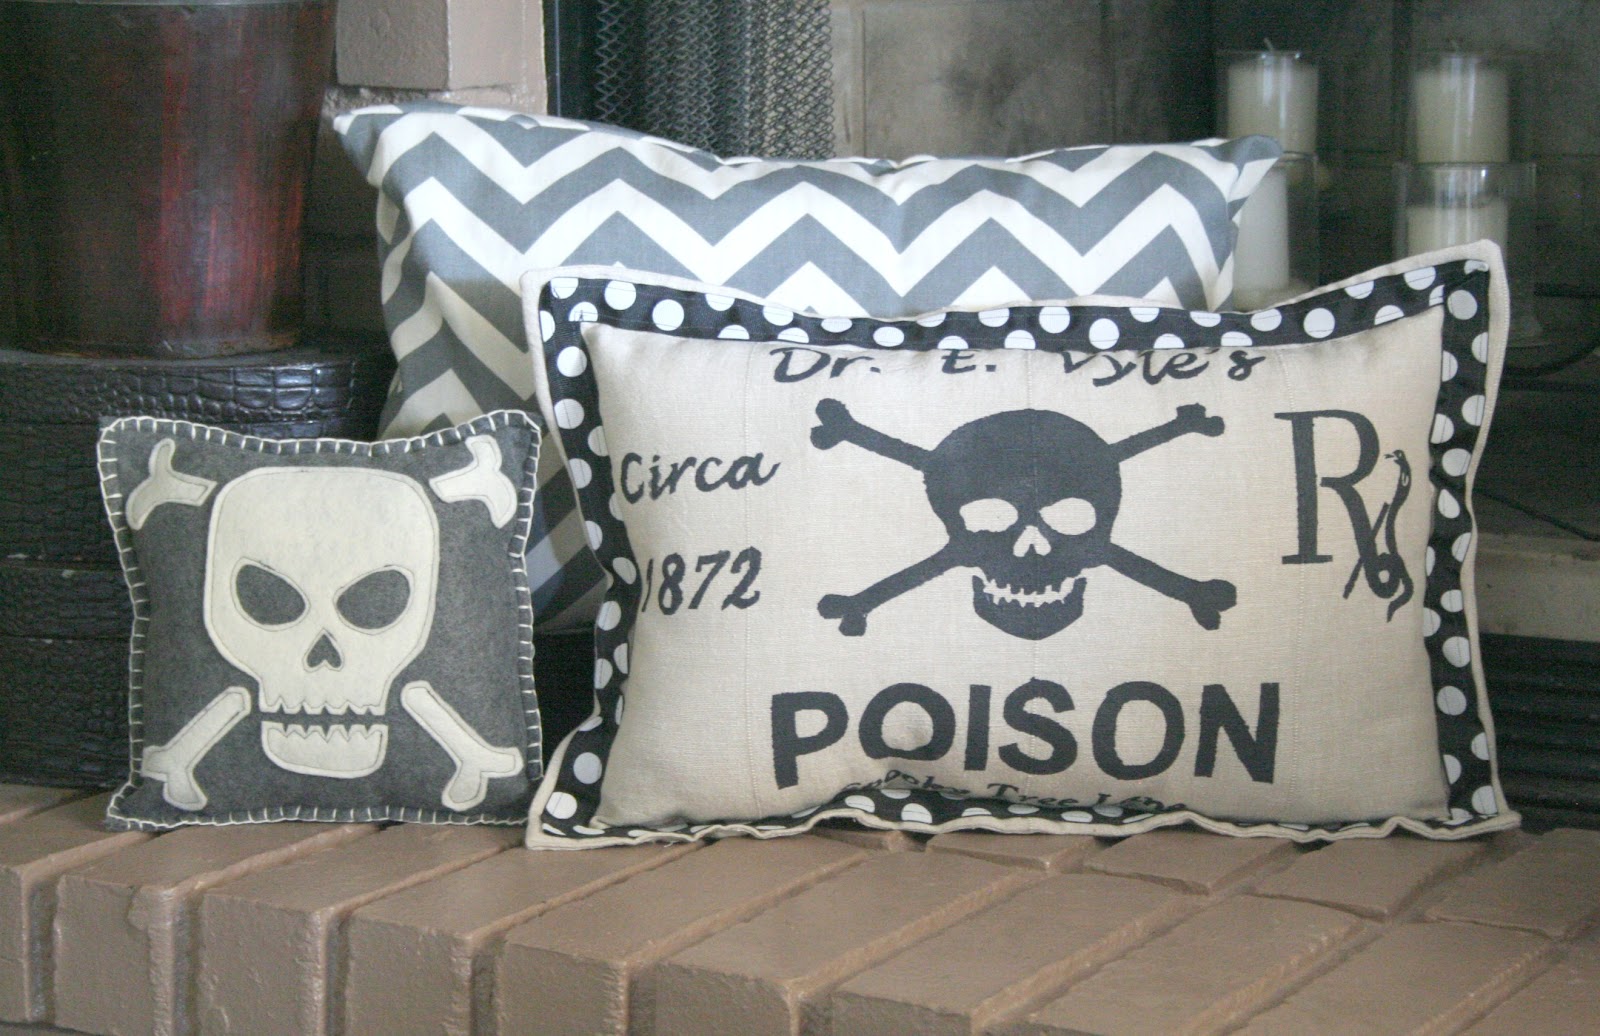
Next I put the second piece of fabric on top of the face up painted piece of fabric. I stitched a 1/2″ seam allowance around the whole thing, but left a 4″ or so opening for the batting to go in. I then turned it right side out, then stitched another 1″ seam around the edges and stopped at the opening for the batting. I stuffed the pillow, then stitched it closed and finished the 1″ seam around the edge. Then added my ribbon to the edges centered on the 1″ seam allowance.
And I was done!

Target’s Version Cost $15
My Version Cost $5
– $3 ribbon
– $2 paint
Linked up at the following parties:
Cherished Bliss, Skip to my Lou, Sumos Sweet Stuff, Craft-O-Maniac, DIY Showoff , Mad in Crafts, Brassy Apple, Tip Junkie, Today’s Creative Blog, Sugar Bee Crafts, Vintage Wanna Be Blog, Home Stories A to Z, The Winthrop Chronicles, The DIY Dreamer, Someday Crafts, Lil Luna, Snap the Conference, Gingersnap Crafts, Sugar and Dots, House of Hepworths, The 36th Avenue, Somewhat Simple, The Shabby Creek Cottage, Live, Laugh, Rowe, Shabby Nest, Naptime Crafters, Whipperberry, Little Inspiration, Thirty Handmade Days, Just us Four, Tatertots & Jello, I Heart Naptime, Be Different Act Normal, Funky Junk Interiors, It’s Overflowing, Too Much Time, Classy Clutter


i love this i might have to have a go at this
Once again- I love yours MORE than the Target version! This and the felt skull pillow are both brilliant!
Fanastic job and a great reminder to always be crafty enough to make my own when i can. 🙂
-Amberly
Great pillows! Love them both! Liz
Shared this on my COM-FB page. So cute. jen
This pillow is awesome, Rebecca. I am totally impressed that you used an x-acto knife to cut out the stencil versus “a machine”, lol. As I was reading through, I was convinced you used something. I don’t have a silhouette myself and am always bummed when I see the coolest projects that I want to replicate, but then can’t. Awesome job and will be sharing on FB! xo Jenna
I’m so glad that I found you on COM!! I love this pillow! Thank you for sharing how you made a stencil with freezer paper too, I’ve been dying to try it. Can’t wait to see what you come up with next!
Katie
http://www.funhomethings.com
Looks awesome! Totally my style of halloween stuff 🙂
I absolutely love how your pillows turned out! Thanks for sharing….these are so cute!
Jennifer
SO Cute!! I just love how you can make skulls and bones look cute nowadays 🙂 Great job!!
I love seeing DIY versions of stuff in the stores. Great job! I’m not a big fan of the skull and crossbones but you make it look totally non-threatening:)
LOVE LOVE LOVE!
Can’t wait to try it!
Great craft. I think your price is a little misleading since some people (Me!) don’t have fabric, freezer paper, exacto knives, etc.
But nice tutorial!
These are awesome!!! Love it. I hope you’ll add this post to my Wickedly Creative Halloween Ideas Party if you haven’t already.
http://www.itsybitsypaperblog.com/2012/09/2012-wickedly-creative-halloween-ideas.html
I {love} your version of this pillow!! Makes me want to get going on some cute Halloween decorations!
Thanks for sharing @’Sew Cute Tuesday’. I’ll be featuring you tomorrow, so be sure to stop by and grab a ‘featured’ button!
Awesome! I love your version!
Rebecca – Omgosh…this pillow is so cute! You did a great job. I may have to give it a try!! LOVE it <3
Blessings – Sara
SO Cute!! I just love how you can make skulls and bones look cute nowadays 🙂 Great job!!