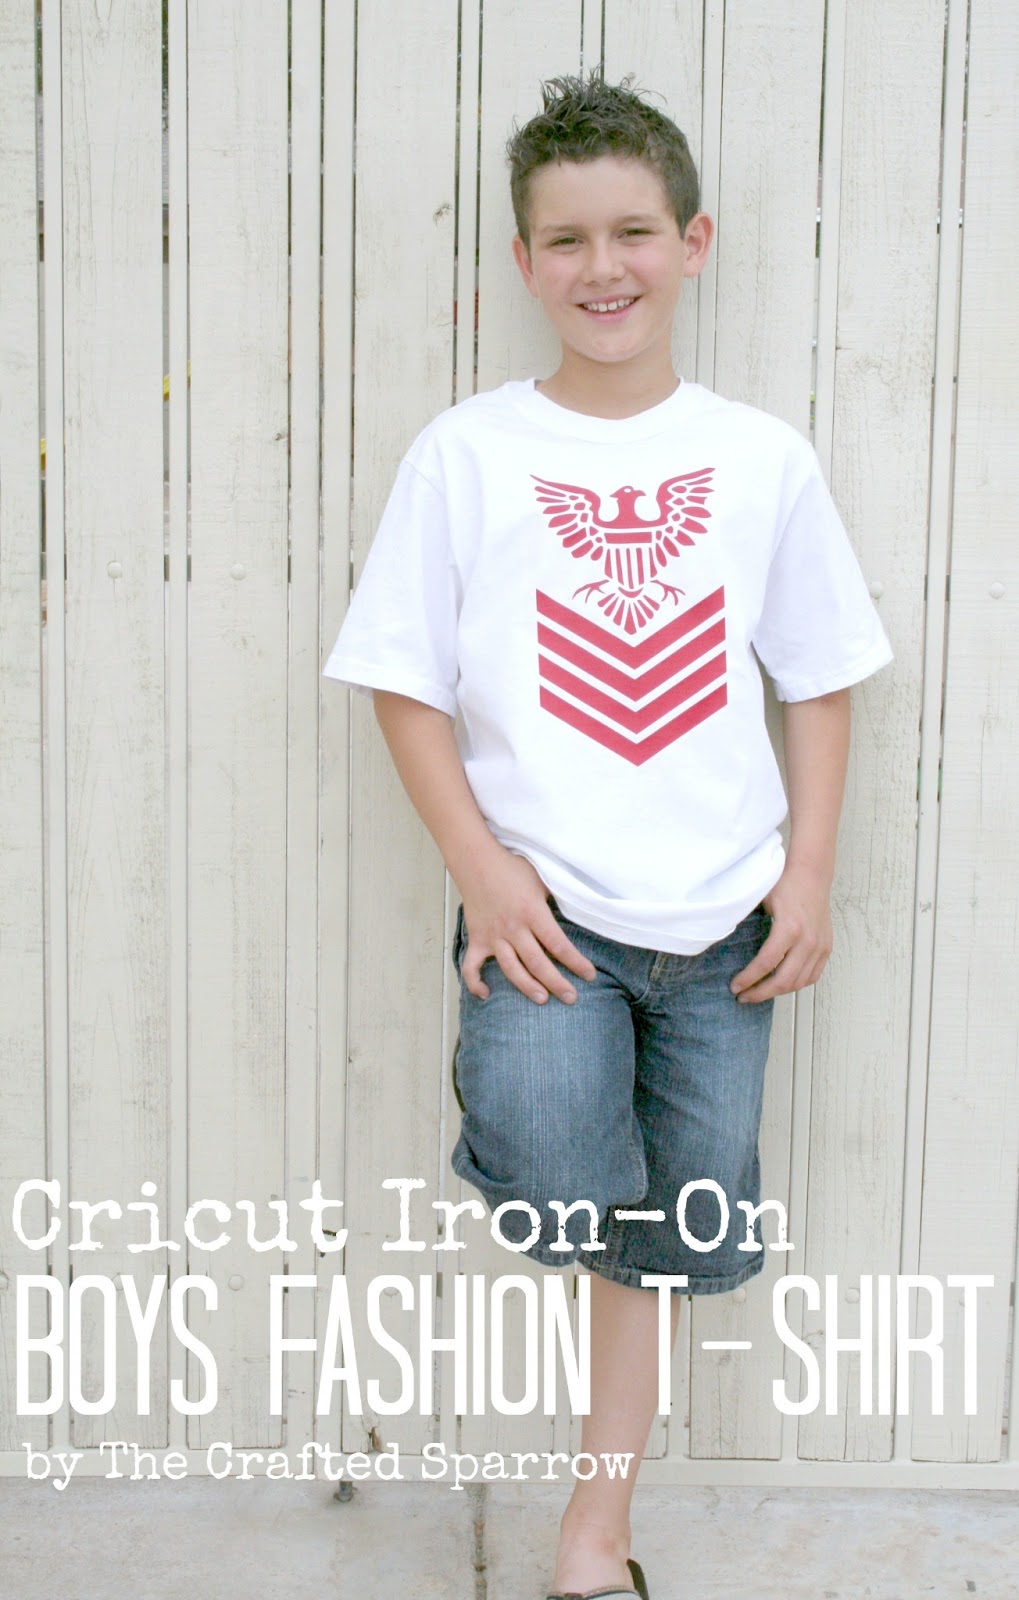
Today is a bonus post kind of day since I’ve missed a few posts lately. I’m excited to share this Cricut Iron-On Boys Fashion T-Shirt with you. I used the new iron-on vinyl that is available from Cricut, and I love it. I’ve not used too many different kinds of iron-on vinyl before but this is quality vinyl and you can tell.
What you need:
– T-Shirt {any size, any color}
– Cricut Iron-On Vinyl
– Iron
– Cotton Dish Towel or Cloth
– Cutting Machine

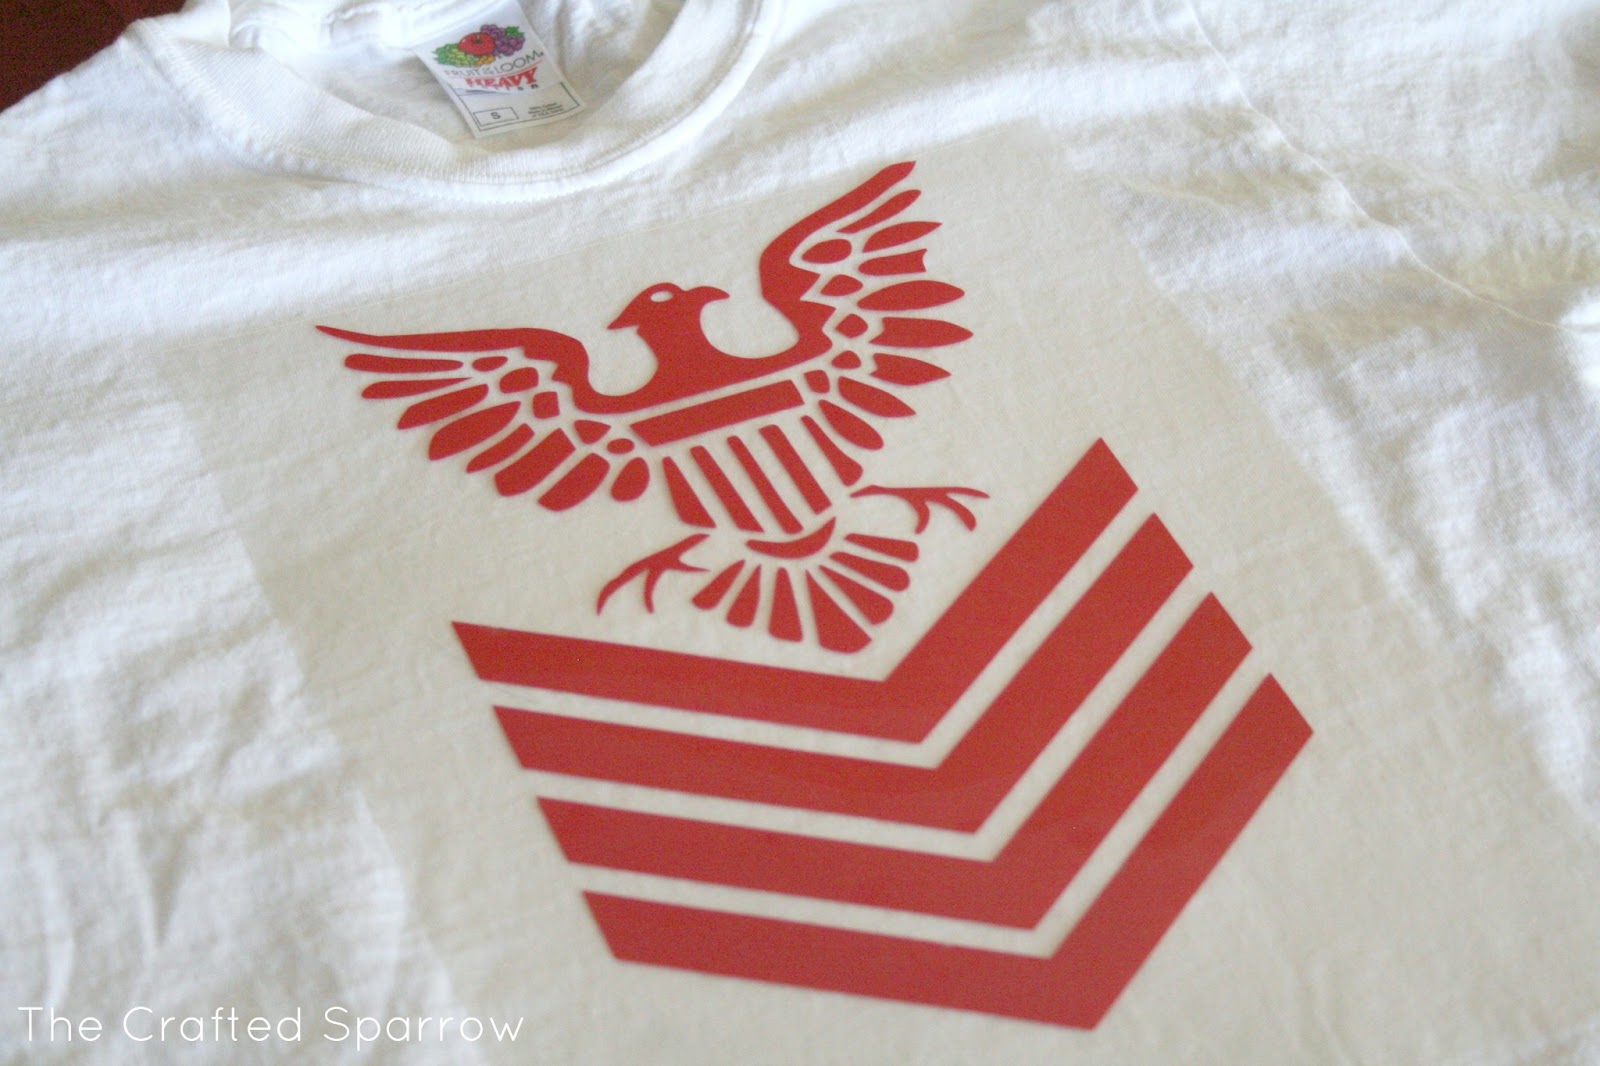
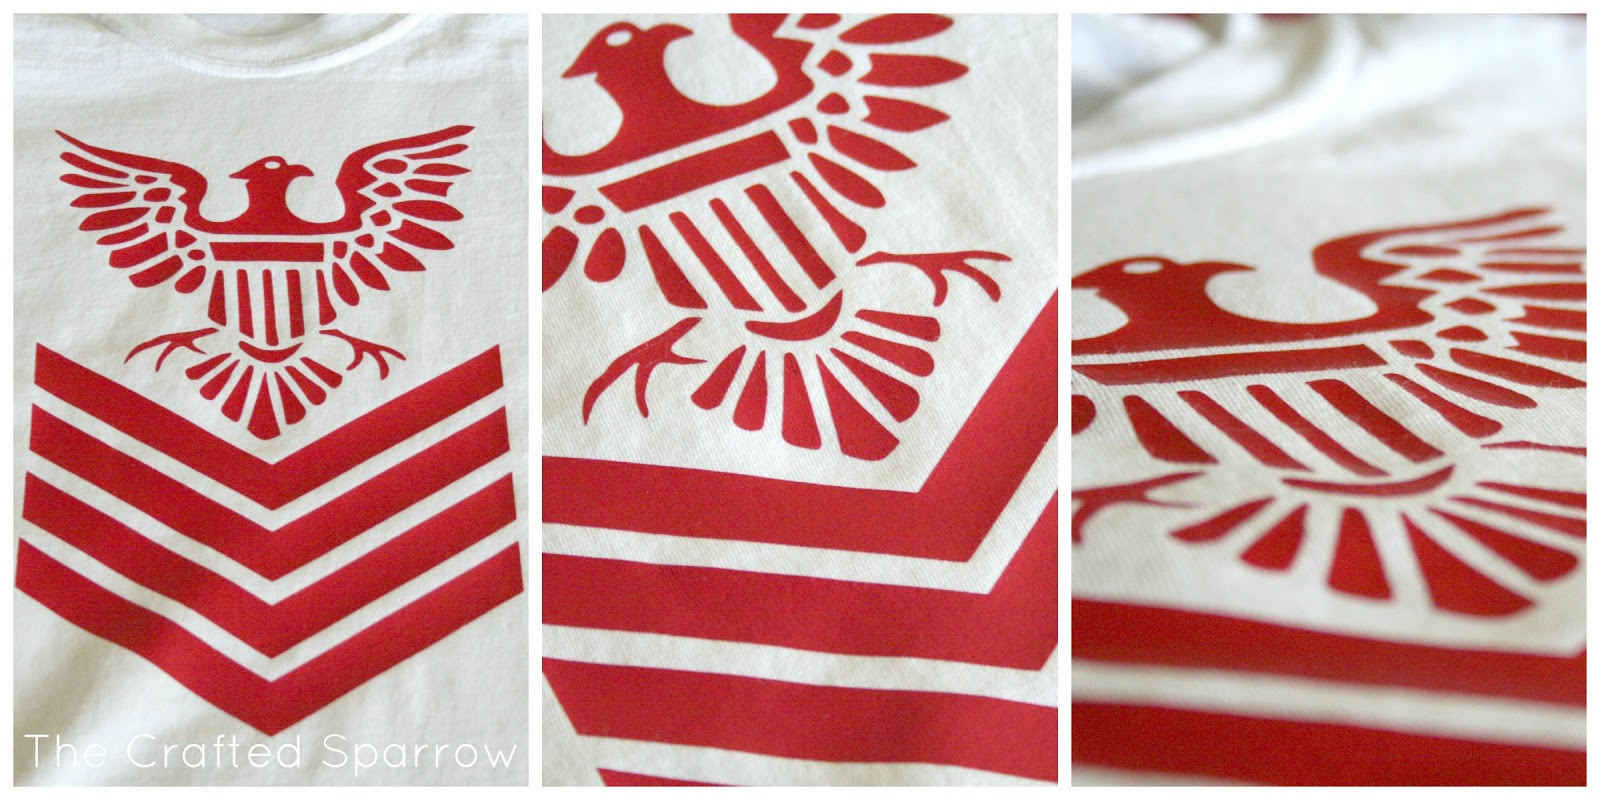
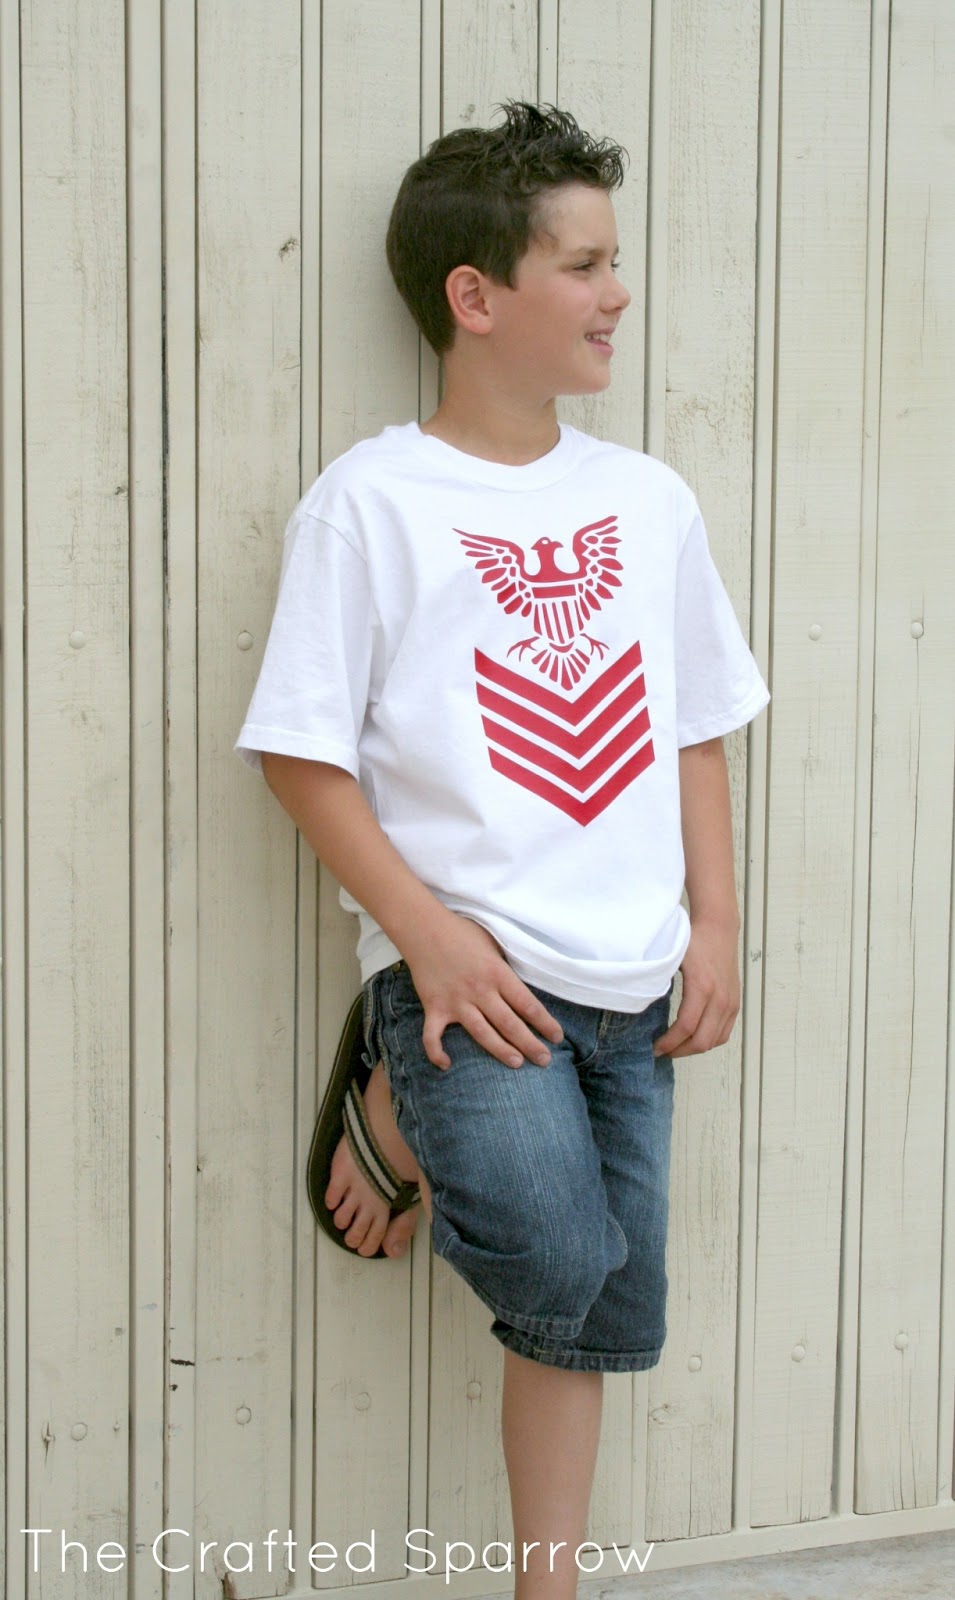
After some chatting with my son about a design for his shirt he decided he wanted something “cool”. So after searching for some ideas, I came up with the design pictured above. An eagle mixed with a little bit of chevron. He loved it. So I designed my artwork in my cutting program and cut it out with the proper settings for cutting the iron-on vinyl. So easy. Although I will admit that I forgot to flip my image {the eagle should be facing the other direction}, whoops. I do this all the time with things, you’d think I’d learn by now. After I cut the image out, I removed all the negative spots with my trusty little hook. Leaving only the desired design on the film liner.
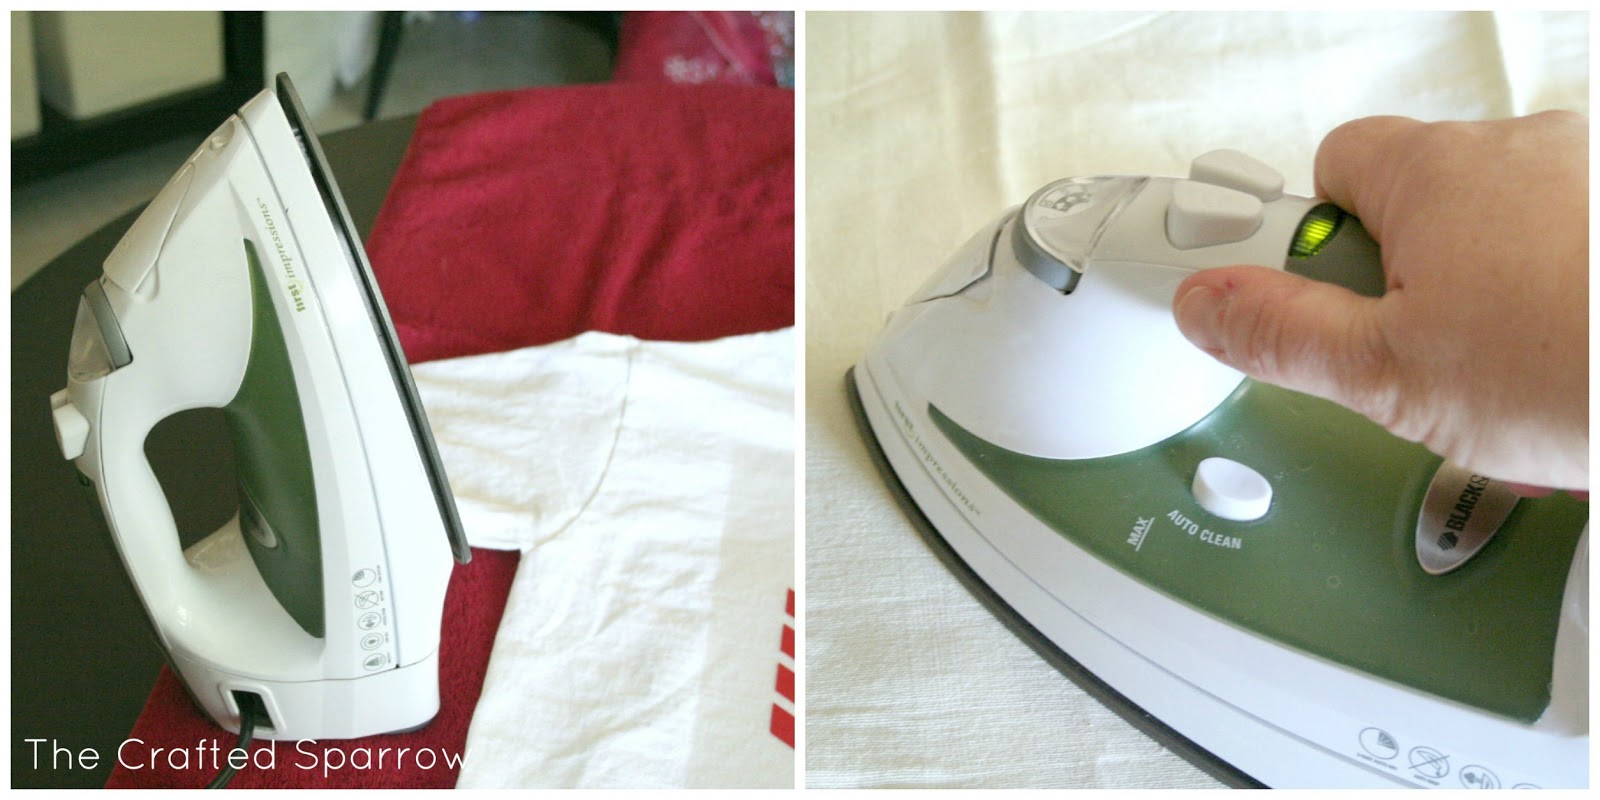
I then grabbed my iron and turned it on with a no-steam setting. I don’t use an ironing board so I placed a towel on my firm surface which just happened to be my craft table. I went over the area the design would go on my t-shirt for a good 30 seconds to pre-heat the fabric. Then I placed my image on the shirt so that the film liner was on top. I then placed a thin cotton cloth or dish towel over the image and pressed with medium pressure for 25 to 30 seconds. Then I flipped the shirt over and continued with medium pressure for an additional 25 to 30 seconds. I let it cool, then remove your film liner.

He really loved how it turned out and I did too. It can be worn alone or layered with a button down {we love the layered looks around here}.


I have some awesome news for all of you today…
Cricut has been so kind to offer all of you some amazing deals on their new Iron-On materials and the bundle pack, these are huge savings.

{$34.99}

{$199}
{Disclosure: I was provided some of the materials used in this project, this is a Cricut sponsored post; however, all ideas and opinions are my own.}


Love it! Thank you so much for visiting our party my friend!
What a great way to use a cricut!