If your still looking for an quick and easy Mother’s Day gift idea this is for you! For only a couple bucks and a little time and you’ve got a great jewelry gift for that super stylish Mom who loves accessories!
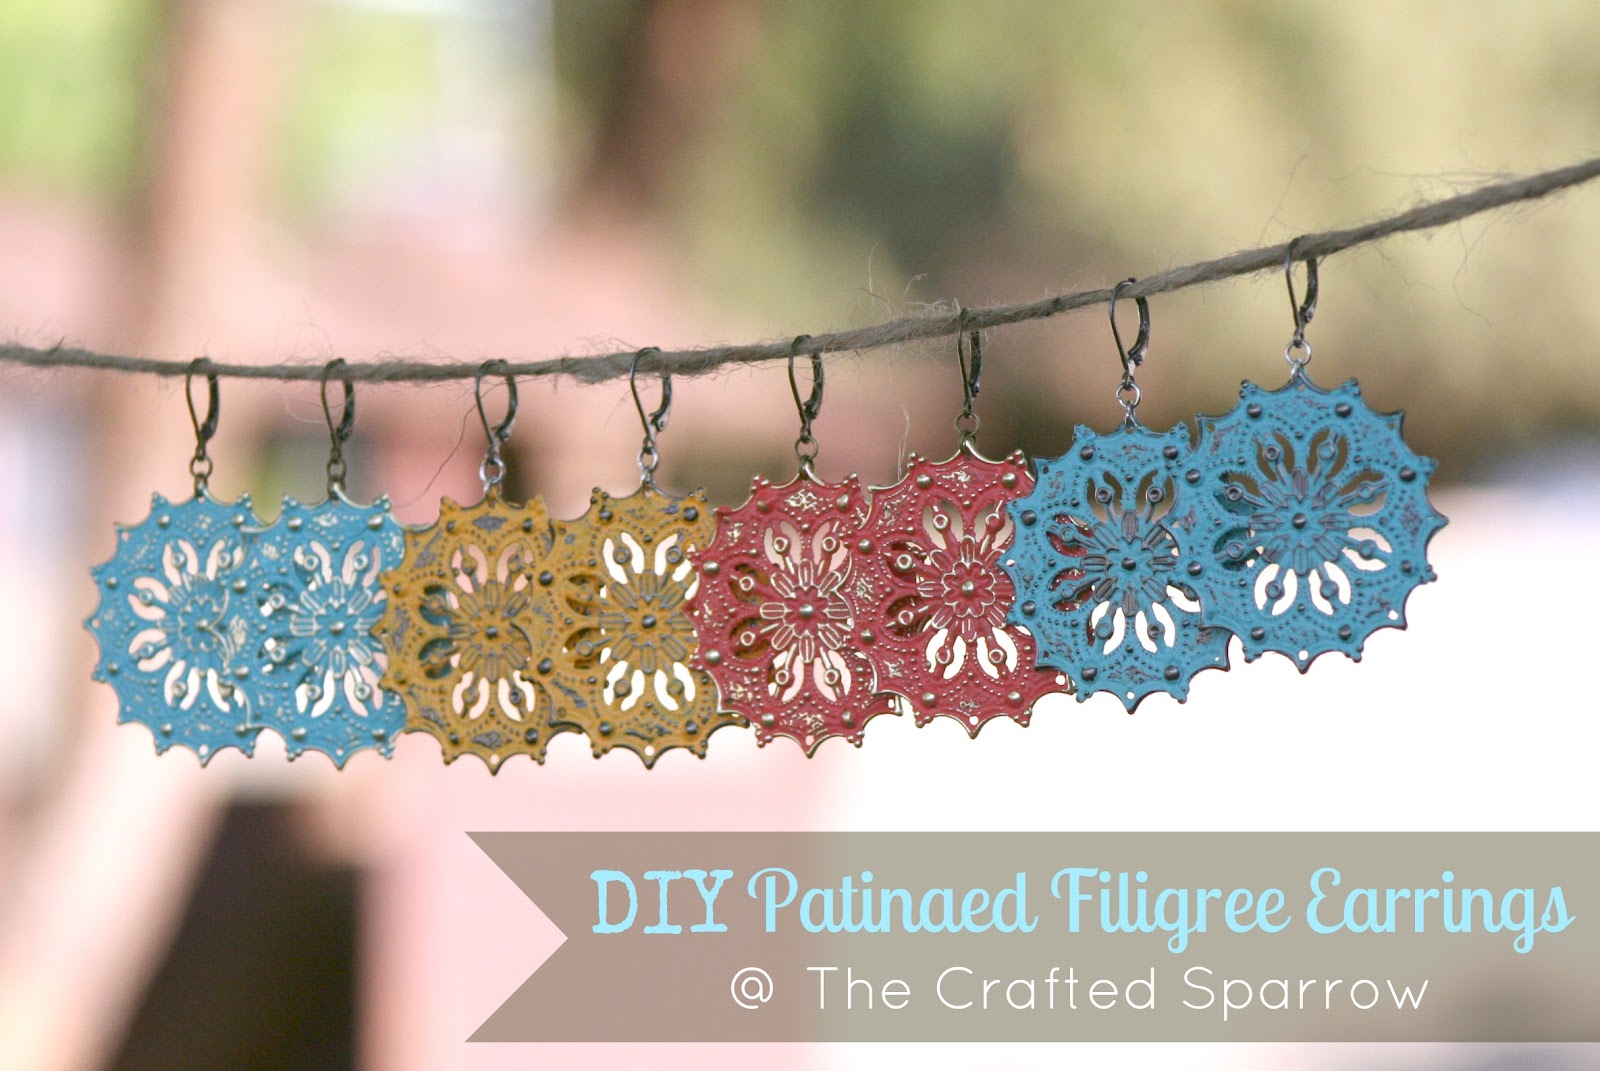
Today I’m sharing with you how to make these Patinaed Filigree Earrings.
:-:-:-:-:-:-:-:-:-:-:-:-:-:-:-:-:-:-:-:-:
Here’s the supply list:
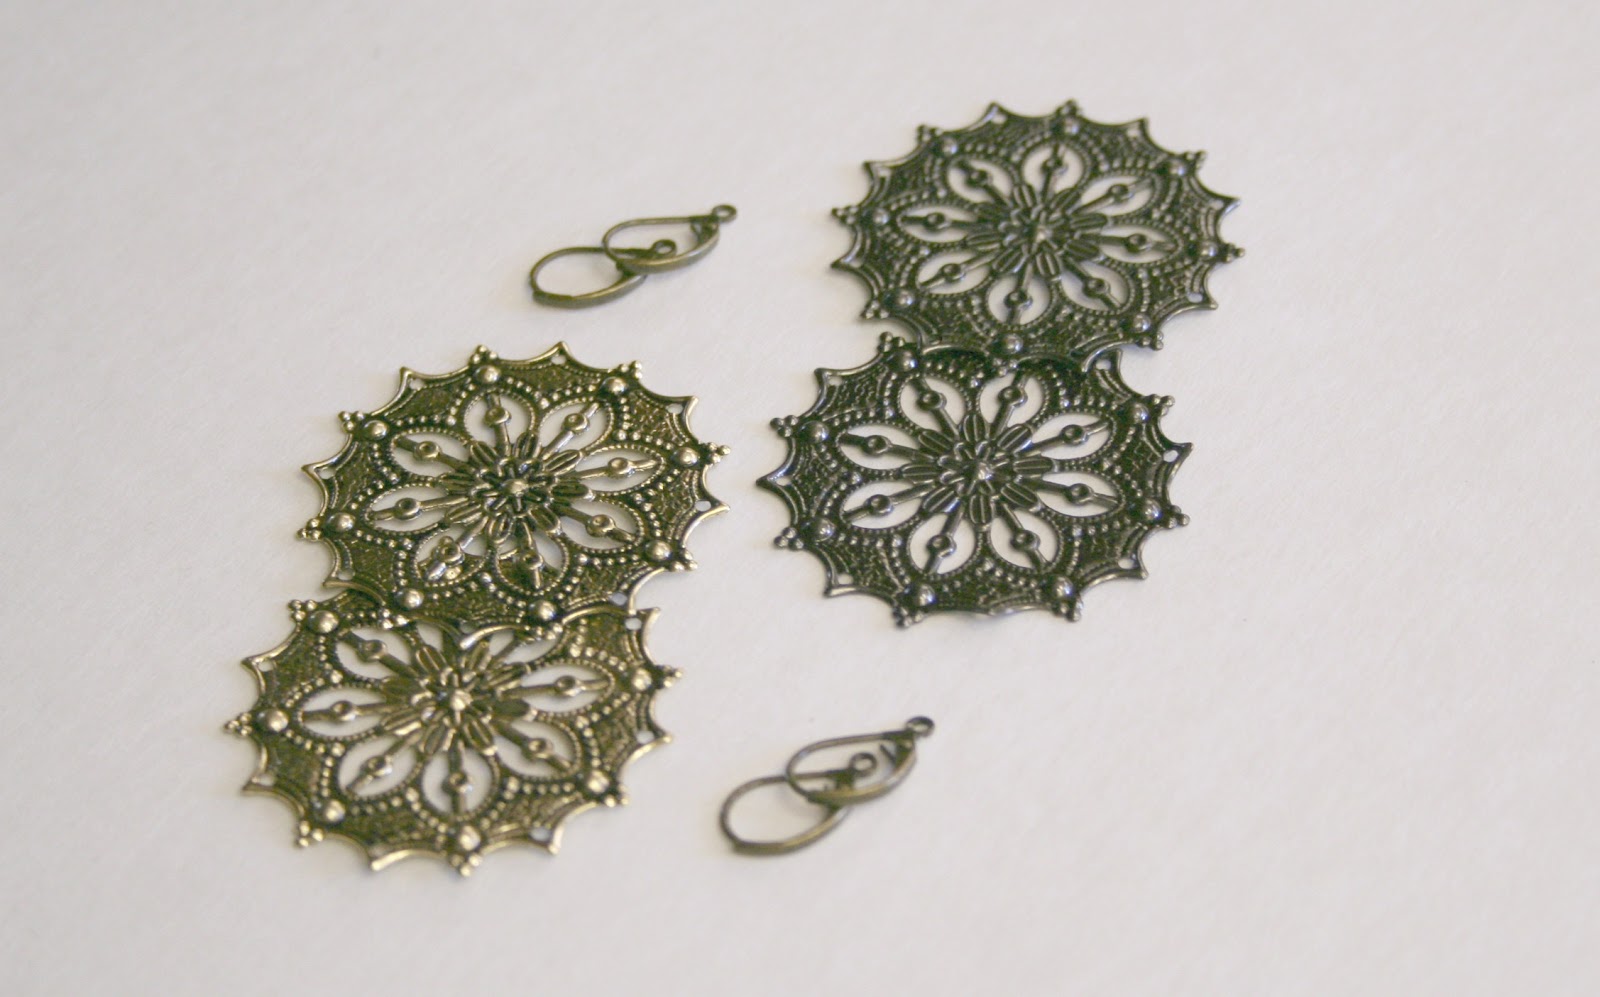
– Filigree medallions from Hobby Lobby
{I paid around $3 for the package and it came with 4 medallions}
– Some sort of lever back earring hooks or whatever style you like,
and jump rings to match if needed
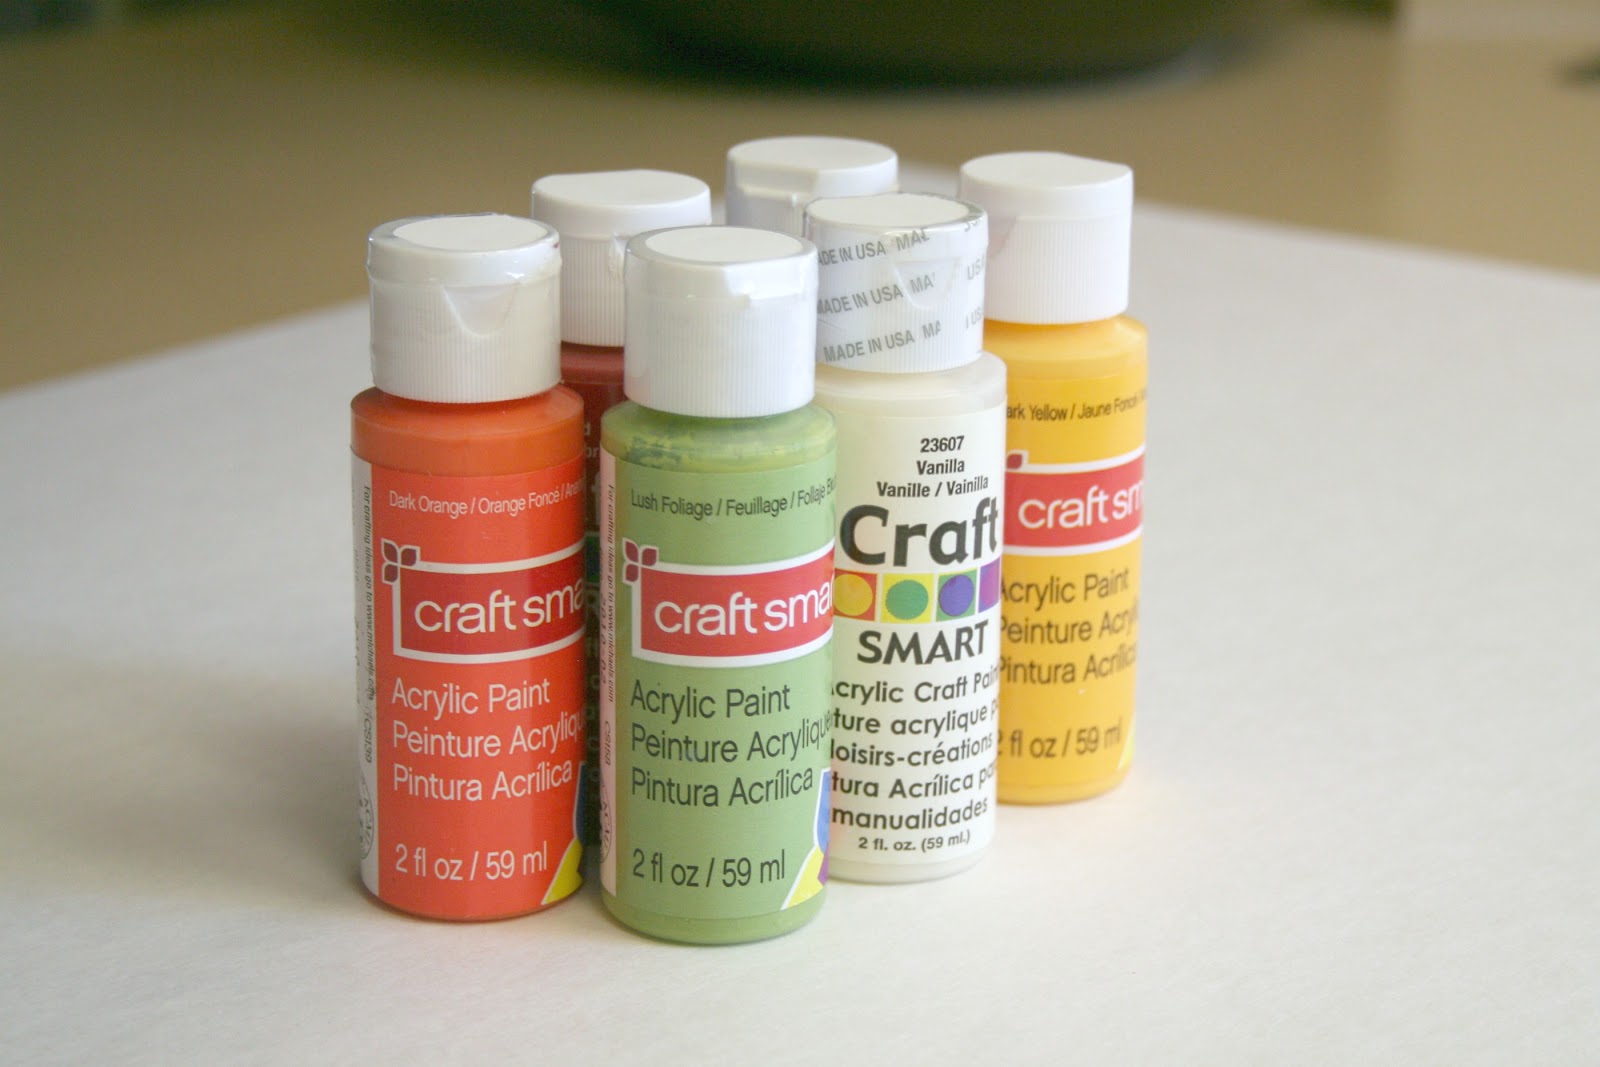
– Acrylic paints in your choice of colors
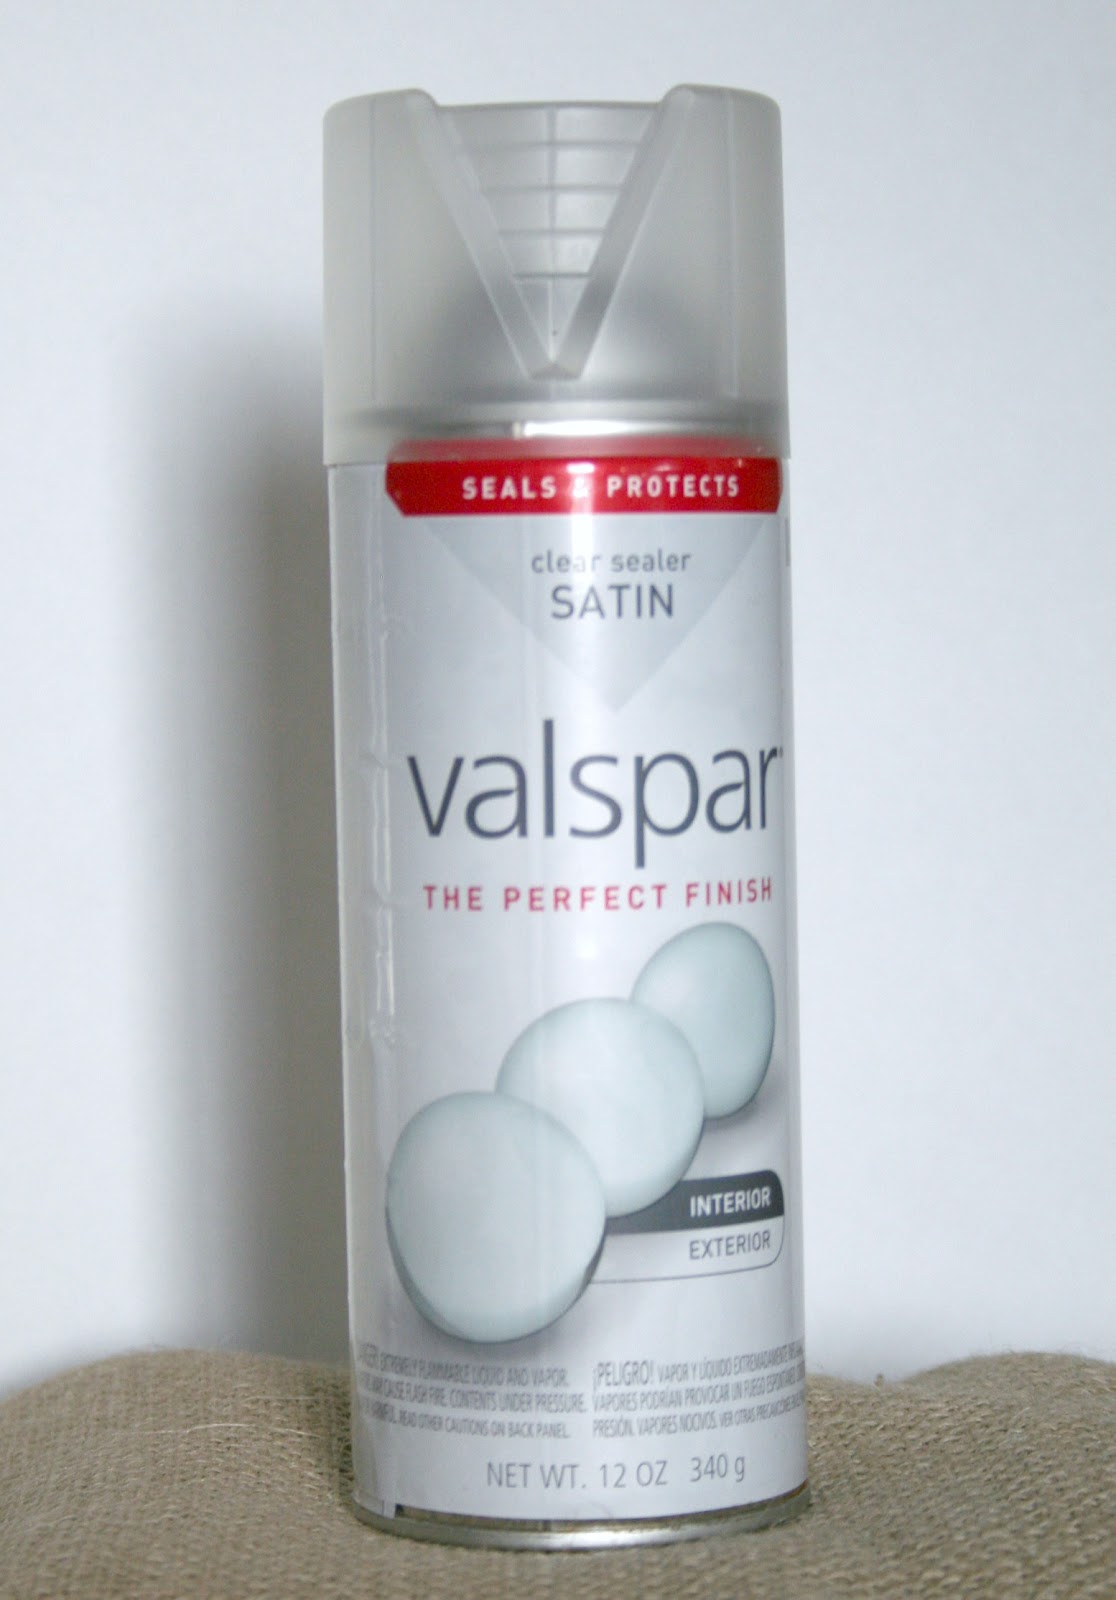
– Any brand of clear spray paint sealer
{the sheen is up to you, I used satin}
– A paintbrush
{a stiff hard bristled small paint brush works best}
:-:-:-:-:-:-:-:-:-:-:-:-:-:-:-:-:-:-:-:-:
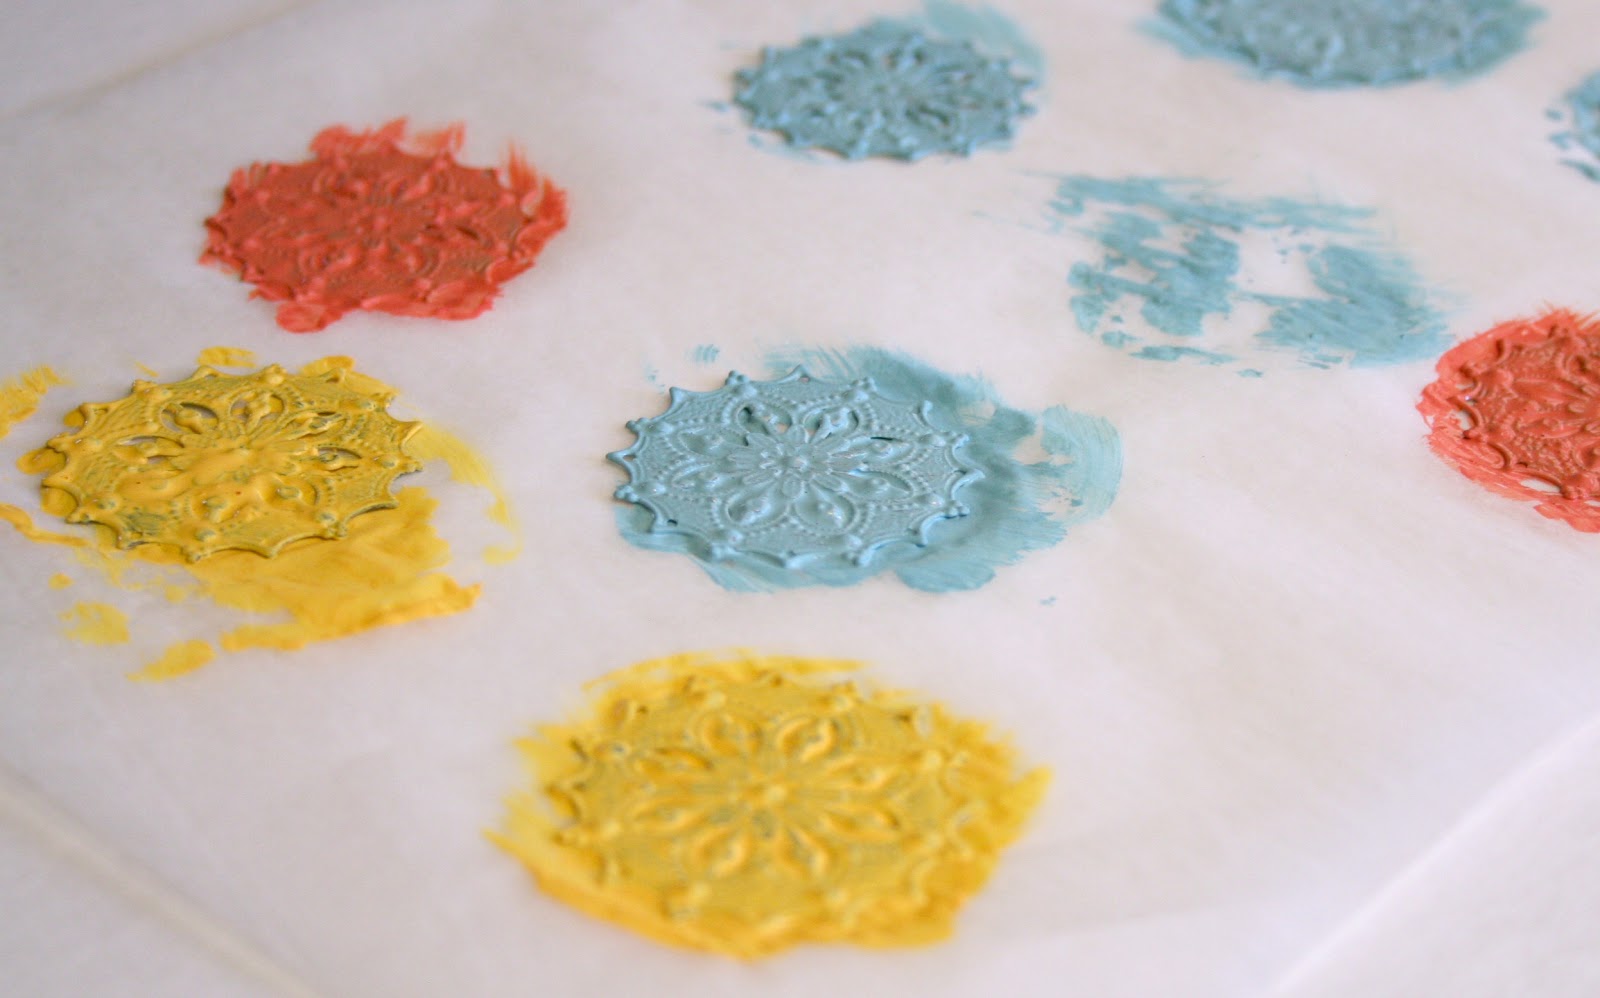
Step 1
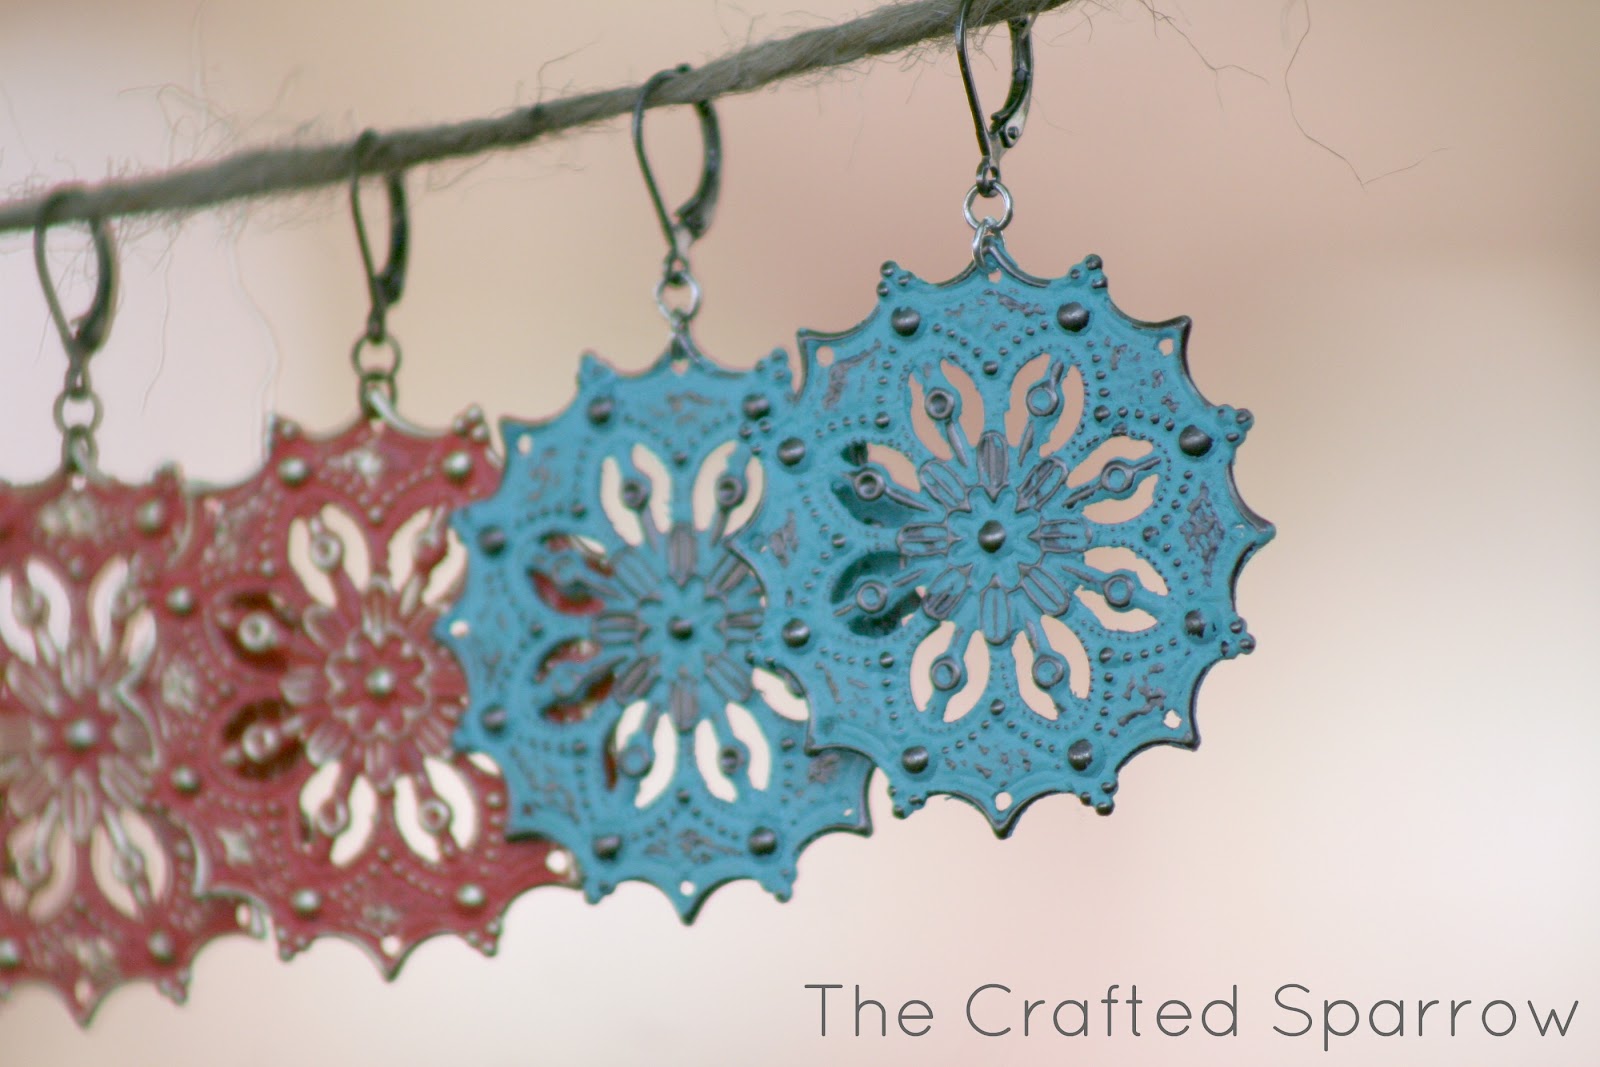
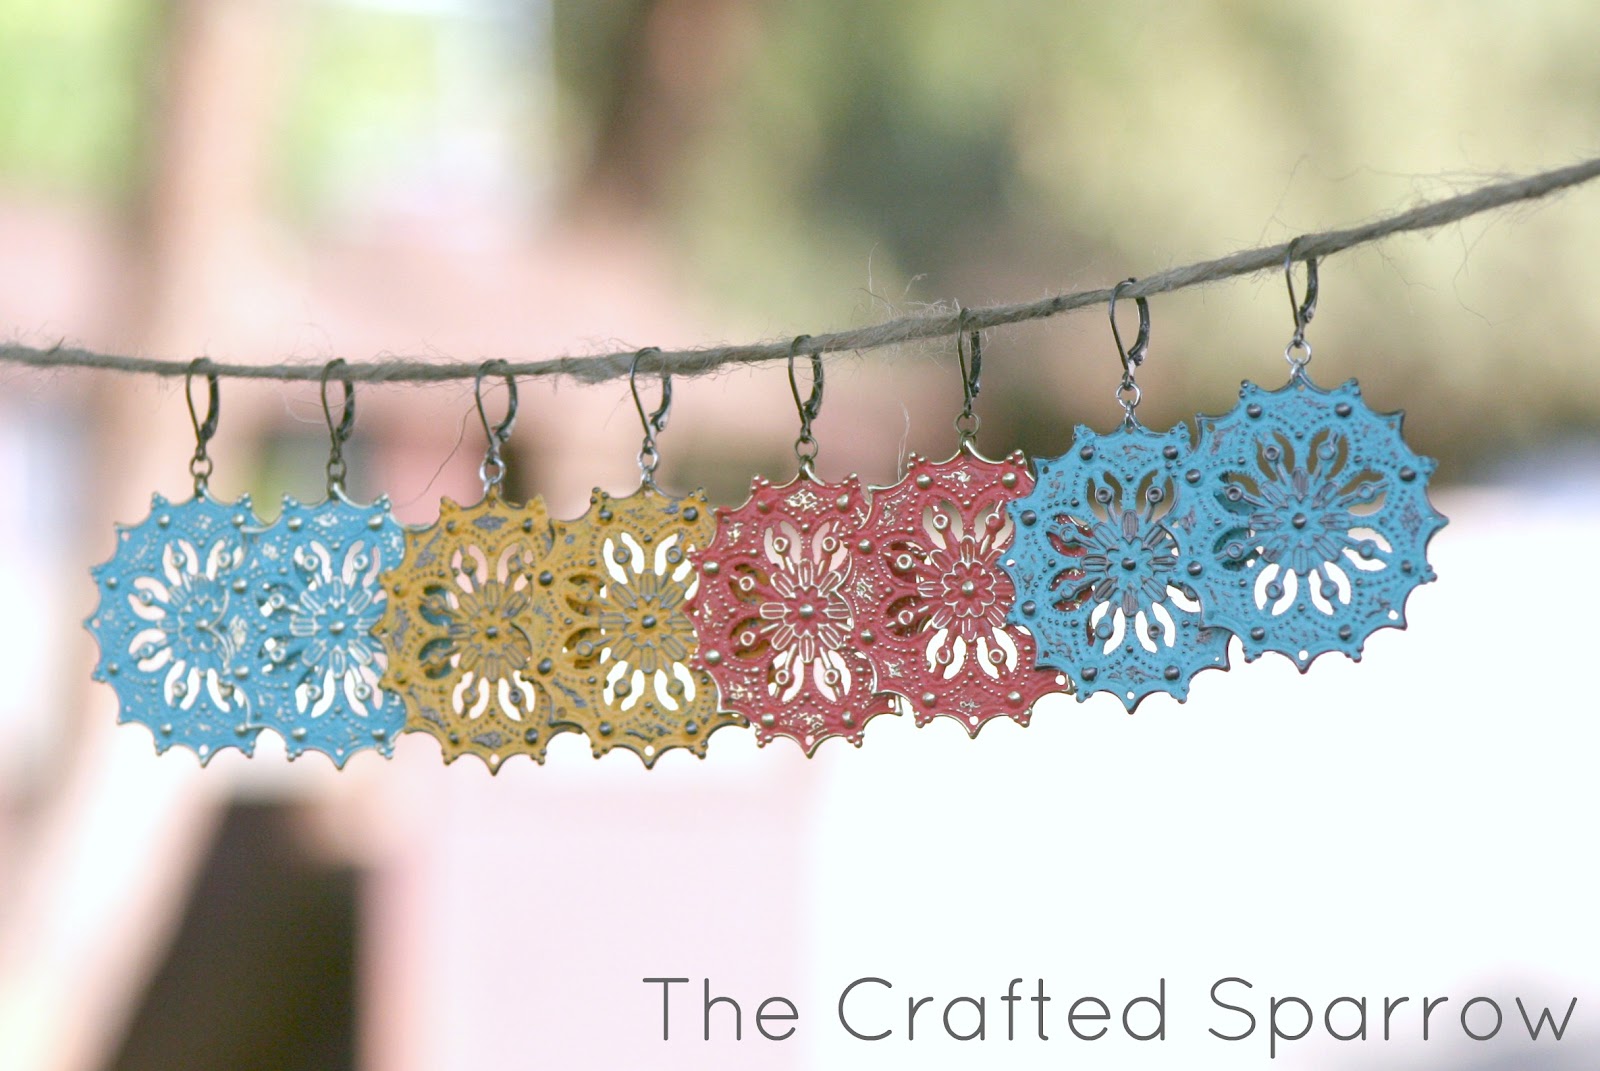
Using your acrylic paints and paint brush begin painting your medallions. I completely covered mine in paint then distressed them, but you could just dry brush light coats of paint with the stiff bristled dry brush until you achieve the amount of paint you like on the medallions. Also I mixed my coral color by hand and the turquoise, can you tell I love those colors?! So once you’ve achieved the look you like on the front flip it over and do a light coat on the back. If you choose to cover yours completely on the front like I did then you can use a dry or slightly damp (slightly) paper towel and wipe away the paint from the raised parts of the medallion. You can even use your fingernail like I did.

Step 2
After it’s all dry take your clear coat spray paint and give it a quick coat on the front and back to seal in the paint. Once that is dry attach your earring backs of choice and your done!
Now you have some super sweet earrings that are great as a gift for anybody or just to keep for yourself.


linked up at:

These are so beautiful! May have to make some of these!
Take care,
Trish
Wow, those are super adorable!
These are too cute, I think I’ll have to try it!
This is amazing, I gotta find these at hobby lobby!
Shannon@SewSweetCottage
Beautiful! Thanks for sharing this tutorial. I just got a pair for myself but I wasn’t sure how I was going to paint them! If you don’t mind, I’d like to feature it on my blog 🙂
oh wow. i love this. and the colors you chose. brilliant! 🙂
i have a creativity party going on right now on my blog and i’d love it if you would link this or any other creative project you have: http://letbirdzfly.blogspot.com/2012/05/exodus-35-creativity-party-29.html
thanks so much for sharing!
These are absolutely beautiful! You need to sell them on Etsy!
So pretty! I’m going to put these on my ‘to make’ list and make some…for myself! If you’re looking for another place to share your lovely creations, check out Etcetorize (http://etcetorize.blogspot.ca/2012/05/make-it-great-monday.html). Would love to see you there!
These are absolutely stunning. The colour combinations that you used look so perfectly aged.
Your photos showcase how gorgeous they look. I would love to do this for a necklace.
I really like these! They would make a great gift! Thanks for sharing!
These are lovely!! I love the colors you chose.
Tammy
southernflaircrafts.wordpress.com
i didn’t know i could buy those from hobby lobby–thanks for the tips!
I love the earrings. Thanks for the instructions!
These are awesome!! Great shape and such fun colors. 🙂
These are FAB!!! I know a certain SIL who would LOVE them. Thanks for the idea and how to. 🙂
Sheree
http://www.seaweedandraine.com
Do you sand the color off the knobs and edges to give it the distressed look? These are beautiful!!
Breanna Sturgeleski – I used a dry paper towel to wipe excess paint off when it was still wet. You can also try the sanding method with a very fine grit sandpaper which also works! Thanks for asking! 🙂
Remeber approx. how you came up with the color combinations for reddish and blue? I absolutely love those colors. I am not crafty whatsoever, so any guidance would be helpful! Thanks!
Hi Amy. The red color is actually a coral colored acrylic paint, and the blue is turquoise. You can find some already mixed in both those colors from DecoArt Americana acrylic paints sold in most stores. 🙂
These are adorable. thank for instruction.
Thank you! Have a super week.