So on Easter a friend of mine texted me late at night for a quick and simple ring idea for her Sunday Easter outfit. I gave her a couple I thought she had supplies for. One of which was this project. It’s super quick, super easy, and super cheap…literally.

What you’ll need:
– Pennies {the more patina on it, the better}
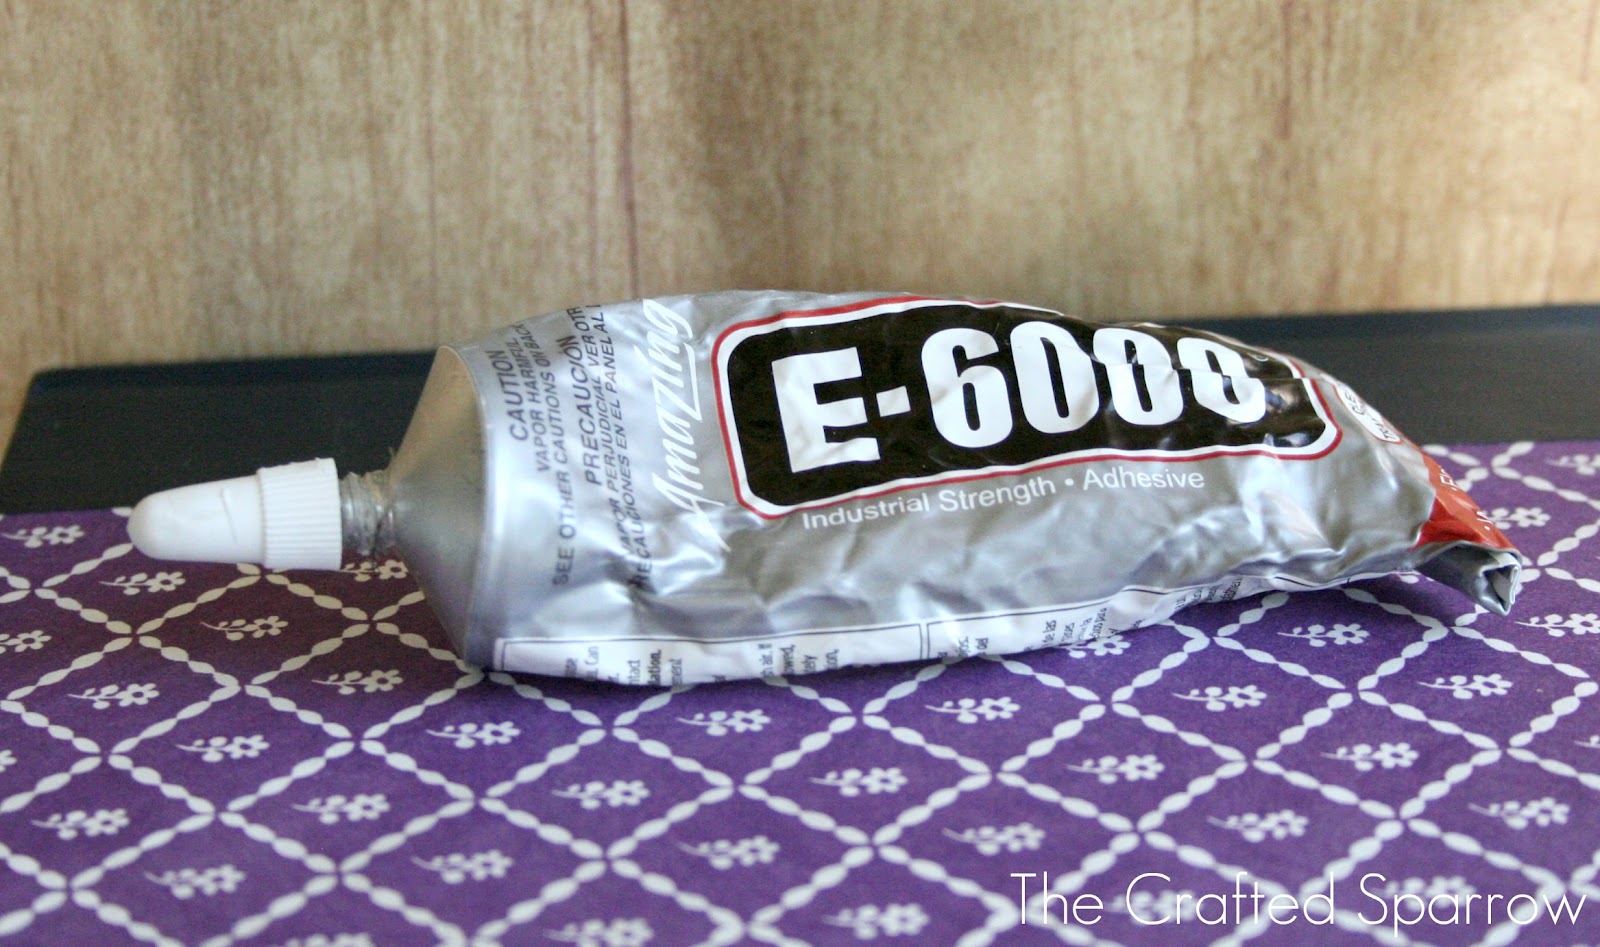
– E6000 Glue
– Ring with some sort of flat base
{recycle if you have a cheap ring you don’t wear anymore}
– Nail polish in your choice of color, and a clear polish
{I used Revlon’s Minted nail polish for this ring}
:-:-:-:-:-:-:-:-:-:-:-:-:-:-:-:-:-:-:-:-:
First lay your pennies that you will paint with the polish head side up. I used a Canadian penny for my ring, because well…it’s prettier with the elegant queen on it. Now take the nail polish in whatever color you chose and paint the top of the penny. Use the little lip around the edges that is there on the penny as your guide and where to stay with your polish. You will need to do a couple coats most likely, do it until your happy with the results. 1 or 2 coats you may still be able to faintly see the head on the coin and details. The more coats the more that will disappear. I only did 2 thin coats on my ring because the Canadian coin was prettier and I like seeing the detail of the queen under it. To me it’s charming. When the color coats of polish are dry add 1 clear coat of polish to give it that extra shine.


Now take your E6000 and place some on the flat base of the ring.
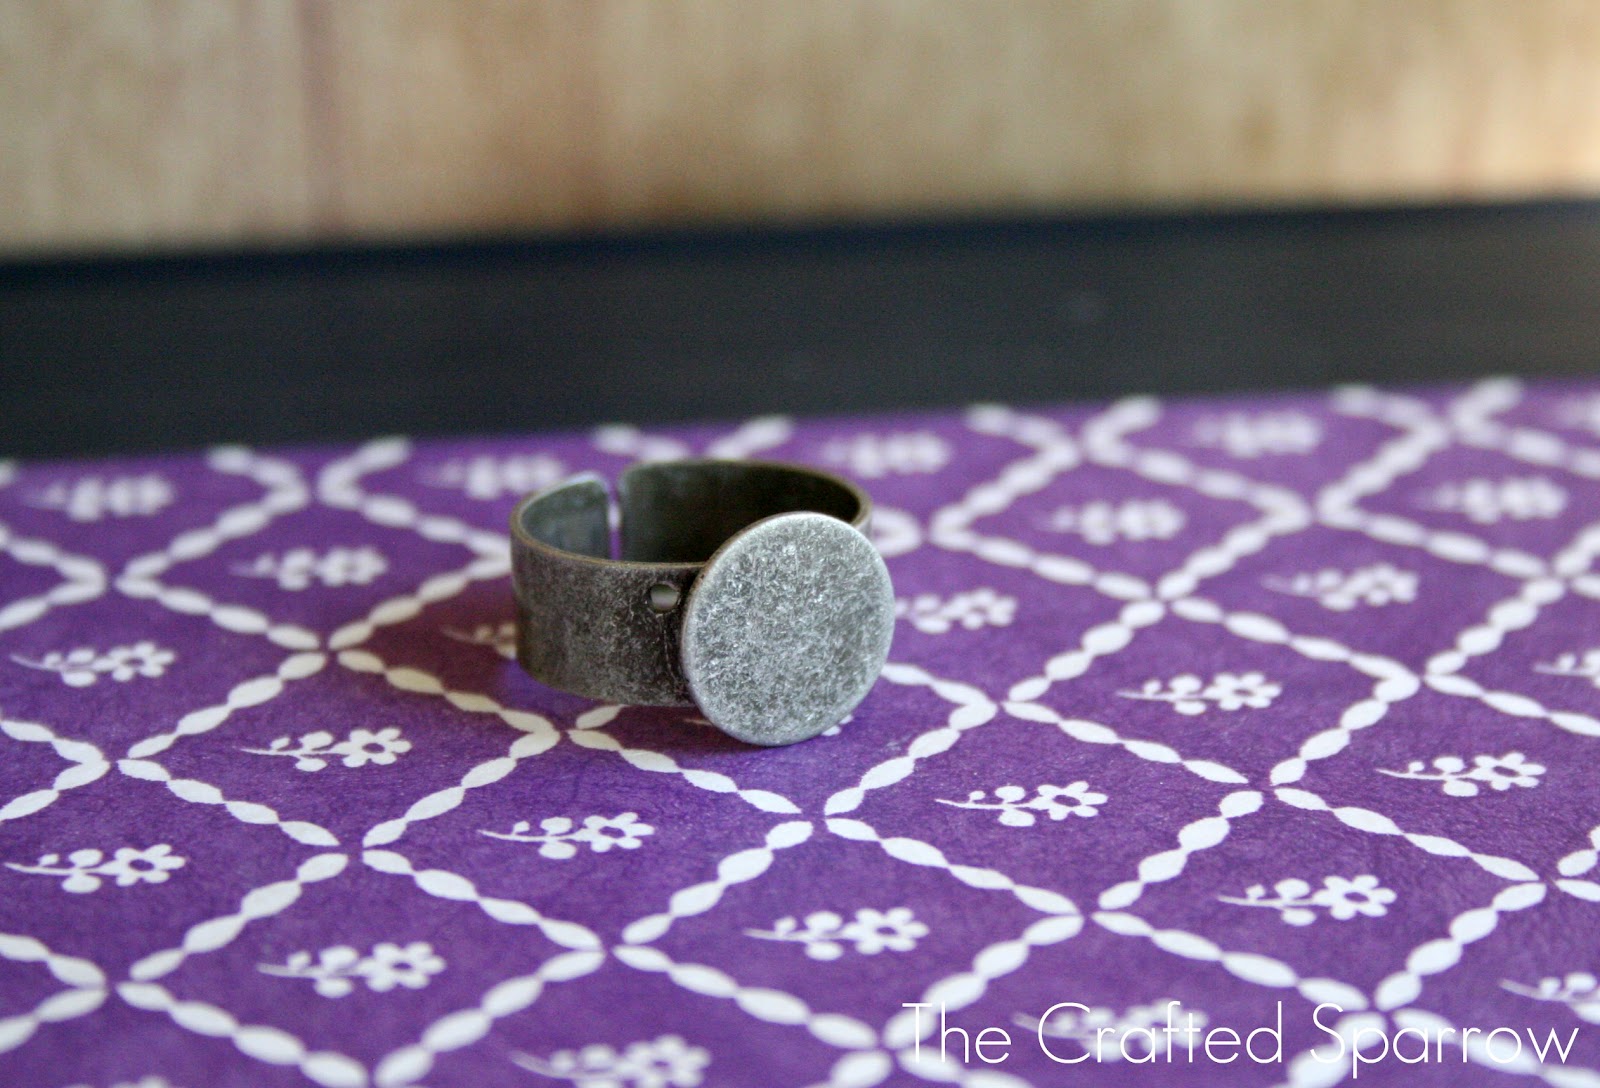
Stick your penny to the ring base, be sure that if the head of the penny or coin is still visible that you have it straight. I let the ring dry face down, so the penny should be face down and the ring base in the air. Make sure it’s all center. Let it dry and viola…you have a super cheap, quick solution to match any outfit. I also stacked three pennies to create a different larger ring. By putting two pennies next to each other on the base of the ring and then stacking a third penny on top in the middle. I will post some pic’s of that tomorrow when it’s completely dry. Have fun with this, you can use nickels too!


Love this! Gonna have to try it! I’m your newest follower:)
Thanks for stopping by!
This is a really great project! I would love it if you would come link this up at my Pinworthy Projects Link Party.
I just love this project! Simple and cheap. Perfect!
LOVE THIS!
This is too cute! So much spunk and character… I LOVE it!