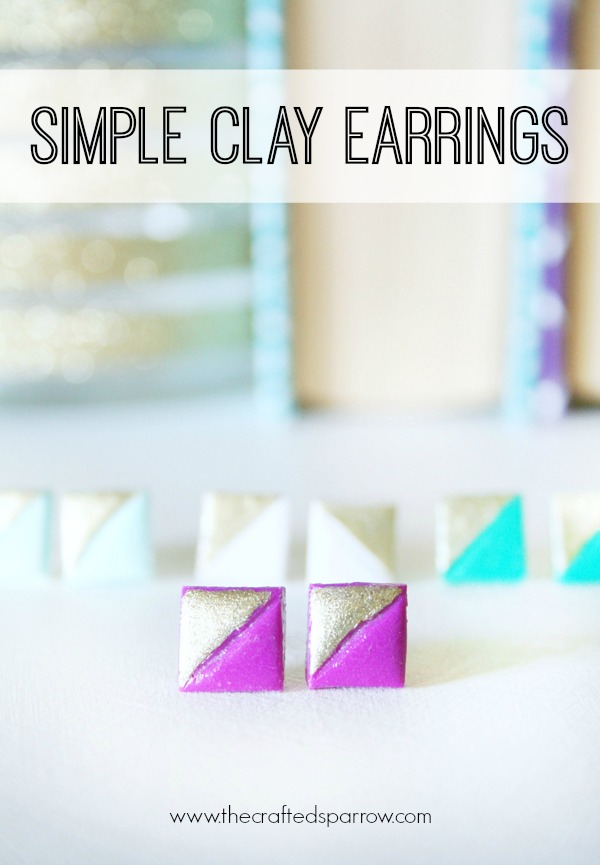
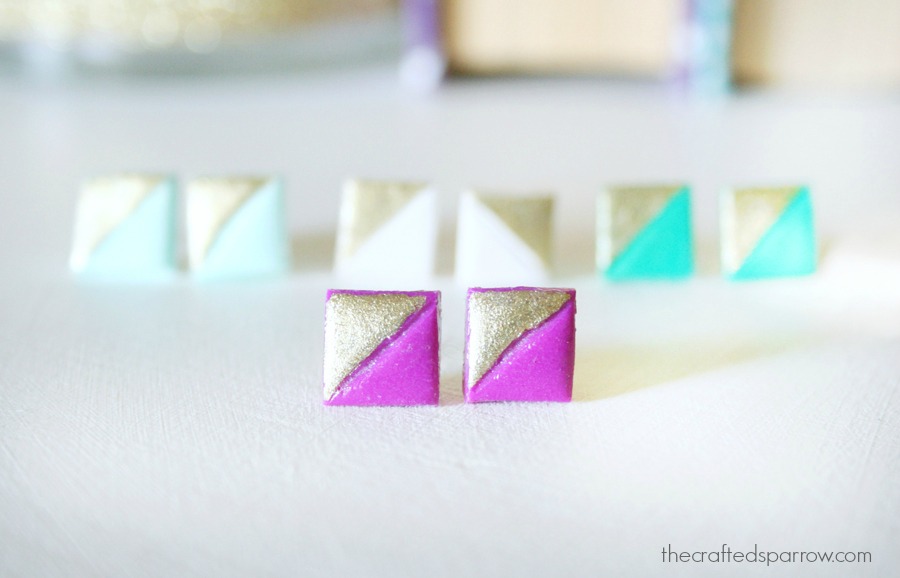
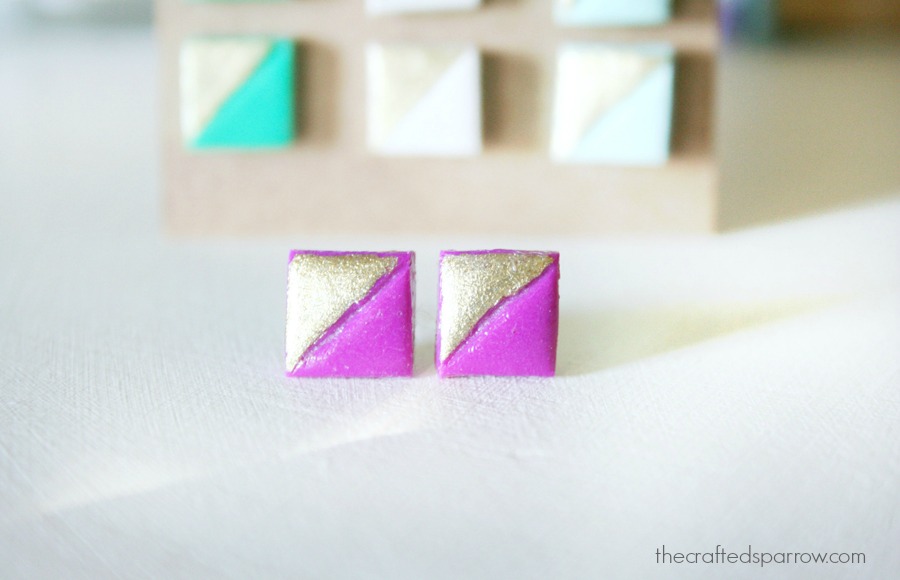
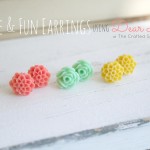
 Creating fun and simple accessories is one of my favorite things to do. I love that I can customize an item the exact way I want it, and that I can supplement my accessories with fun pieces on a budget. Today I’m sharing these Simple Clay Earrings.
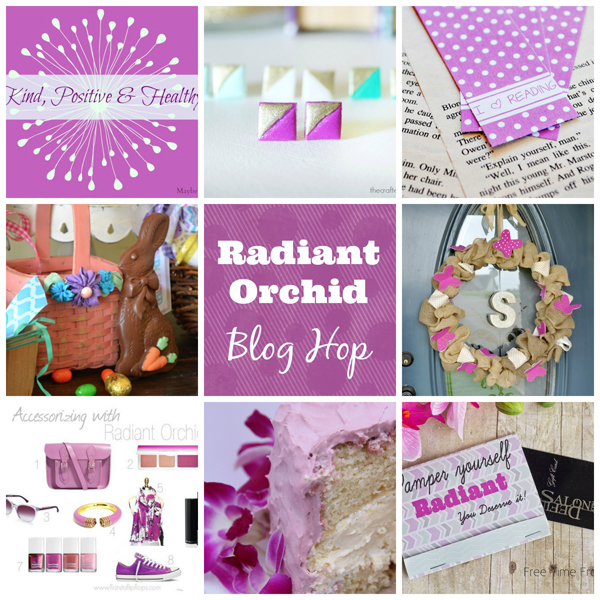
It also happens to be our monthly blog hop and our theme for the month is Radiant Orchid. I hope you will visit all my sweet blogging buddies and check out all their awesome ideas.
 For now let’s get started on these sweet little earrings.
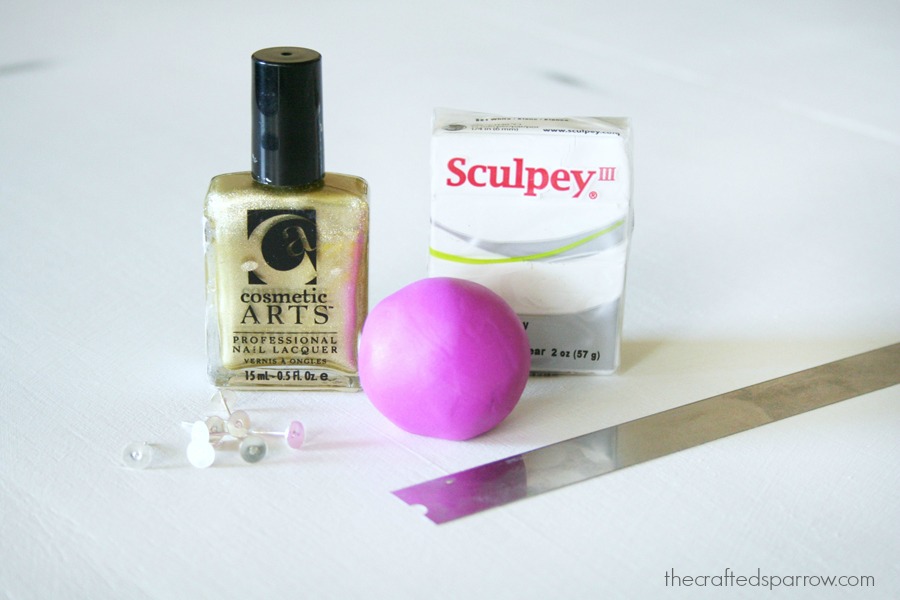
Supplies:
Polymer Clay
Acrylic Roller or Smooth Rolling Pin
Slicer or Razor Blade
Parchment Paper or Small Clean {unused} Cookie Tray
Earring Backs
Gold Paint or Nail Polish
Clear Sealer {Americana Duraclear Satin Varnish or any brand you like}
E6000
Toothpick {optional}
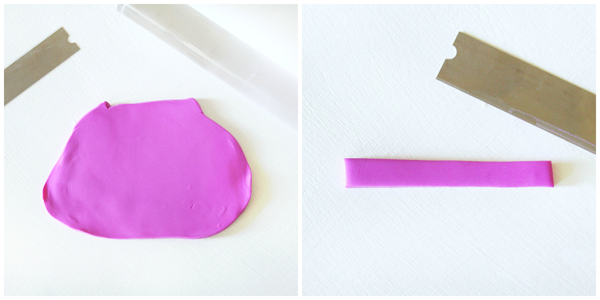
 Step 1:
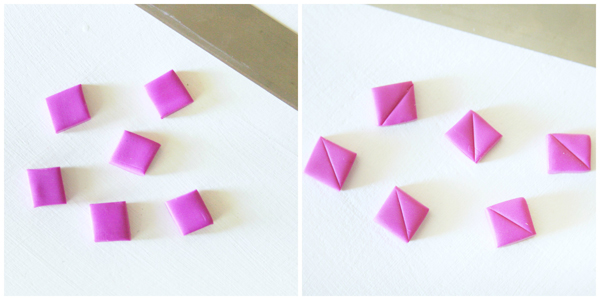
Roll the clay into a ball then roll smooth, it should be about 1/8″ thick. Using your slicing blade or razor blade cut your clay in to a long rectangle. You can determine how big you’d like your squares to be, mine are about 8 x 8mm. To make things easier if you don’t want to measure everything out you can create a template with a piece of cardstock and use that when cutting.
Step 2:
Once you have your squares cut you can use either a toothpick, paperclip, or the back of the slicer to carefully create a crease on the diagonal of your square piece.
Step 3:
Carefully transfer each earring clay piece on to a piece of parchment paper or a clean – unused cookie tray, bake according to the polymer clay package instructions. Usually at about 250* for about 20 minutes or so. Watch it carefully, you don’t want it to burn. Remove from oven and let it cool completely. If you have a toaster oven, it will work perfect for this project.
Step 4:
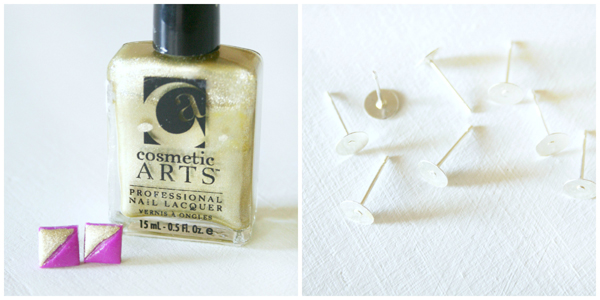
Using either a gold nail polish or gold paint carefully paint only one side of your clay square, using your diagonal line like a template. Let it dry completely.
Step 5:
Paint a thin layer of clear sealer on back side of the earring first. Let dry. Once dry turn over and paint two thin layers of sealer, letting the first layer dry completely before painting the second. If you are in a bind and don’t have a clear satin varnish you can use clear nail polish. Although clear polish will turn certain colors yellow over time, mostly just the white clay.
Step 6:
Once everything is dry and cured, using E6000 adhere your earring backs. Let dry at least 24 hours.
That’s it, your done. Make these in several colors and you will have some new accessories at a bargain price. These also make great gifts, and Mother’s Day is coming up.
Now it is time to check out all these lovely ladies and their awesome ideas!
Out of the Box Easter Baskets | Hollyhocks & Honeybees
I Love Reading Bookmark | The Benson Street
3 Word Mantra | Maybe I Will
Butterfly Wreath | She’s Crafty
Accessorizing with Radiant Orchid | Flats to Flip Flops
Radiant Orchid Iced Cake | Among the Youngs
Be Radiant Gift Card Holder | Free Time Frolics
Simple Clay Earrings | The Crafted Sparrow


What?? You are seriously the jewelry making queen! I need some of those stat!
Ash:)
Thanks Ashley! 🙂
SO DANG CUTE! I’m in desperate need of some clay now because these look too easy and cute – I must do them. Immediately. You’re are so talented woman. I can’t wait to see you in a few days!!! AH!
Yes you do need some! They are super easy and really fun. Yay for next week!
These are so cute! I love the color, and the gold is so pretty!
Thanks Ginnie 🙂