 Let the holiday decor begin, Christmas is my most favorite holiday and Christmas crafting might just be some of my favorite projects to make. This year as I start planning my outdoor holiday decor I wanted something a little different than the typical wreath so today I’m sharing this pretty DIY Christmas Sign that makes both a perfect addition to my front door or as a sign on my mantel.
Supplies:
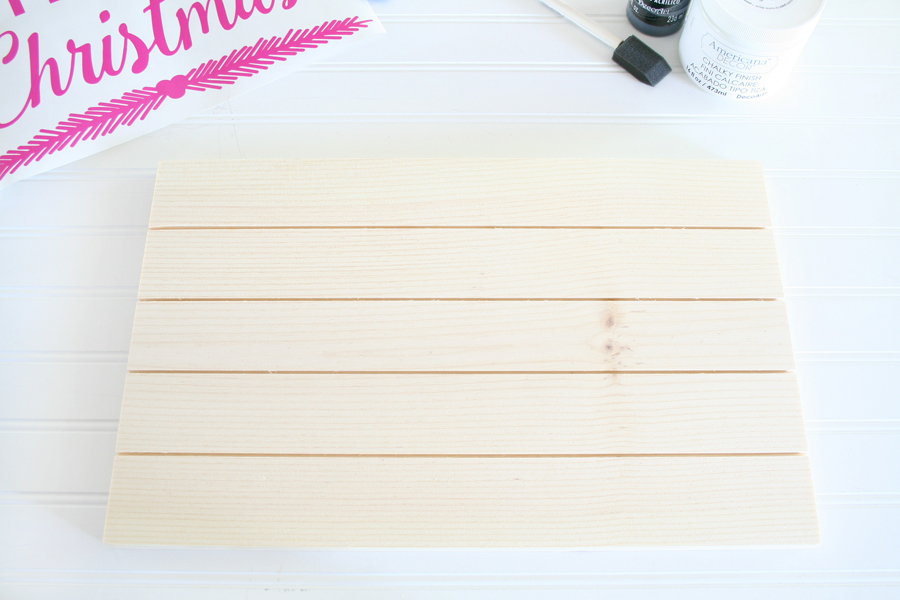
Horizontal Slat Sign
Vinyl Stencil
Transfer tape
Vinyl applicator
Foam brushes
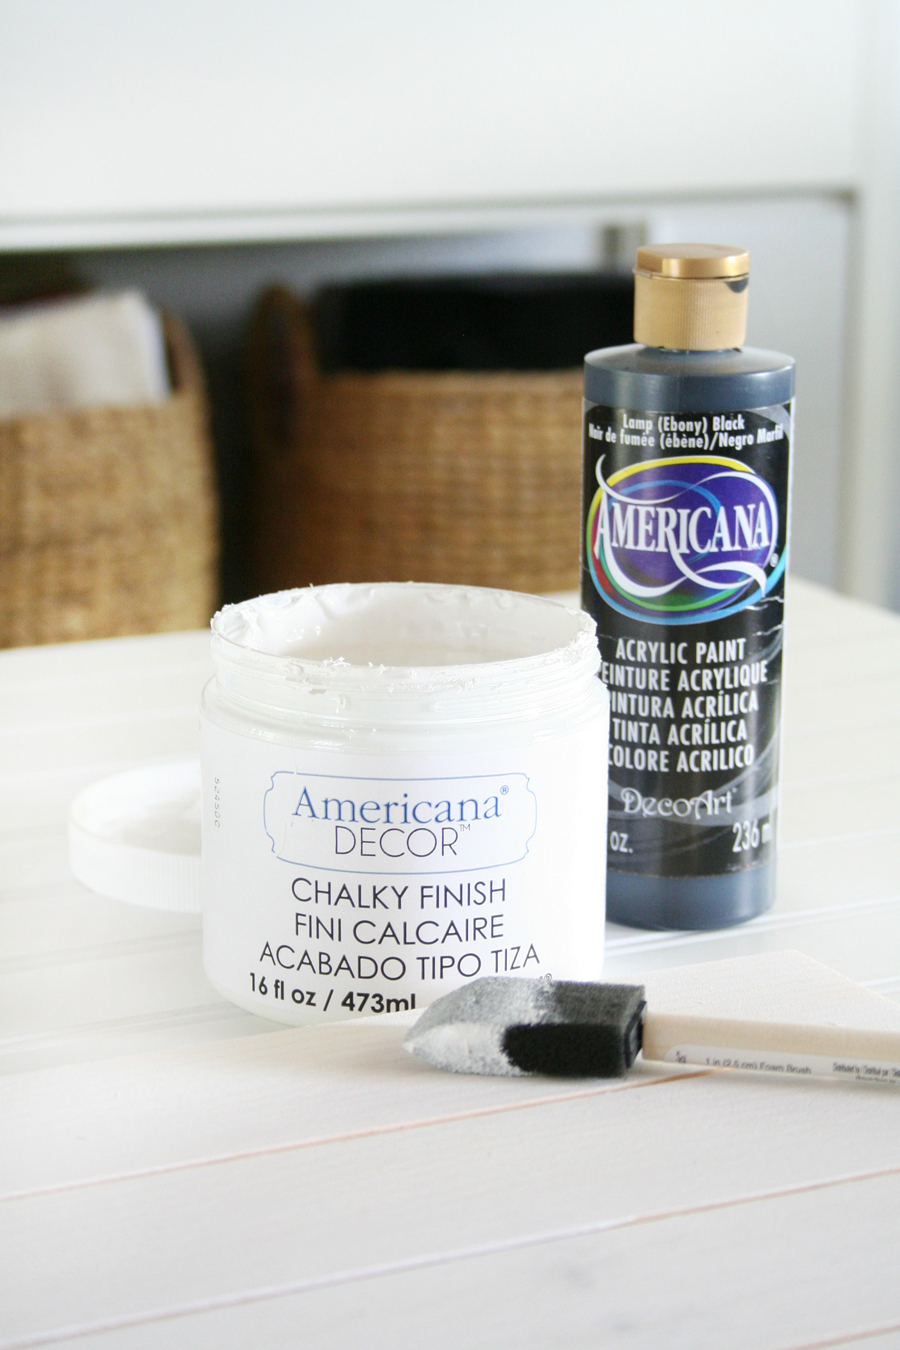
White acrylic or chalky finish paint
Black acrylic or chalky finish paint
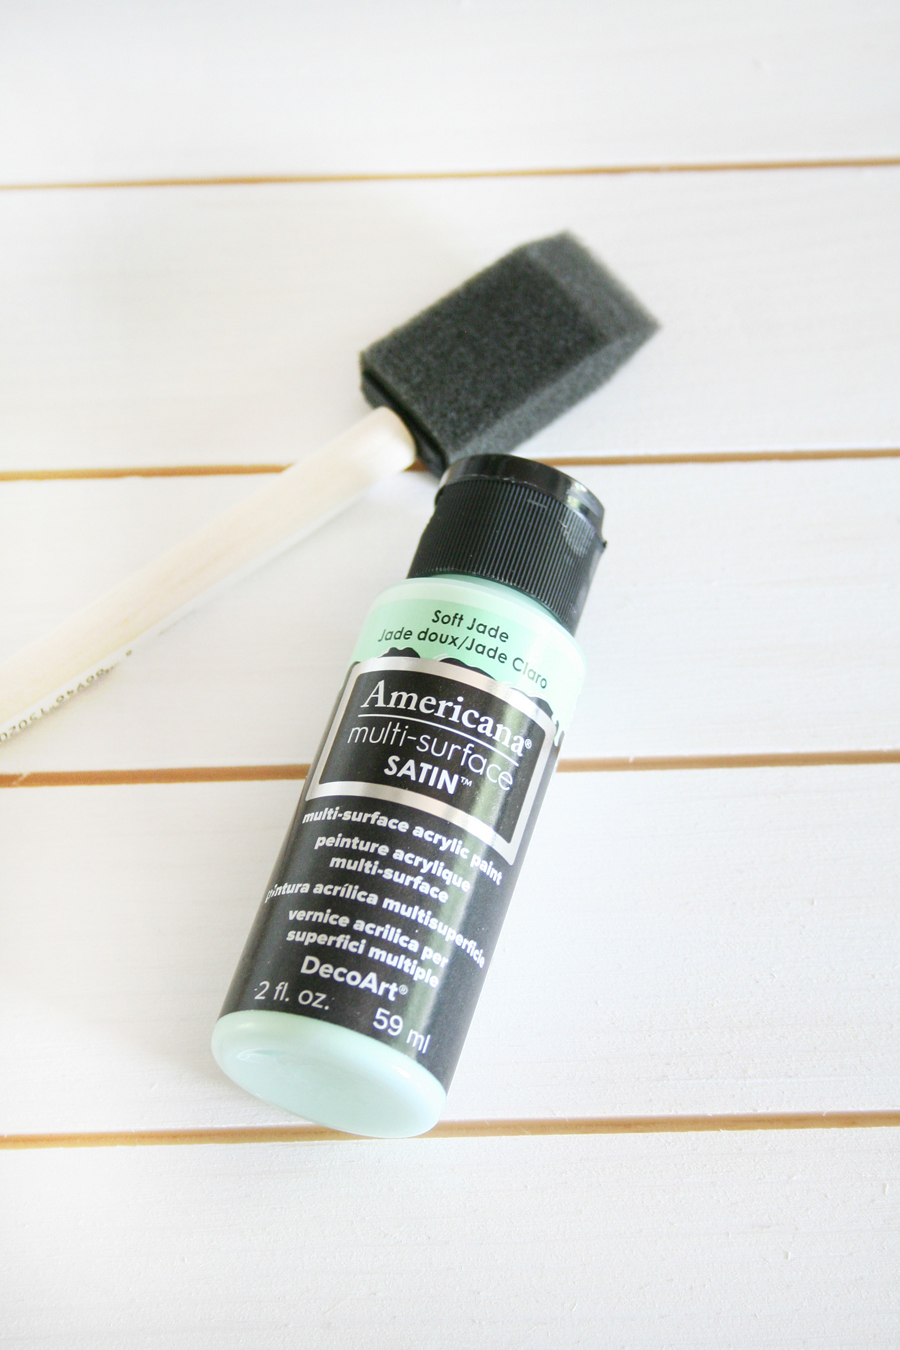
Mint green acrylic paint
Sisal rope, optional
Drill, optional
As you probably know by now if you’ve been a reader for any length of time I usually switch themes up from year to year. Last year I had a very Vintage Inspired Christmas theme that I was working with, this year I’ve decided to switch things up and go with one of my favorite color palettes at the moment…neutral! That’s right, Black & White! You can definitely switch this sign up to coordinate with your Christmas color palette, it would be so pretty as a classic Red & White with a pop of Emerald Green!
I created a fun template and uploaded my image to my cutting machine software, Cricut Design Space. You can use whatever cutting machine you have and create a similar image. Then cut your stencil onto your vinyl, again I cut mine using my Cricut Explore Air. I then weeded my design and set it aside.
 I painted the entire front side of the slat sign white. I used some Americana Decor Chalky Finish Paint I had on hand and gave it a quick coat. One coat was all it needed. If you don’t have chalky finish paint regular acrylic paint will be perfect, you may just need to paint two coats.
 I painted the bottom portion of my sign where the pine branches would be placed a minty green, Americana Multi-Surface Soft Jade to be exact. It’s such a fresh minty green.
I painted two coats of this color and let dry completely.
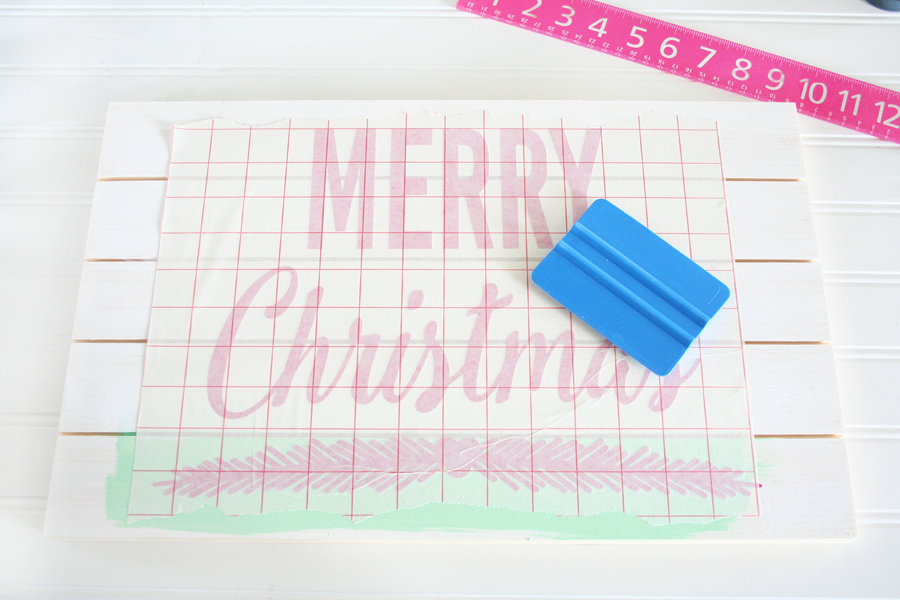
 Next, apply your vinyl stencil using transfer tape and be sure to adhere it firmly using your vinyl applicator tool.
Tip: The best way to ensure a properly centered stencil is to leave the backing on your vinyl and place the entire stencil on your surface, being sure to use a ruler to measure all the sides until it’s placed where you want it. While holding the vinyl stencil firmly in place with one hand, lift one side of the stencil and roll back the vinyl backing and press your stencil into place firmly. Now that one side is adhered you can slowly begin removing the backing by rolling it away all while firmly pressing the vinyl to your surface.
 Give your entire sign two quick coats of black paint. Before it’s completely dry you will need to peel up your stencil. If you wait too long it will peel up paint with it.
Tip: To guarantee extra crisp lines when painting signs use some matte Decou-Page over your vinyl stencil and let it dry before painting your sign. You will get a crisp clean line every time.
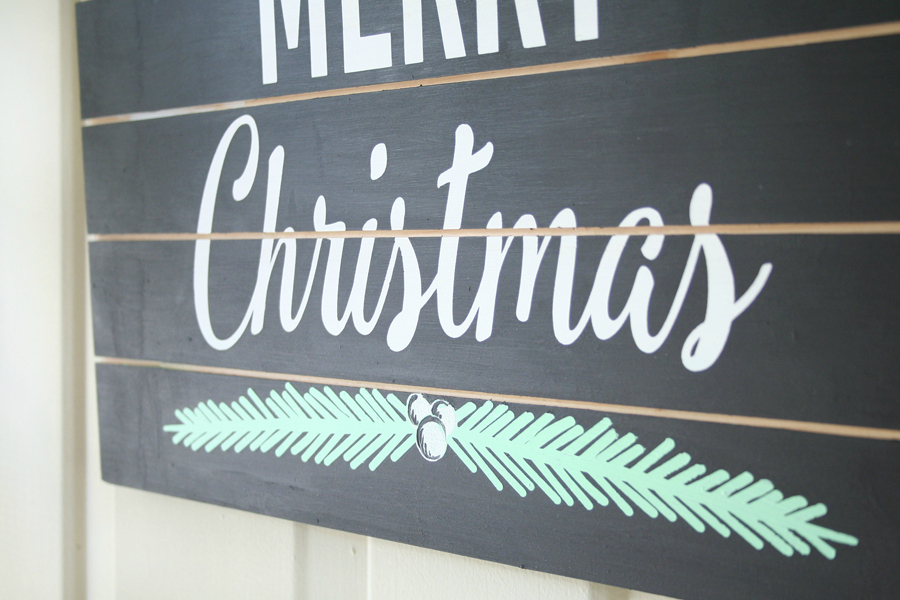
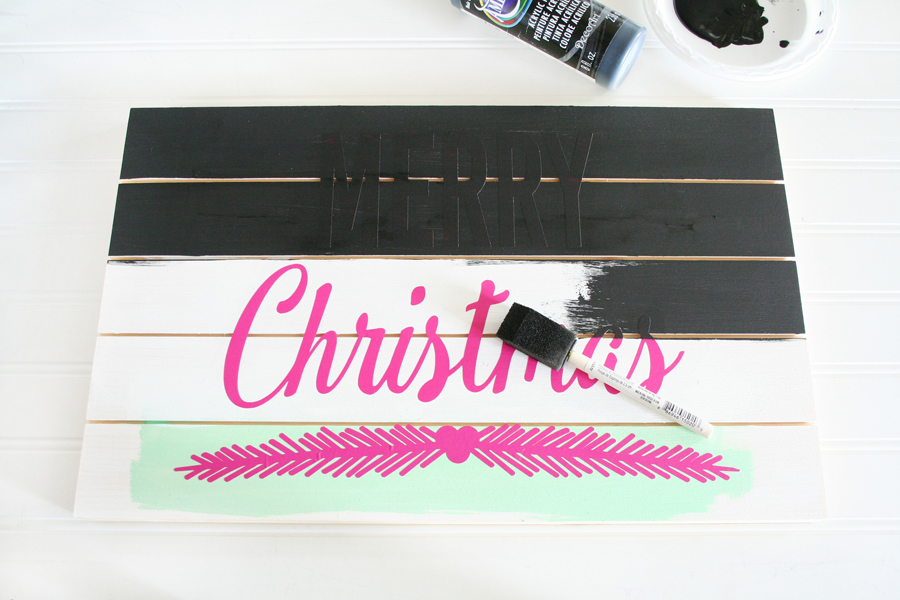 You’ll notice that my sign has white berries in the middle of the pine branches, I just used the end of a foam brush to dab three white berries onto the sign. I used a small detail brush to accent them with black paint, but that’s totally optional.
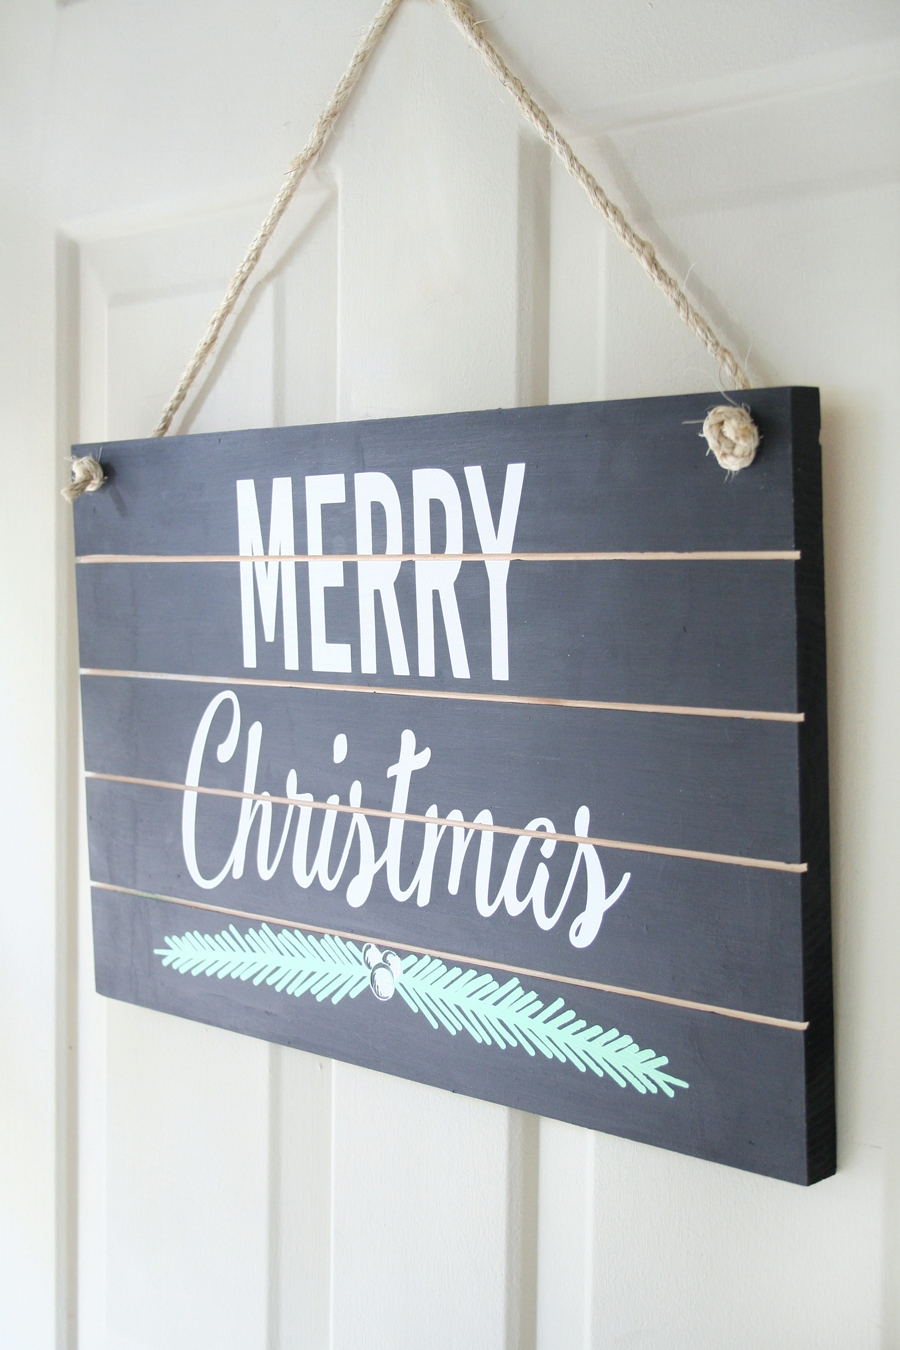
If you are wanting to hang your sign like I did, you will need a drill and drill bit that fits the size of sisal rope you’re using. I chose to use sisal rope since I love the natural color of it, ribbon will also work. Just drill a hole in each corner of your sign and tie a knot at each end of your rope.
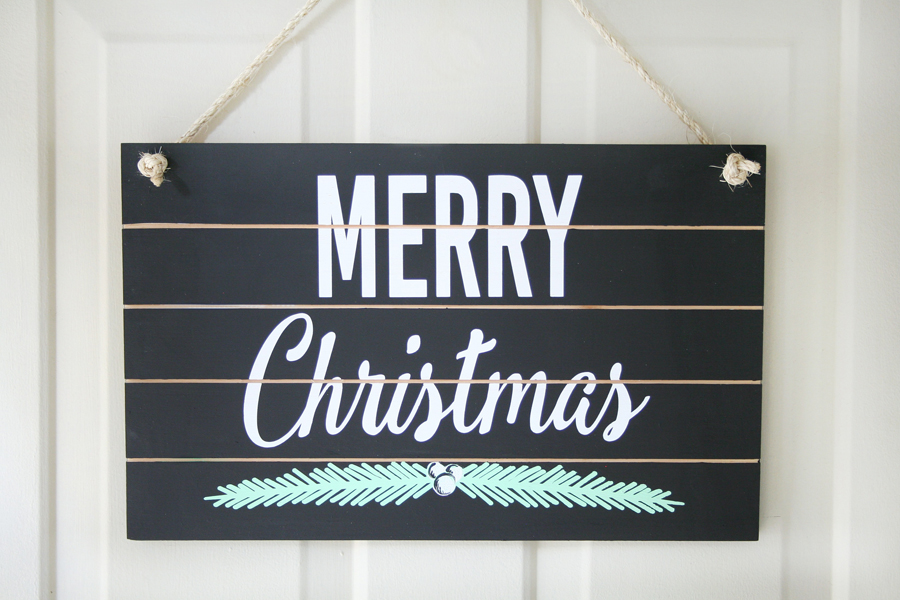 I love how this turned out! It’s exactly what I was looking for, Black & White – simple – and pretty!
 Be sure to check out these other Christmas decor ideas for more inspiration:
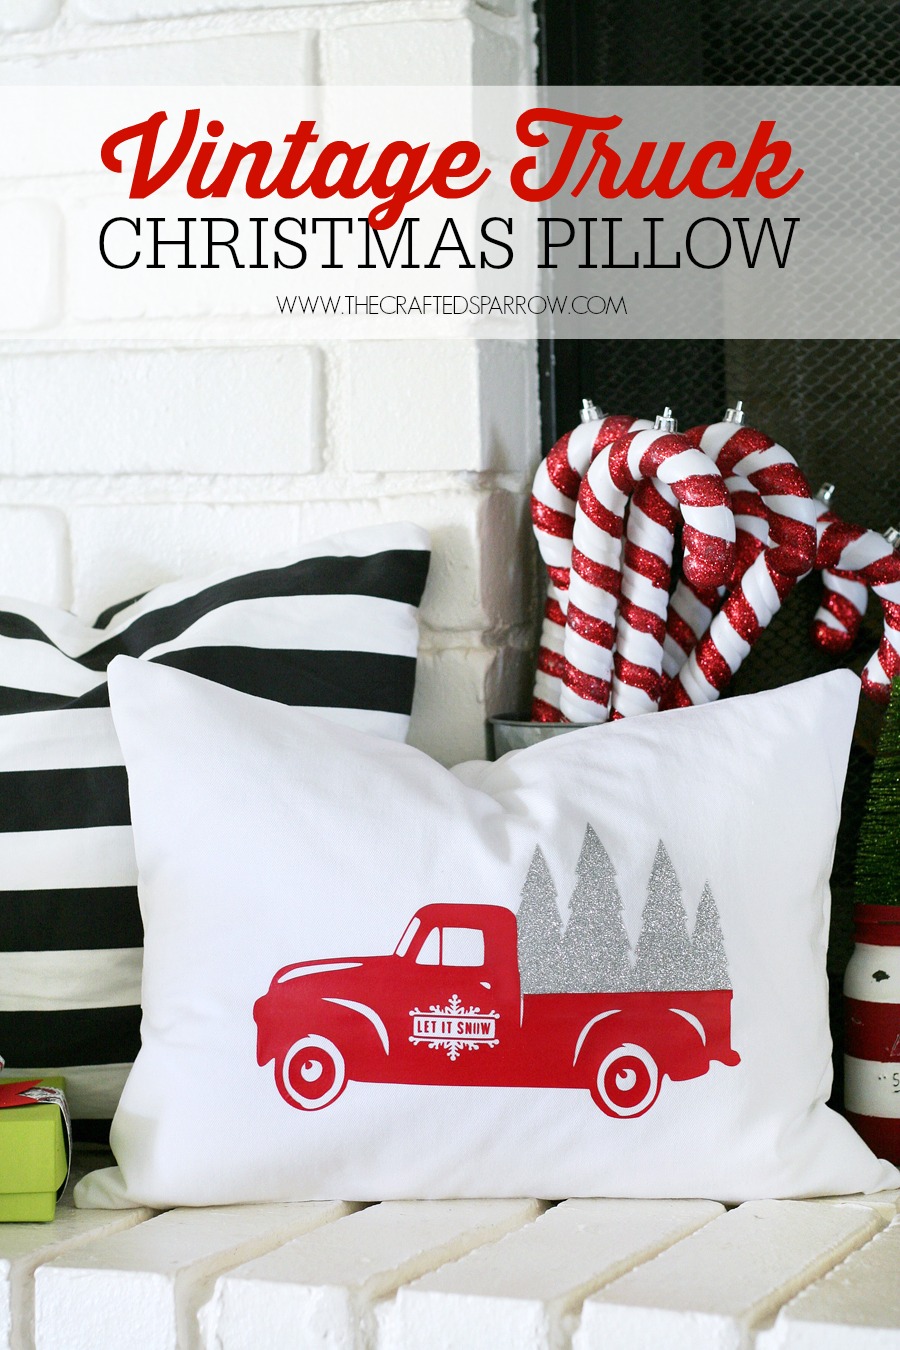
Vintage Truck Christmas Pillow
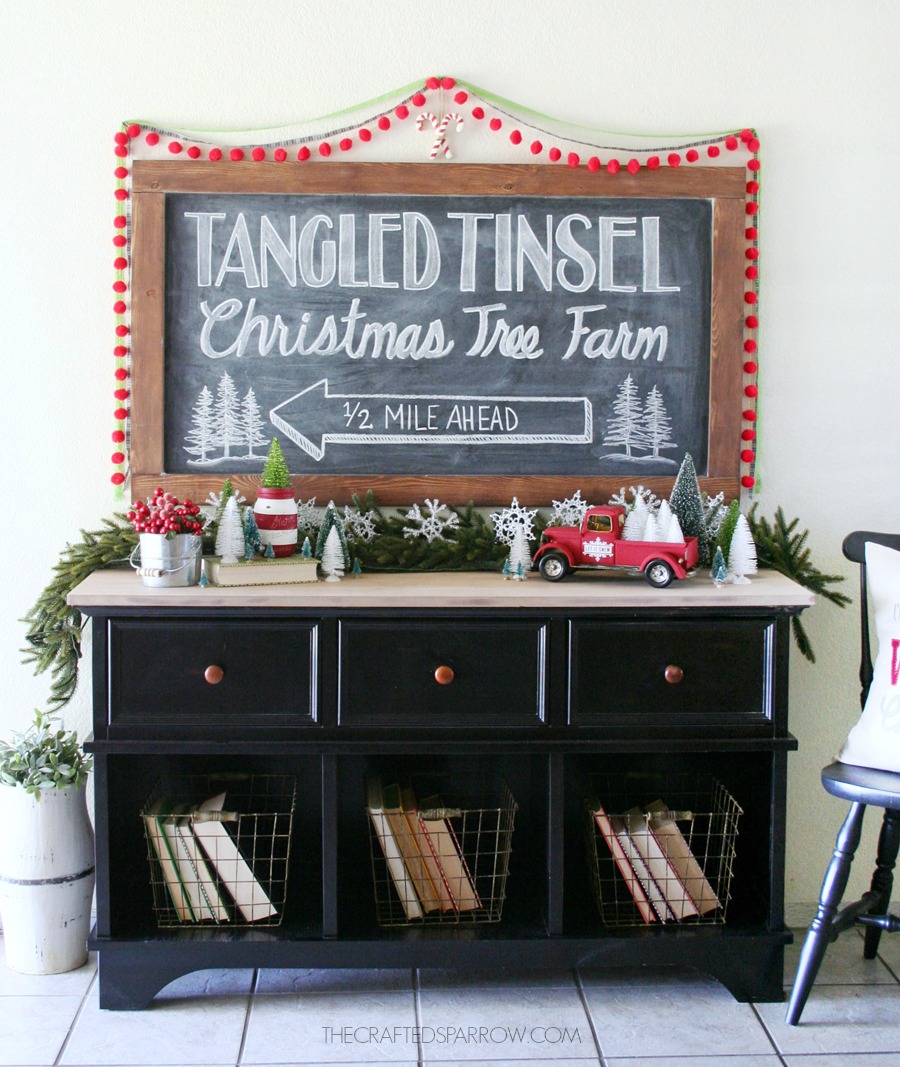
Vintage Inspired Christmas Decor
Disclosure | This post may contain affiliate links.


Found your blog today Rebecca and pinned your chalkboard ornaments and this sign. Subscribed to your blog too! Love it!
Thank you so much Raquel! It always makes me happy to hear that people love this site. Have a super week. 🙂