DISCLOSURE | This post is sponsored on behalf of my friends at Cricut. As always, all opinions are my own. This post may contain affiliate links.
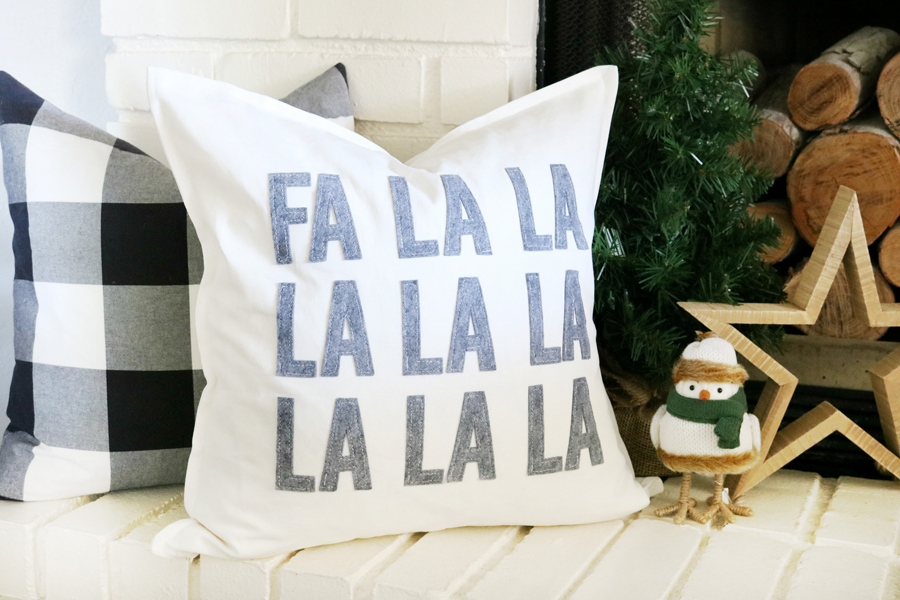
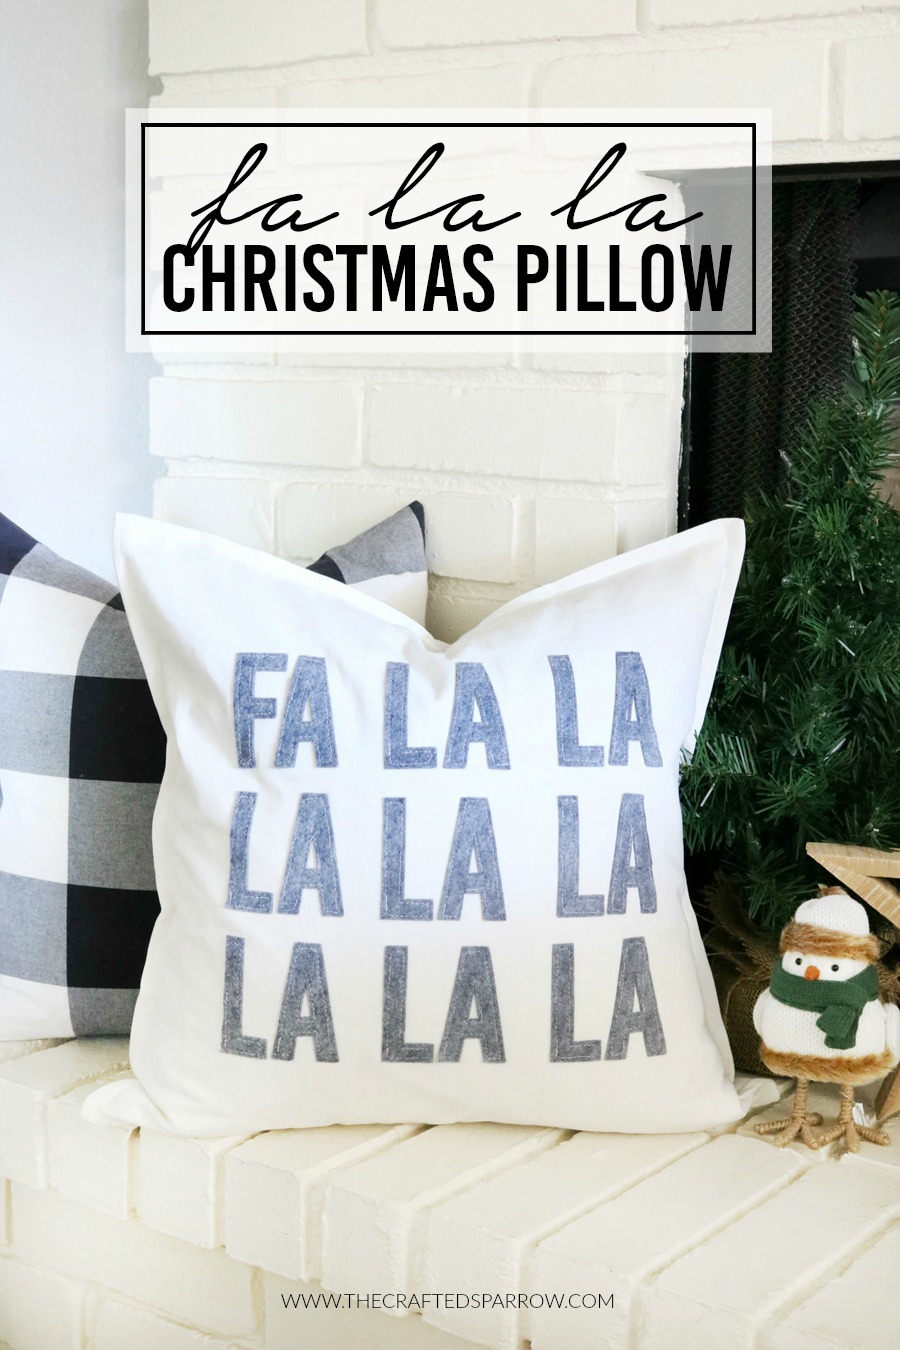 Well, it’s that time of the year, time for more DIY holiday pillows. I will probably have another pillow to share before Christmas rolls around, but today I’m sharing this simple DIY Fa La La Christmas Pillow. For a couple years now I’ve been wanting to make something with this nod to a classic Christmas song, I’m so glad I finally did it.
Supplies:
Cricut Maker Machine
Cricut EasyPress or Iron
Felt
Heat n’ Bond Ultrahold
Sewing Machine
Pillow Cover
First things first, I created the design for the pillow and uploaded the image into Design Space. I created a cuttable image and then resized it to fit my pillow cover. I used a 20 x 20″ white pre-made pillow cover from Ikea. I ended up sizing my image to 11.5 x 11.5″ the biggest I could go on my mat. This size actually fits great on the pillow cover.
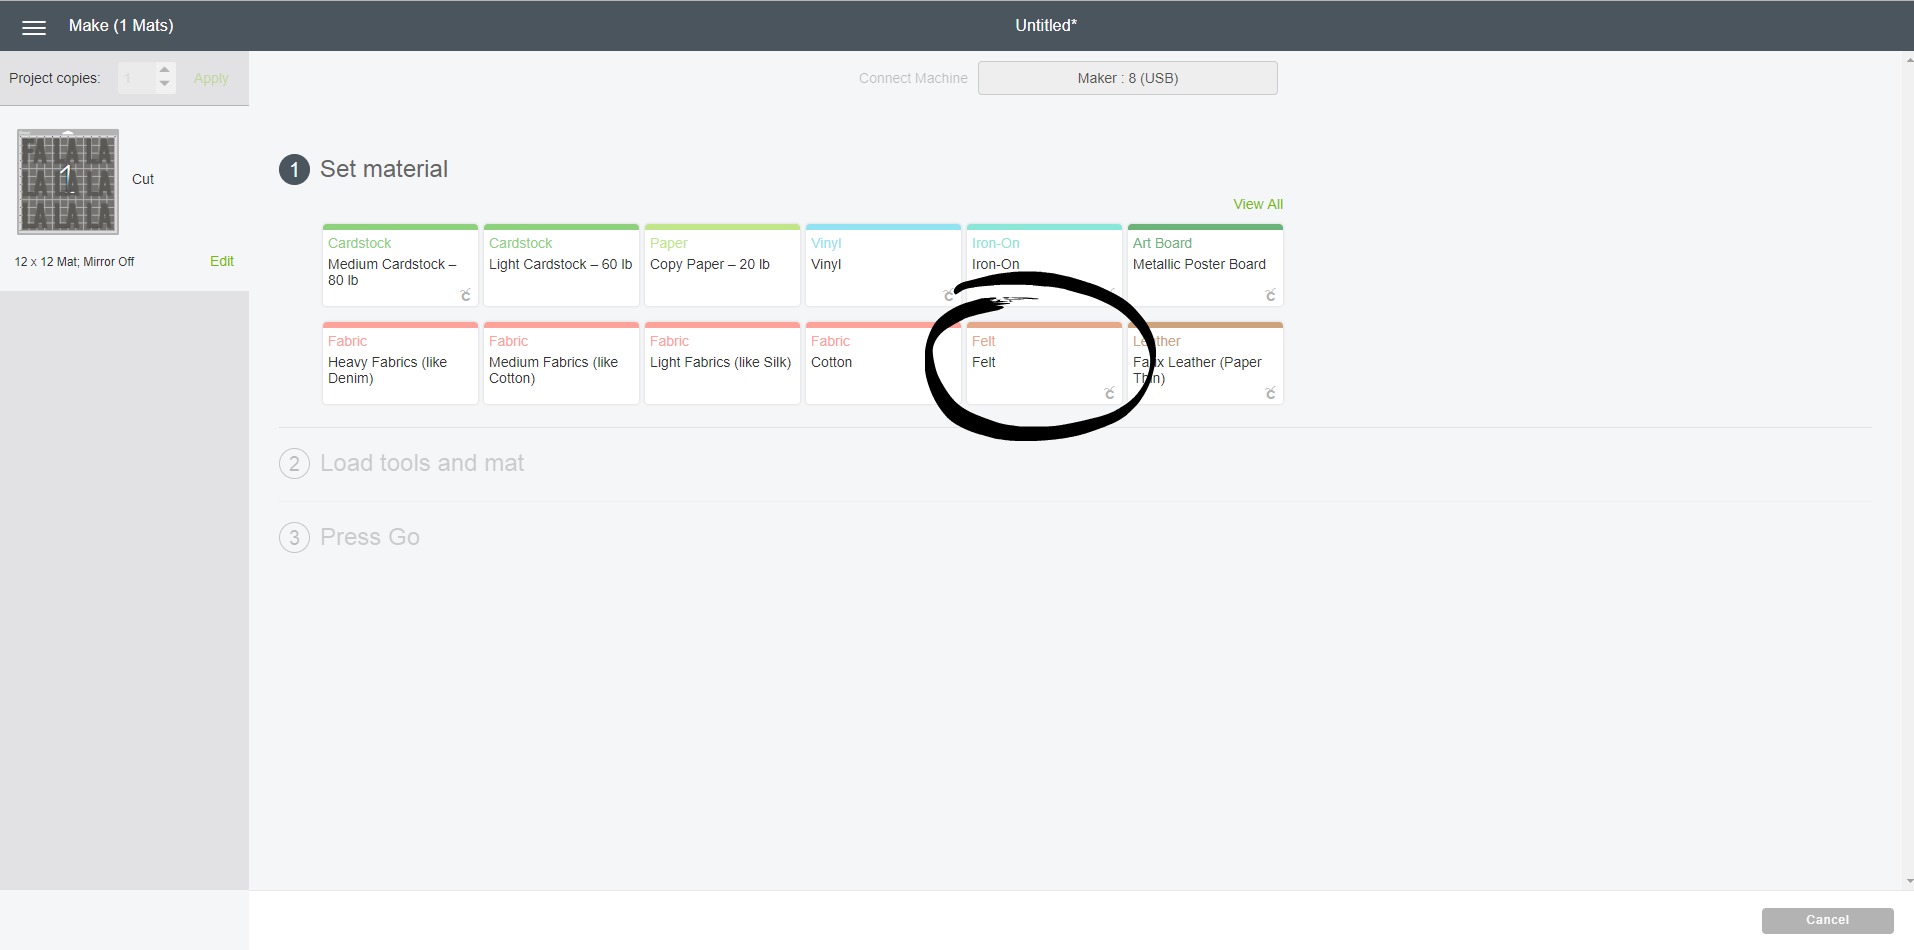
Once uploaded and ready to cut my image I selected what material I wanted to cut. I chose felt for this project since I had in on hand, and I really love the look of it for Christmas projects! It’s a great way to add some texture to your pillows if you’re creating a custom design. The felt I used was from Joann’s and sold by the yard. For this project, I only needed a 12 x 12″ piece.
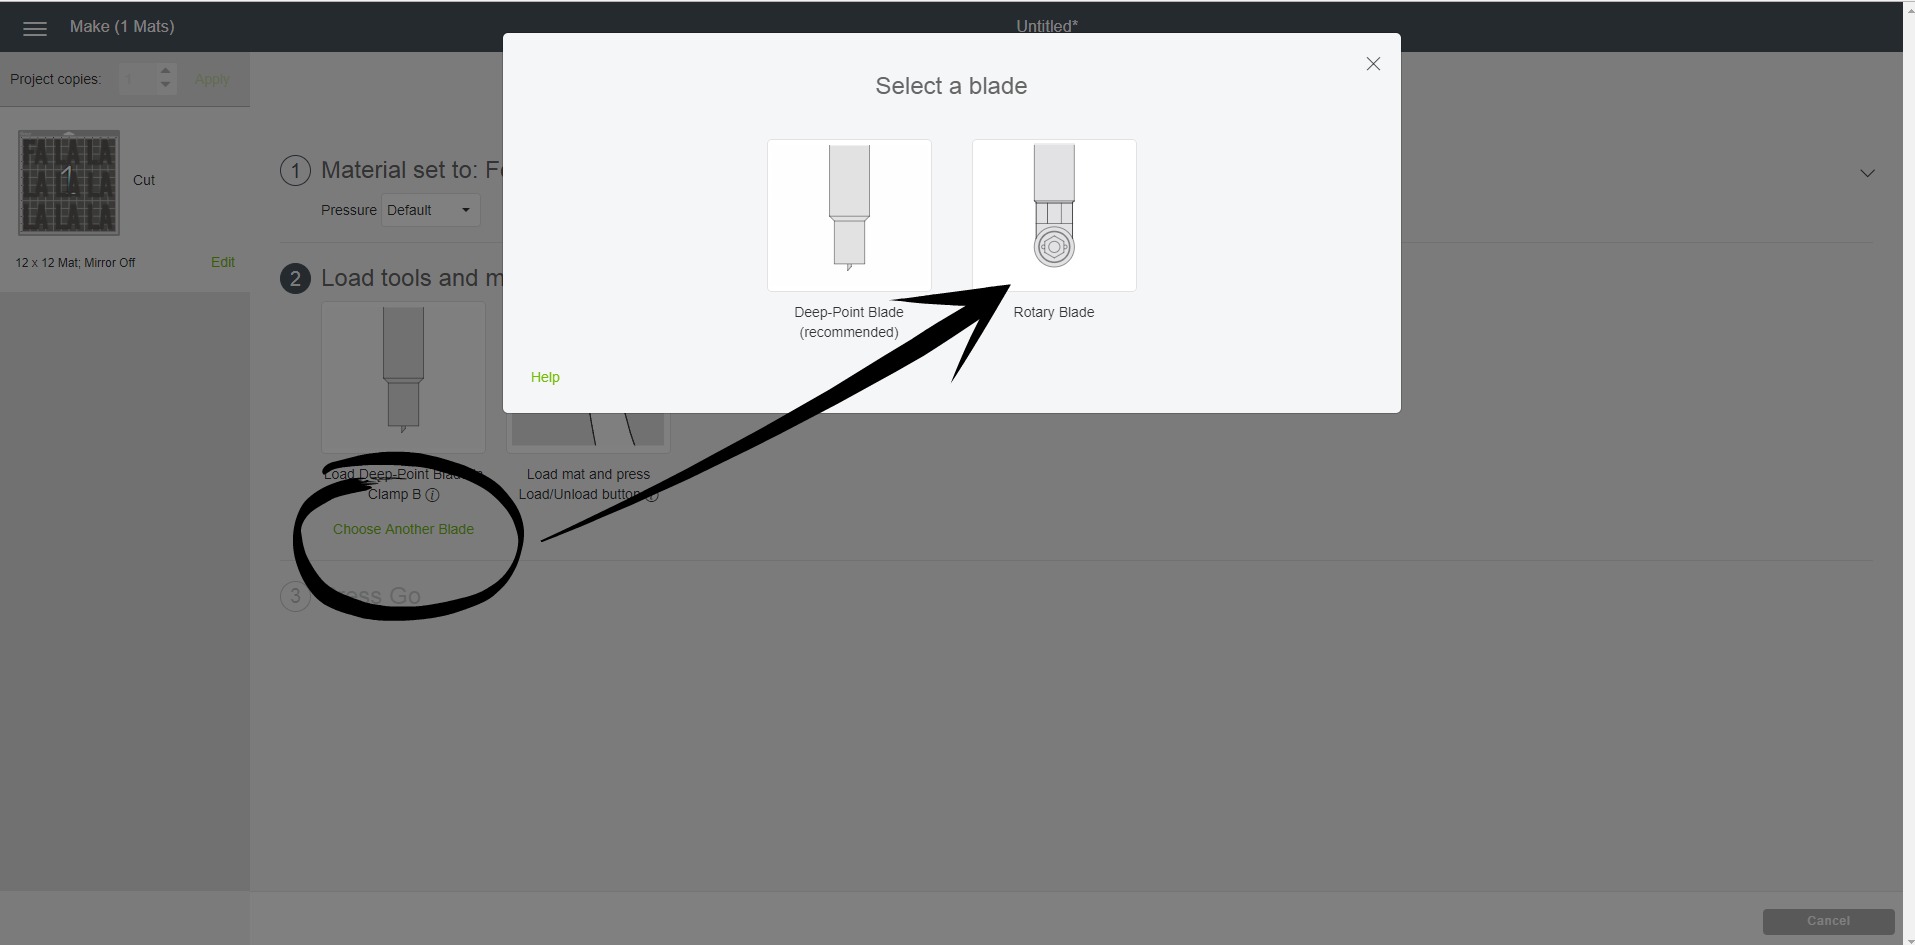
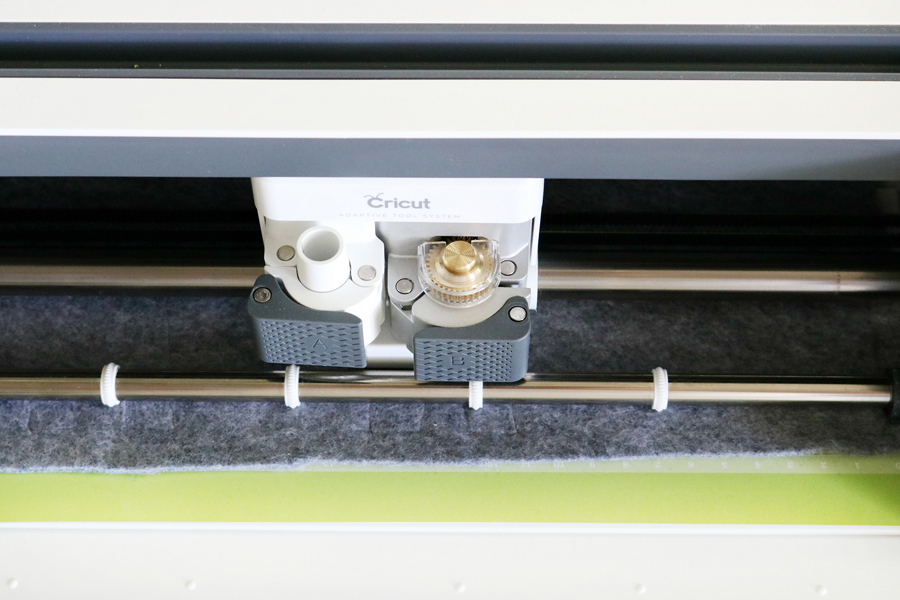
 This next part I was super excited about. Since I was cutting fabric I knew I most definitely wanted to use the rotary blade for it. So I selected “Choose Another Blade” and selected the rotary blade. Using the rotary blade for fabric and felt eliminates the need for a backing on the material when cutting. It’s a dream.
 Although for this project, I did end up using a backing…not to help the material cut, but to help the felt adhere to my pillow for sewing. I used some Heat n’ Bond Ultrahold that I had on hand and followed the package instructions to apply it to the felt before I cut my design. If you’re using a product like this you will iron it on, then remove the backing and place the felt/fabric shiny side on the mat for cutting.

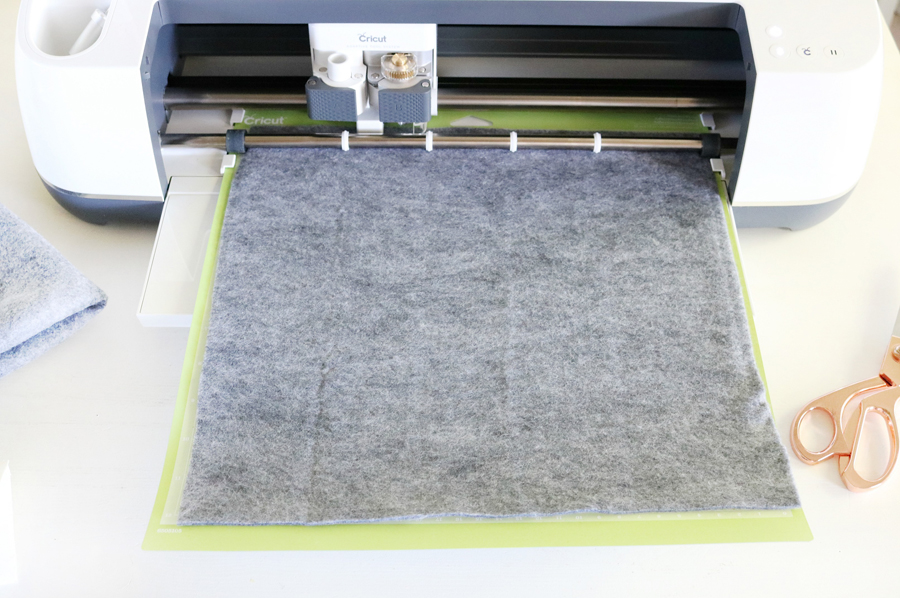 Hit “Make It” and watch it go. The unique design of the rotary blade with it gear head mechanism is so awesome and makes for precision cutting.
 Want a peek at how it cuts with the rotary blade? It’s so fun to watch. Just ignore my Hulu binge-watching in the background, lol.
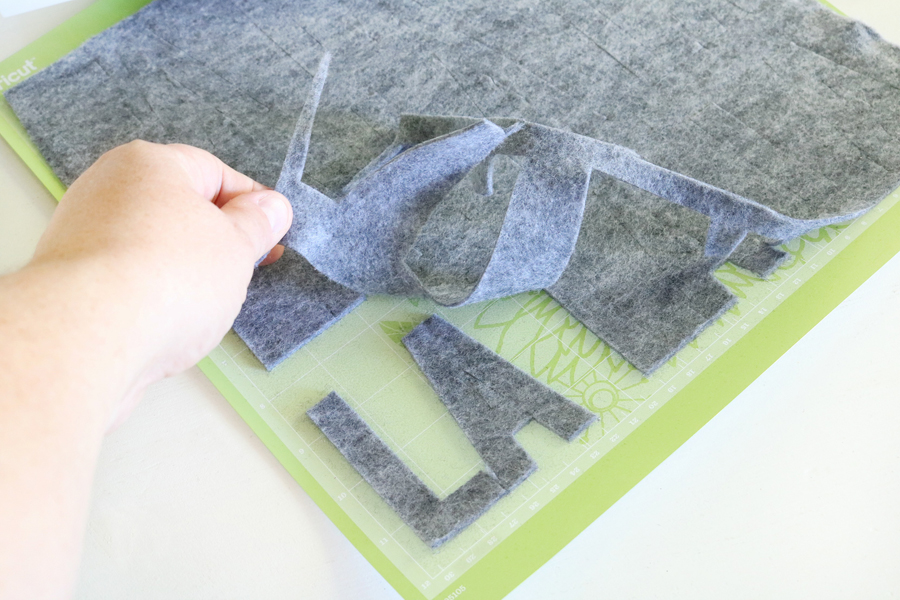
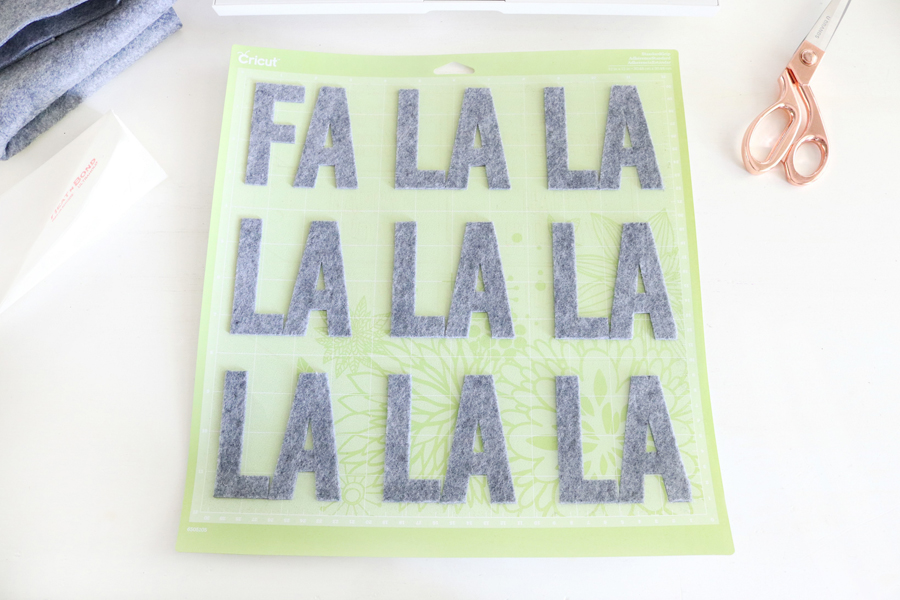
Once the design was finished being cut I was able to peel the felt right off the mat, leaving behind my cut letters.
TIP: If you’re cutting felt directly on the mat without any backing like heat n’ bond or a similar product you’ll eventually want to clean your mat. A little lint rolling or some transfer tape will help to remove the fuzzies.
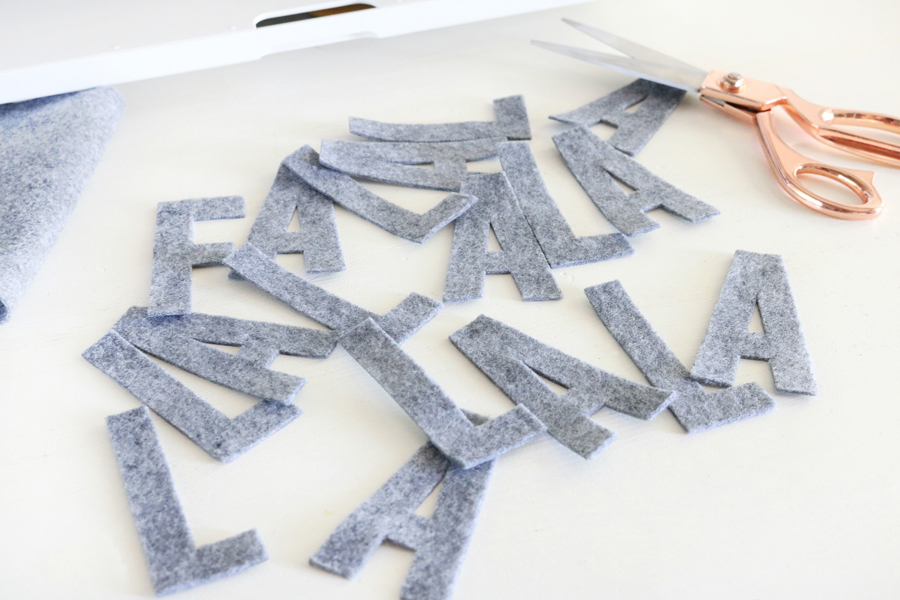
Now that all the letters are cut you’ll need to place them on your pillow cover. I used a large ruler to help align them and then carefully placed a thin flour sack like towel over them, being careful not to move them before ironing them in place. You can either use a standard iron or the new Cricut EasyPress to adhere them.
When using heat n’ bond the “bond” it creates isn’t permanent, it’s a tempory solution to hold something in place for sewing. So I even will sometimes through a pin in each letter just to be sure it doesn’t move when sewing. You’ll want to iron them and then go directly to sewing so it doesn’t have time to release from the fabric.
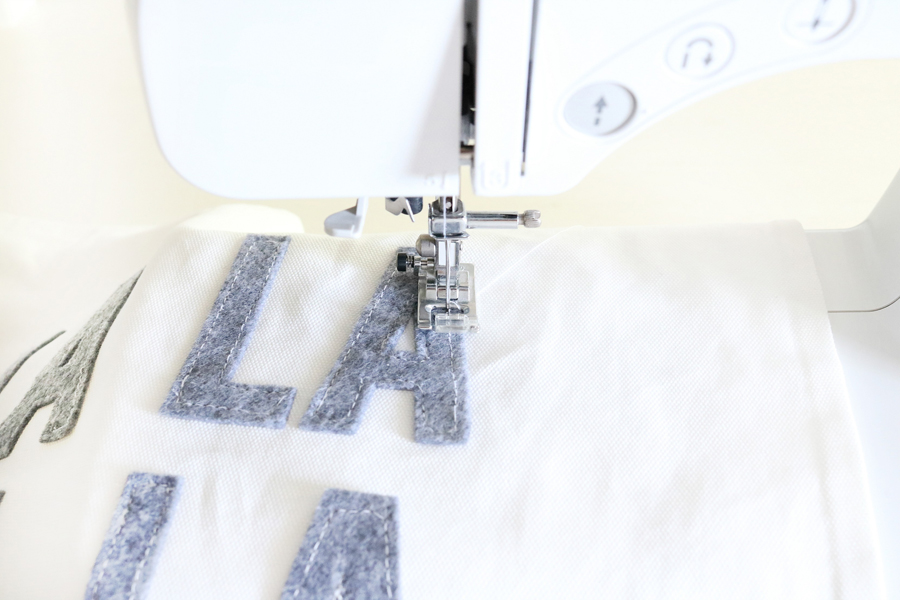
 Using a sewing machine and basic white thread I sewed around each letter. It can be tricky to get around all the small corners of the letters but do your best and it will be great. If you’d like a chunkier stitched look try using some embroidery floss and doing it by hand. I prefer the easy way out and use a sewing machine.
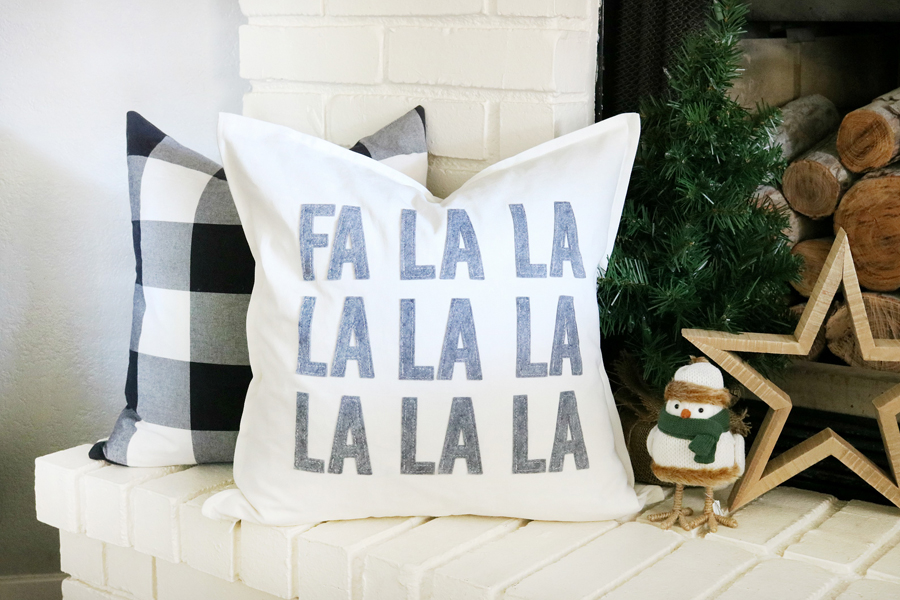
 When you’re done all you have left to do is shove a pillow form inside and put it on display for all to see. After I got this pillow finished I thought about how cute it would be with giant tassels on the corners, I might still add them…I haven’t decided. I love this DIY Fa La La Christmas Pillow, it’s cute right?! It’s neutral, which you know I love – which means I can use it from year to year. Feel free to make your version whatever color your heart desires, I won’t hold it against you if you love traditional red for Christmas.
 This fun DIY Fa La La Christmas Pillow idea is just one of many on my site, be sure to check these other cute pillows out…
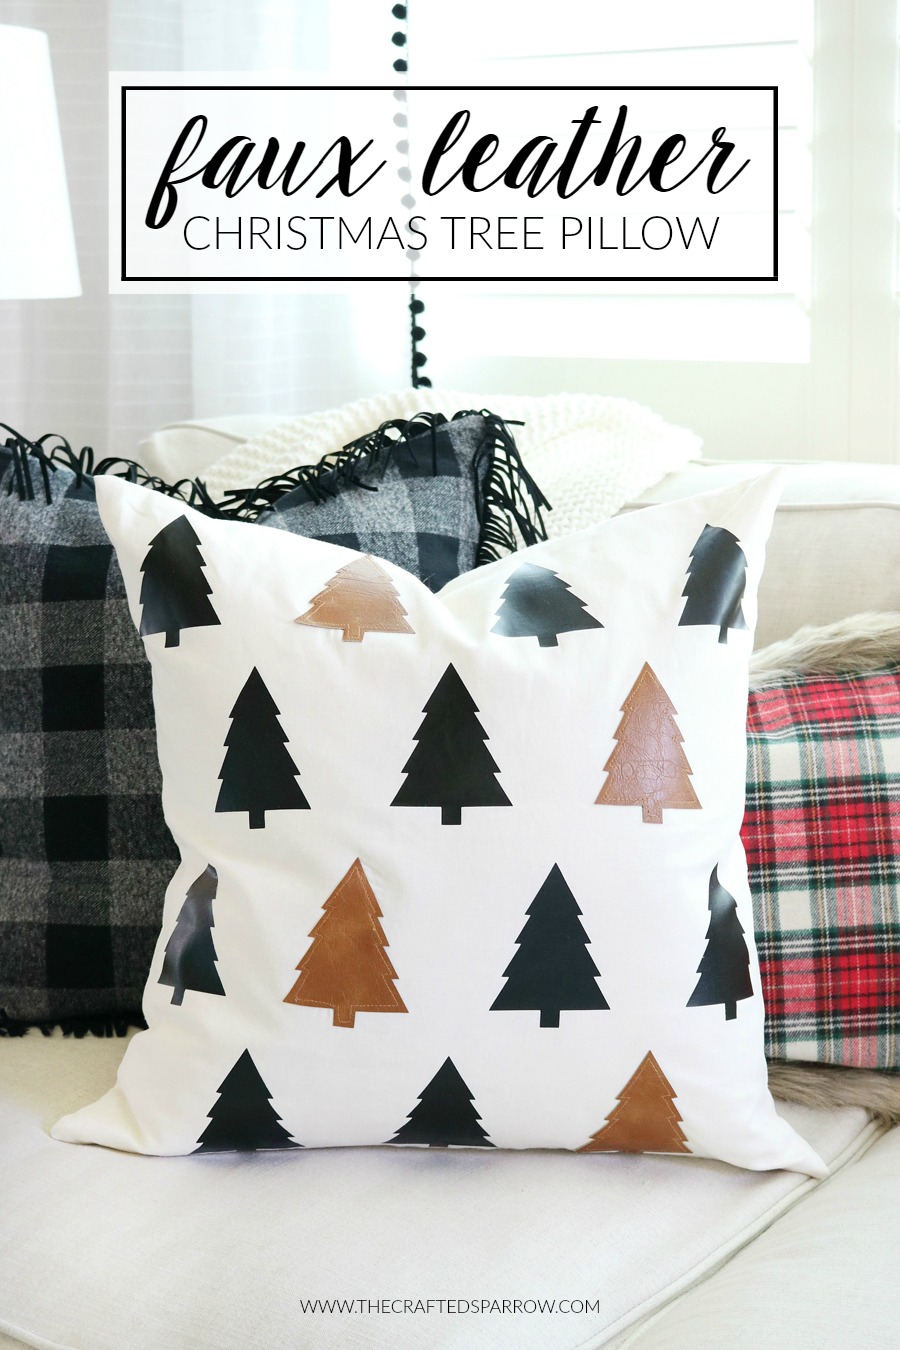
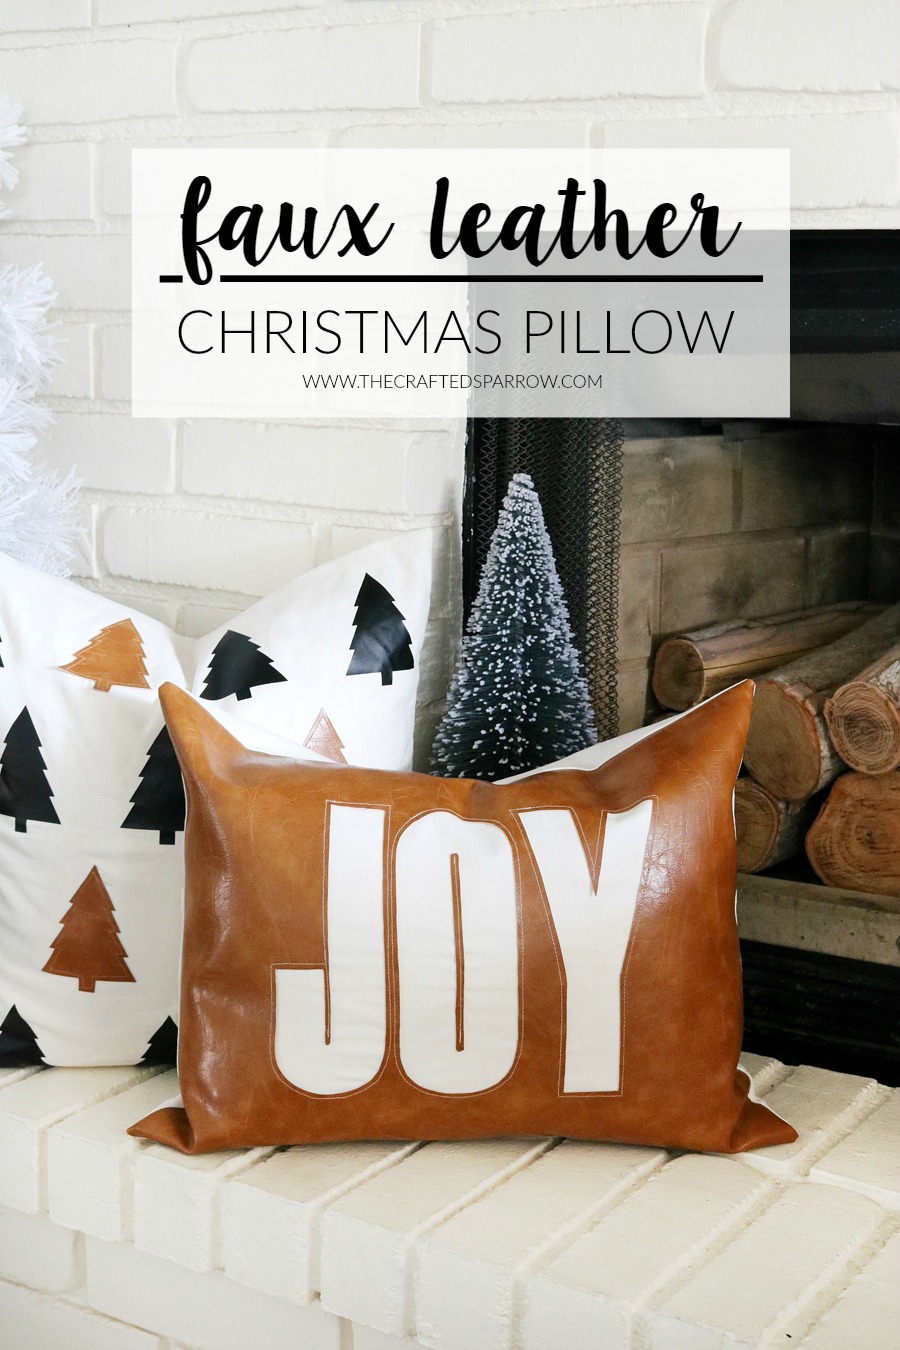
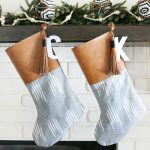
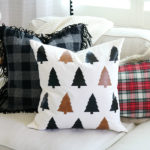
DIY Faux Leather Christmas Tree Pillow
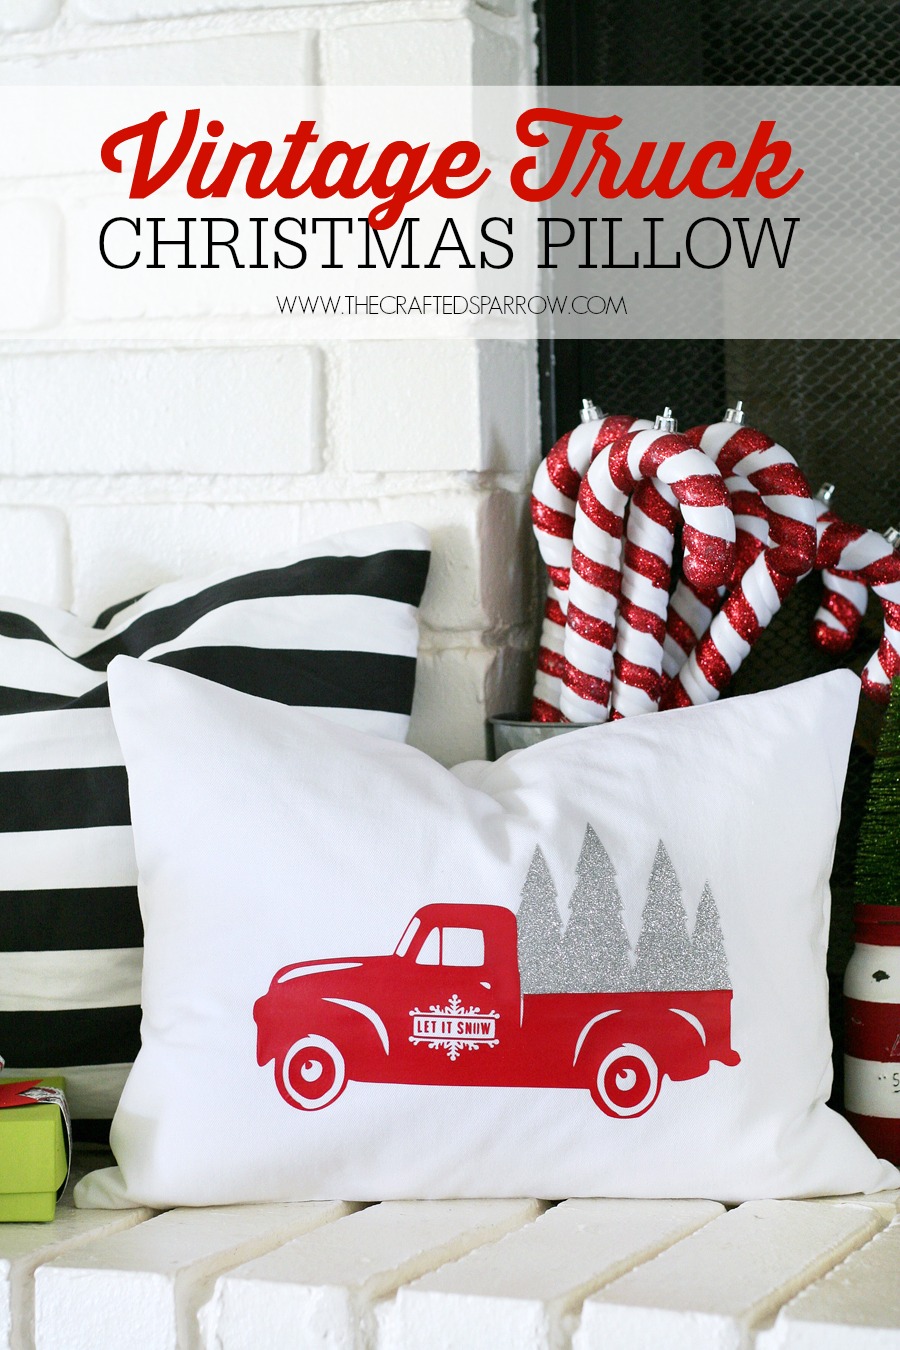
Vintage Truck Christmas Pillow
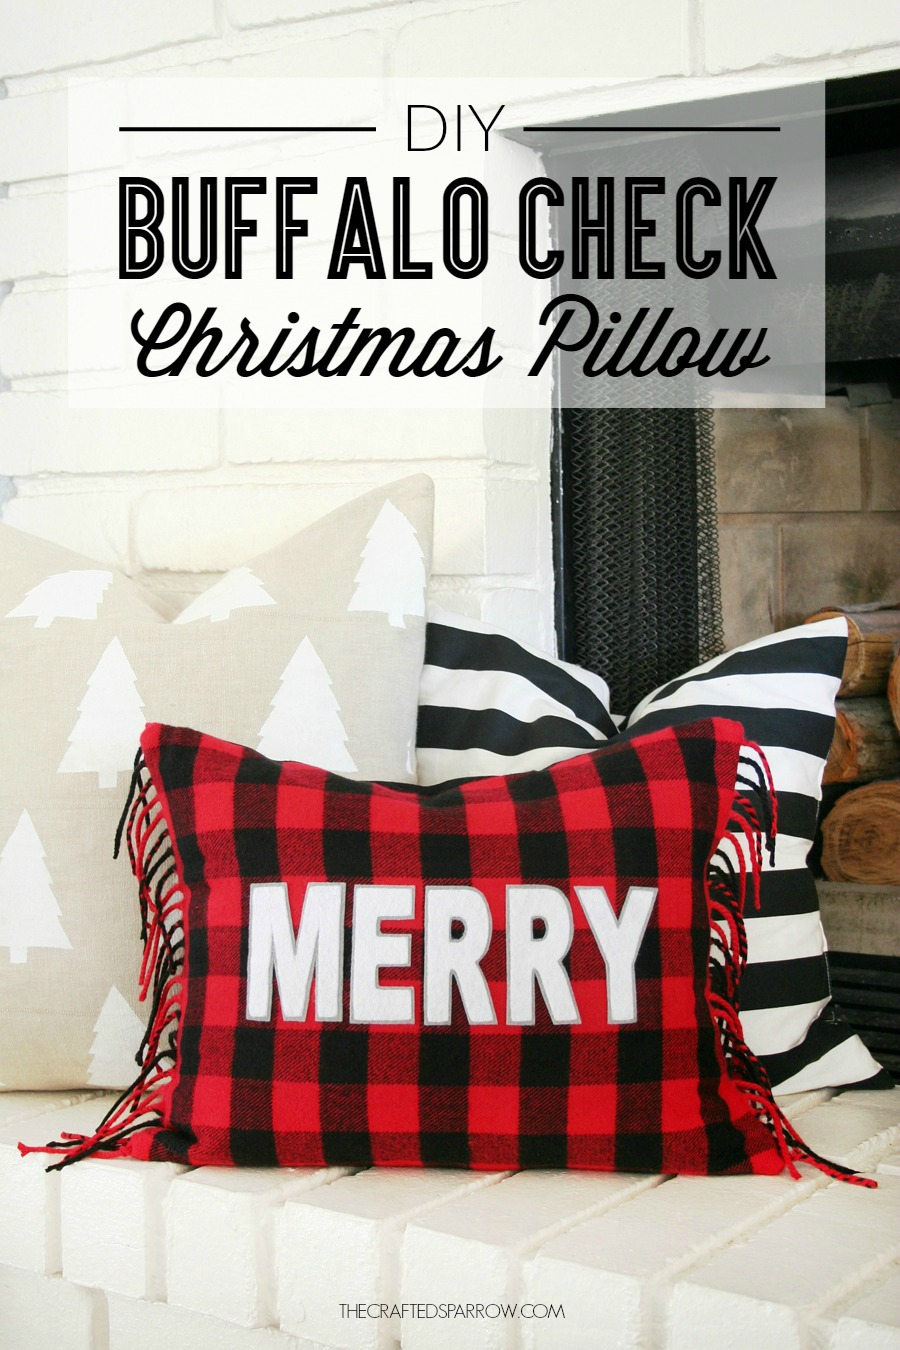
DIY Buffalo Check Christmas Pillow

Vintage Inspired Christmas Pillow
This is a sponsored conversation written by me on behalf of Cricut. The opinions and text are all mine.

Leave a Reply