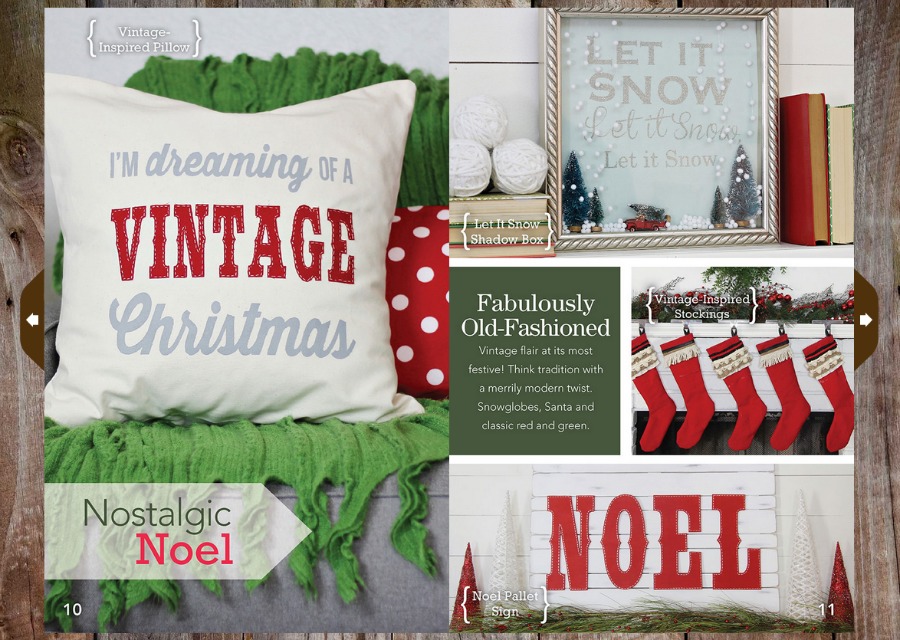
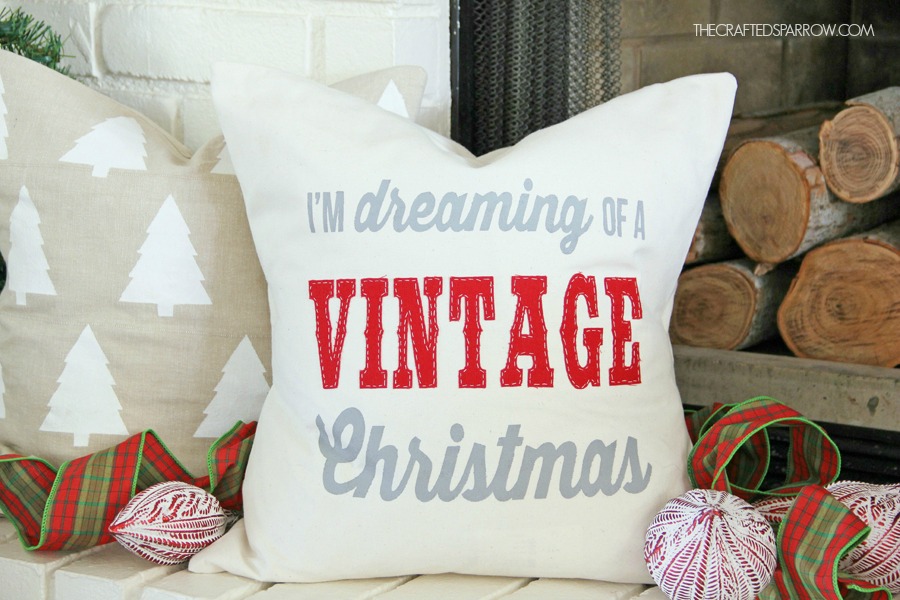
Okay friends, I have been keeping a huge secret all summer long! It’s finally time to share the news. Over the summer I was asked to participate in the Winter Look Book for Joann Fabric and Craft. Of course I jumped at the chance to be involved. I actually worked for Joann Fabric and Craft stores as a manager for several years so this was kind of fun to see myself back in the store in a different way. I created two projects for the Winter Look Book, this Vintage Inspired Christmas Pillow and one other I will be sharing this week.
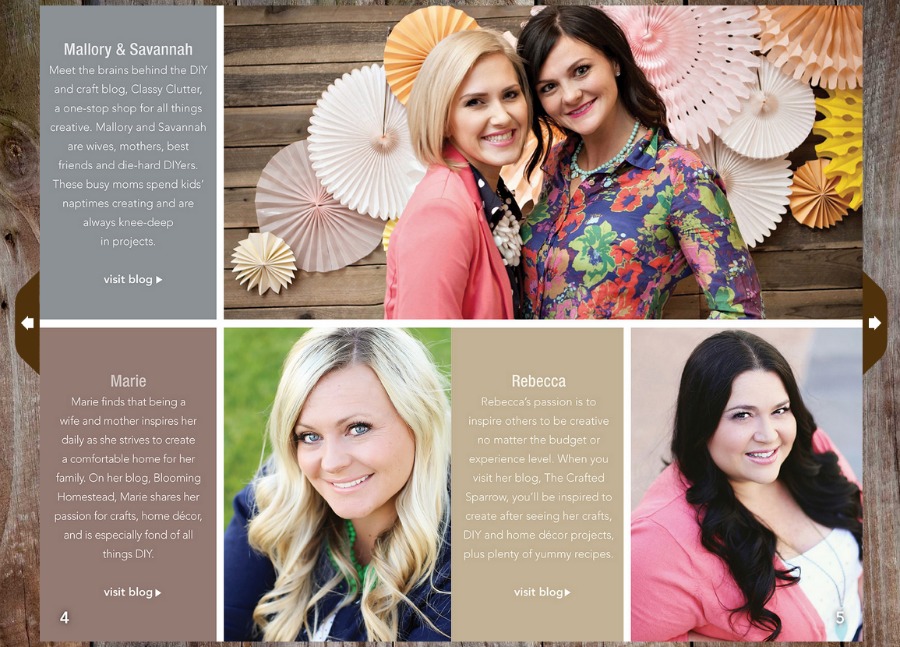
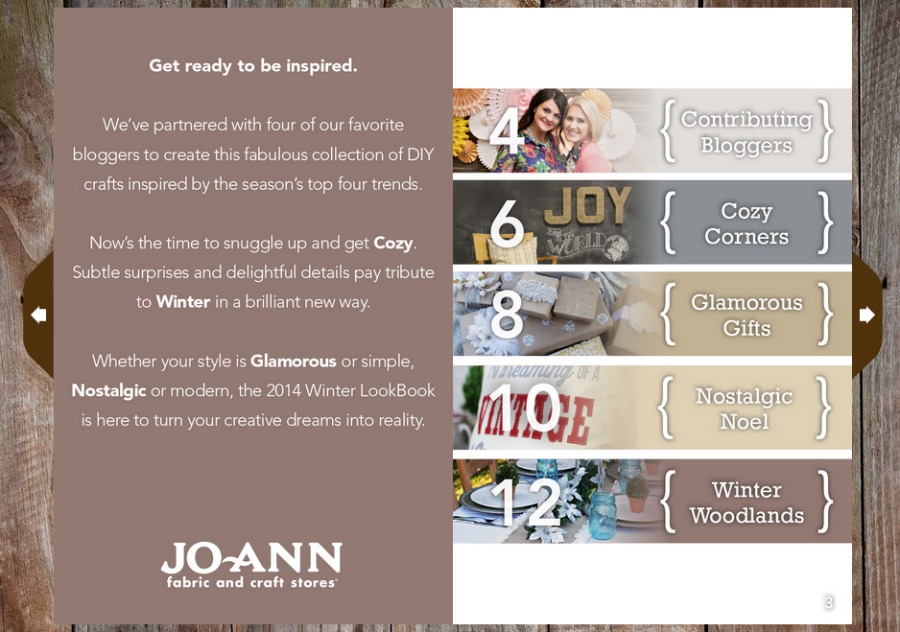 You can check out the entire Winter Look Book HERE on Joann.com and check out some of my favorite ladies and their amazing projects while you’re there. I was so excited to work with these girls.
 The theme I was asked to create for was Nostalgic Noel and this pillow fits it perfectly. I will be sharing my Noel Pallet Sign later this week.
 Let’s get started on this fun pillow. I’ve been on a bit of a Christmas pillow kick these past few weeks and I love that they all go together.
 Supplies:
Natural Duck Cloth (1 yard)
Red Duck Cloth (1/8 yard)
Heat N’ Bond Ultrahold
18 x 18″ Pillow Form
Sewing Machine
Basic Sewing Supplies
Matching Thread (natural color)
Gray Acrylic Paint
Fabric Painting Medium
Foam Brush
Cricut Explore, optional X-acto Knife if you don’t have a machine
Iron & Pressing Surface
Freezer Paper or Craft Vinyl
Cardboard to Paint On
For the Pillow Cover follow these instructions, you can also see this quick tutorial HERE
- Cut Natural Duck Cloth, 1 – 20×20″ piece, 2 – 13×20″ pieces.
- Iron fabric to remove any wrinkles.
- Fold over the long edge of the 13×20″ piece of natural duck cloth twice, to create a 1/2″ clean edge.
- Use an iron to press the clean edge.
- Sew a 1/4″ seam allowance along the clean edge on both 13×20″ pieces of natural duck cloth.
- Place the 20×20″ piece of fabric on a flat work surface.
- Place both of the 13×20″ pieces of natural duck cloth face down on top of the 20×20″ piece.
- Pin all sides.
- Sew around all edges with a 1″ seam allowance
- Trim all corners, and extra threads.
- Turn right side out.
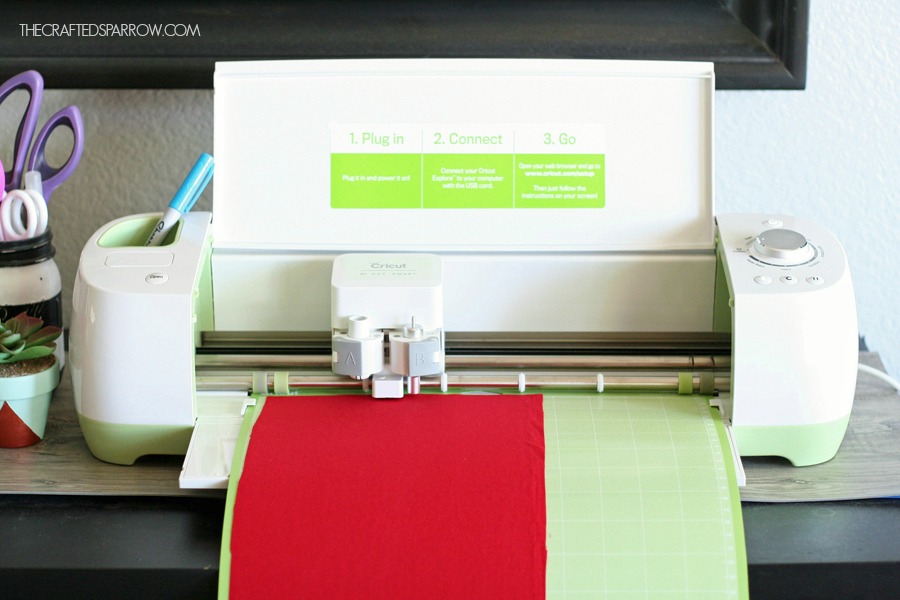
I then designed my image in Cricut Design Space and cut my design out on to freezer paper. You could also use vinyl if you have some. If you don’t have a cutting maching like the Cricut Explore you can use an X-acto knife to cut out the design. When cutting freezer paper it should be shiny side down on cutting surface.
Weed any portions of the design stencil you created and set aside. Save small inside pieces of lettering carefully as you will need them.
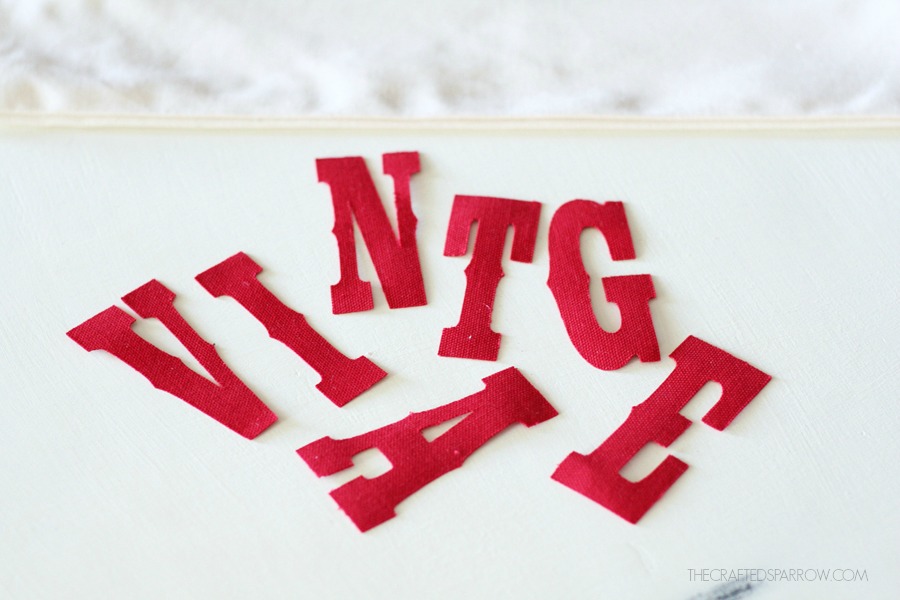
For the “Vintage” applique you will need to iron heat n’ bond to back side of red duck cloth fabric per package instructions. Place the red duck cloth heat n’ bond side down on a cutting machine mat for the Cricut Explore. Set your dial to custom and select canvas. If you are not using a cutting machine print your design or word on to a piece of paper. Trace on to fabric with pen or marker, then cut with scissors.
 Place scrap cardboard inside pillow cover, and set the cover face up on a hard work surface.
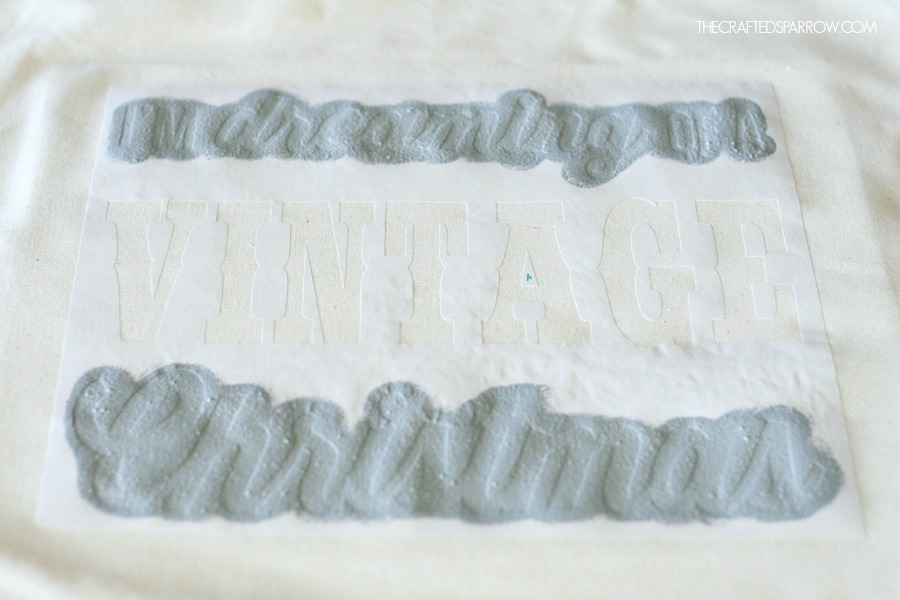
Center your vintage inspired quote stencil on the pillow cover front. If using vinyl remove backing and press firmly. If using freezer paper place it shiny side down and use a medium / no steam iron to press the stencil to the fabric. Be sure to add any small inside letter details that you had set aside.
Mix gray paint and fabric painting medium together, use a 2 – to – 1 ratio as per package instructions.
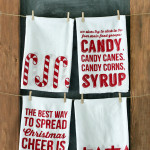
With a foam brush and gray paint carefully dab paint over the top and bottom section of the quote. Be sure to leave the middle portion of the quote unpainted. You will need two coats of paint.
Remove freezer paper or craft vinyl when paint is dry.
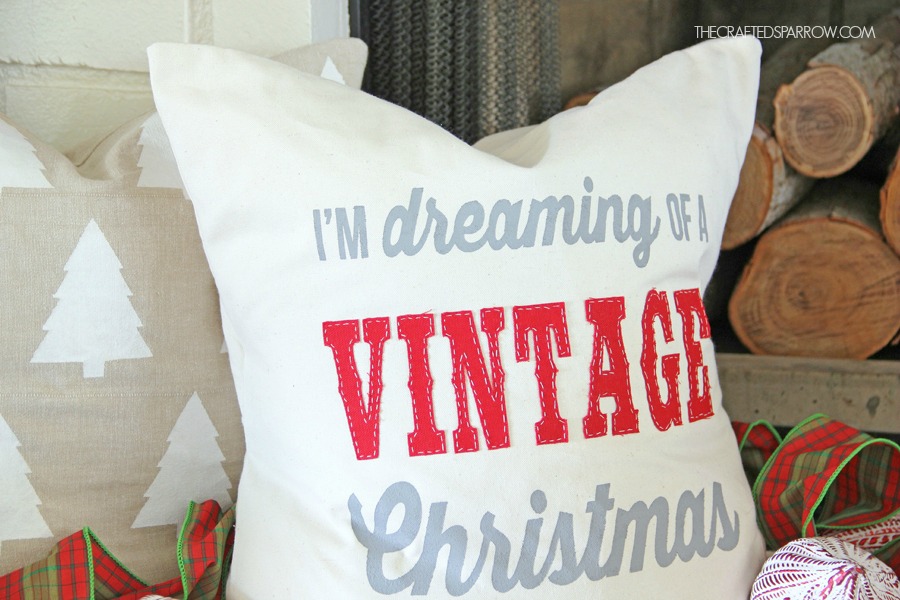
 Center red duck cloth fabric letters in your pillow design, use iron to press and activate heat n’ bond.
Either hand stitch or use a sewing machine to go around each letter with a contrasting thread.
Note: This pillow cover should be hand-washed only and layed flat to dry.
 Be sure to see the other Christmas themed pillows that go super cute with this one, you can check them out here:
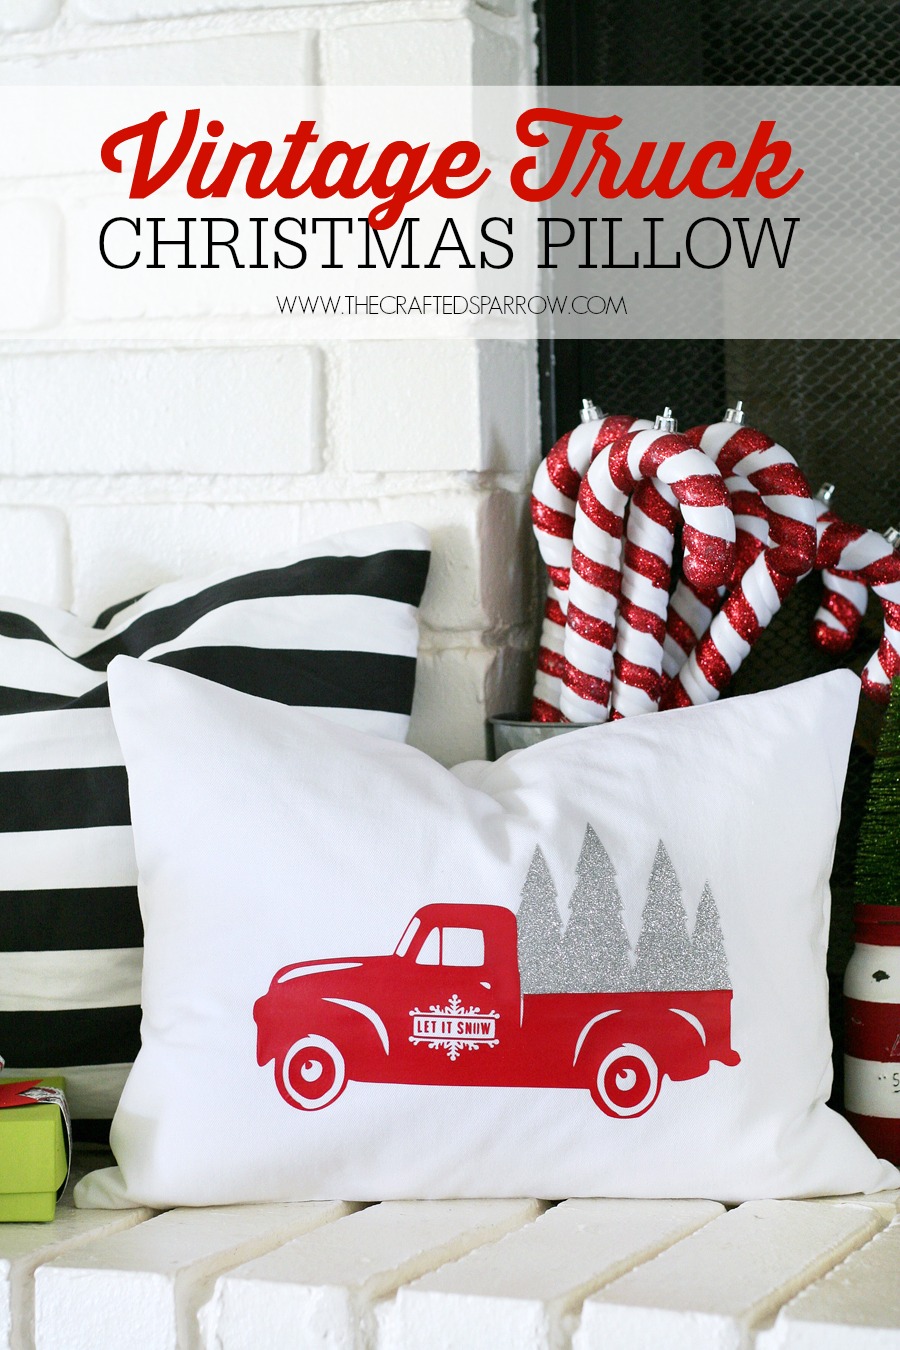
Vintage Truck Christmas Pillow

Geometric Christmas Tree Pillow


Could you please tell me how much the pillows are?
Thank you
Hi Silvia. Were you asking to purchase one of these pillows? If so, I’m sorry but they are not for sale. This was just a tutorial showing readers how to make one. Thank you so much! Have a great week. 🙂
That is adorable! So cute. Maybe one of these days I’ll be brave & get a fancy machine & try out all of these projects.
Thanks Melissa, xoxoxo. And yes you need a Cricut Explore! Total game changer when it comes to all kinds of projects! Love ya girl.
What exciting news! And, as always just love the pillow.
Hi, Rebecca! I discovered you when Flamingo Toes shared this post on Facebook. I haven’t really ever particularly wanted a Cricut….until NOW. I want to make the red truck pillow! ♥ Congrats on your involvement with Joann’s….one of my favorite places ever. 🙂 I have pinned this cute post, and am your newest follower on Facebook and G+.
Thank you so much Joy! So sweet, and I’m so excited you’ve found me and I hope you visit often. Did you enter my giveaway for the Cricut Explore that’s happening right now? There is a link in my sidebar, you totally should enter! Have a super week.
Sorry, I don’t understand the painting of the gray lettering. Did you cut the words out of freezer paper and use it as a stencil? It looks to me like you have excess gray paint on the fabric (pillow front), in one of the photos. I just didn’t understand the steps for the gray lettering at all.
Hi Rose. I did use the freezer paper as my stencil. First I ironed the whole stencil down, then went back with the small center pieces for letters that have them like “a & e” and ironed those. Then I painted over the stencil with the gray paint. Once it’s dry, you remove all the freezer paper and you’re left with the design. Hope that helps. 🙂
Congratulations, Rebecca! Your collection is gorgeous, and it’s no surprise they wanted you!
Thank you Lisa. Hope you have a fantastic Christmas!