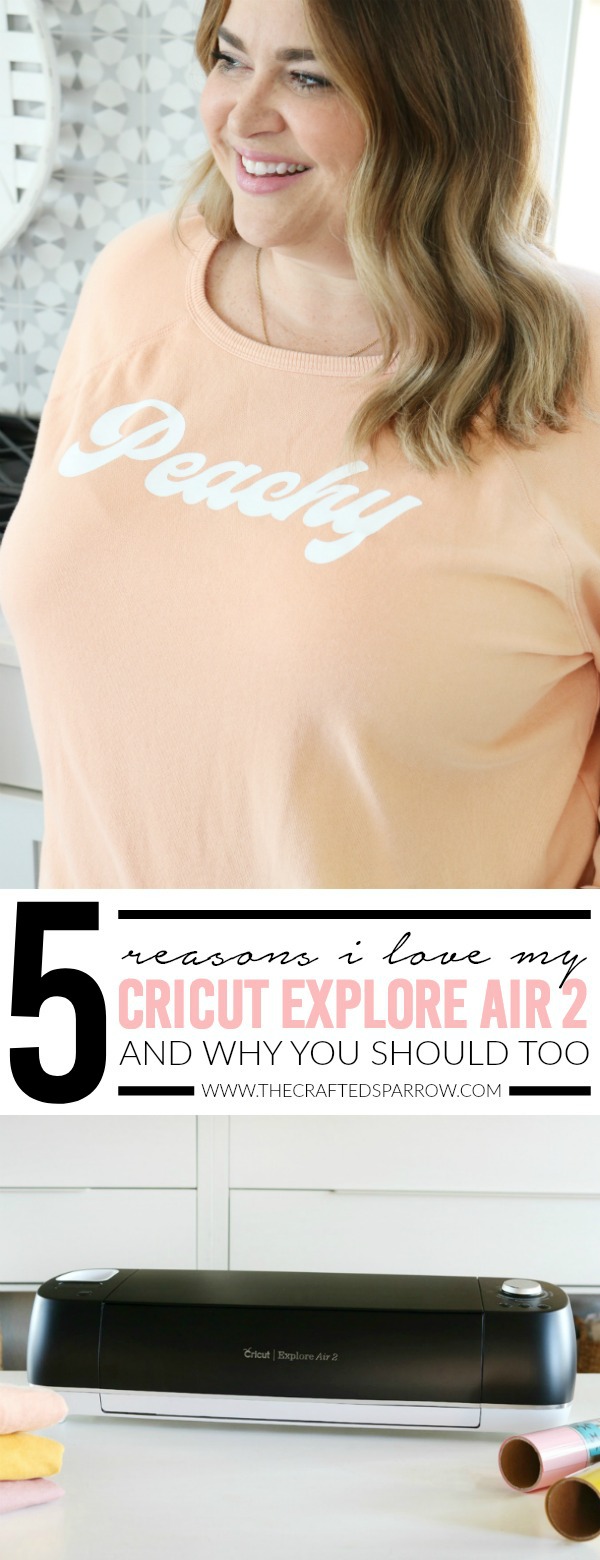
I’ve said it time and time again, I would be lost without my favorite cutting machines! From the moment I got my first Cricut in 2014 when the explore launched i’ve been in love. i love my Maker, EasyPress machines, everything. I’m sharing the top 5 Reasons I love My Cricut Explore Air 2 and i thought i would show you how easy it is to make these DIY Fun Graphic Sweatshirts with Iron-On and Cricut Explore Air 2.
 I’ve talked so much about why I love my Cricut machines in the past and I always get a ton of questions on Instagram and here about which machines to buy, why I love them, and so much more. Today I’m breaking down why I love the Cricut Explore Air 2 so much and still use it just as much as my Maker all while showing you one of my favorite quick projects to make with my machine.

5 Reasons I Love My Cricut Explore Air 2
What Can I Make?
The Cricut Explore Air 2 allows me to create custom items like clothing, home decor, crafts, holiday decor, basically anything I want whenever I want that will fit my budget. I struggle with finding cute trendy plus size graphic tees in stores, there are always a ton of options for regular women’s sizing but not plus size…so I love that I can create my own and either recreate something I’ve seen in stores for myself or something completely one of a kind. The same goes for home decor, I probably create more custom home decor than anything with my Cricut machine, especially around the holidays. Whether it’s cute throw pillows, ornaments for my Christmas tree, or decorations for a party it’s my go-to crafting tool. Simply upload your own images to Design Space and turn it into a cuttable file.
Is It Easy To Use and Is It Budget-Friendly?
When you’re looking for a cutting machine you obviously want one that is not only not completely out of reach budget-wise, but you want a machine that is going to work hard for you and is user-friendly! If you’re a creative maker you should own a Cricut Explore Air 2. I absolutely love that as soon as you get your machine you can literally pull it out of the box and be creating a project in minutes. This machine and the Design Space software are so incredibly easy to use. As far as price goes an Explore Air 2 runs between $227 (on sale) for the machine – $307 (on sale) for a bundle deal.
What Can The Cricut Explore Air 2 Cut?
Holy cow you guys when Cricut first announced the new Explore back in 2014 so many of us at the launch were literally in tears or absolutely giddy about the number of materials the machine would cut. The Explore Air 2 is even better! Did you know that it cuts over 100 different materials? Cardstock, vinyl, iron-on to specialty materials like glitter cardstock, bonded fabrics, cork, even leather! Being able to cut this many materials on a machine that is no bigger than a printer basically is un-freakin-believable and a HUGE game-changer in the world of making. It also is equipt with fast mode cutting, unlike the previous Explore for 2x faster cutting. You can also use Cricut pens and markers in the “A” housing to create so much, and it’s compatible with the scoring stylus and deep cutting blade for things like leather or chipboard.
Can I Take It With Me When I Travel?
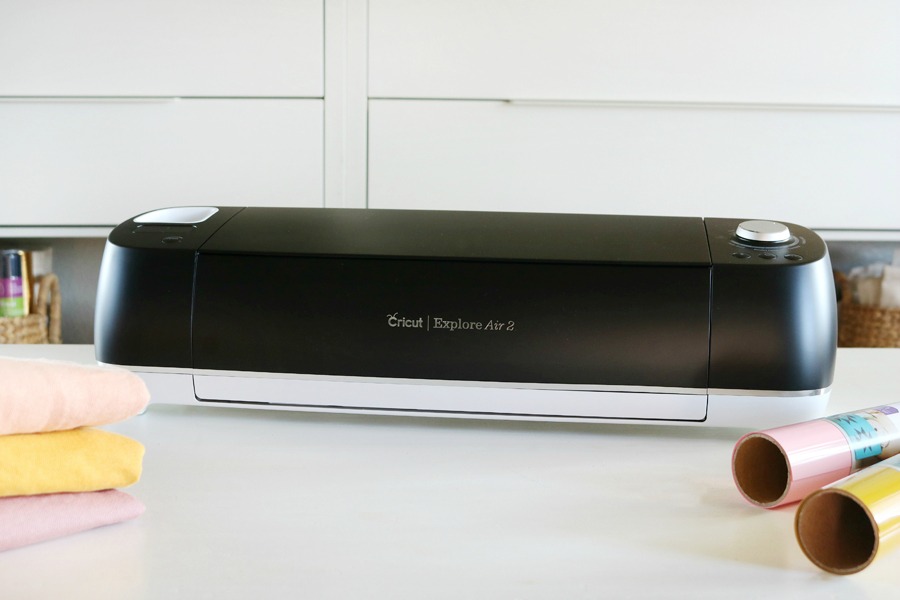
Guys! Like I said the Cricut Explore Air 2 is barely bigger than the size of a standard at-home printer, it measures in at 6″ deep x 21″ long. Not only is it easy to store at home in your craft room, office, or wherever you create, it’s perfect for taking with you on the go. Did you know that the Explore Air 2 has Bluetooth wireless technology? It sure does, which means you can create without having to plug into a USB port, you’ll just need to plug the machine into an electrical outlet and that’s it. Cricut also makes a great carrying tote for the machines in several colors which makes it easy to carry with you. Bonus: There are places in the machine’s tray to hold your tools and blades.
Does It Just Come In One Color?
I love that Cricut has really created something for everyone here, the Cricut Explore Air 2 comes in so many cute colors you guys! I’ve been dreaming of owning the matte black one for so long because Uhm hello…have you seen my house and site? Give me all the black and white things. Don’t worry though if your color-loving heart wants something bright and fun it comes in Raspberry, Fushcia, Lilac, Rose, Blue, Mint, Sky, and Black currently. Getting to pick from such a large variety of colors is awesome, it allows you to customize your machine to your own personal style.
 Let’s make some DIY Fun Graphic Sweatshirts with Iron-On Vinyl!
Supplies:
- Cricut Explore Air 2
- Cricut EasyPress 2, or iron
- Cricut EasyPress Mat
- Cricut Standard Grip Mat
- Weeding Tool
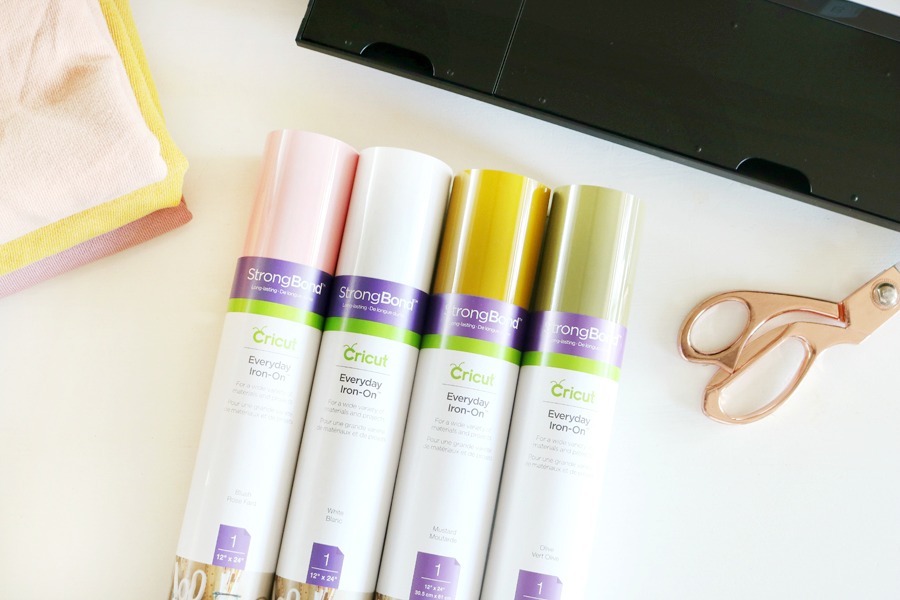
- Cricut Everyday Iron-On, I used Blush and White for this project
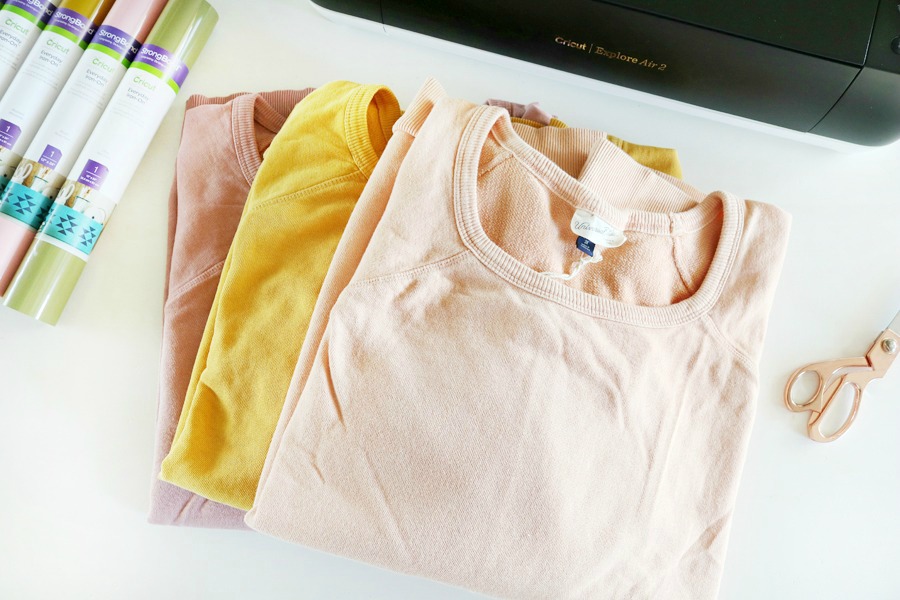
- T-shirt or Sweatshirts, I found my sweatshirts at Target (Universal Thread line, you can find them in Plus Size and Regular Sizes). These are my most favorite sweatshirts of ALL time!
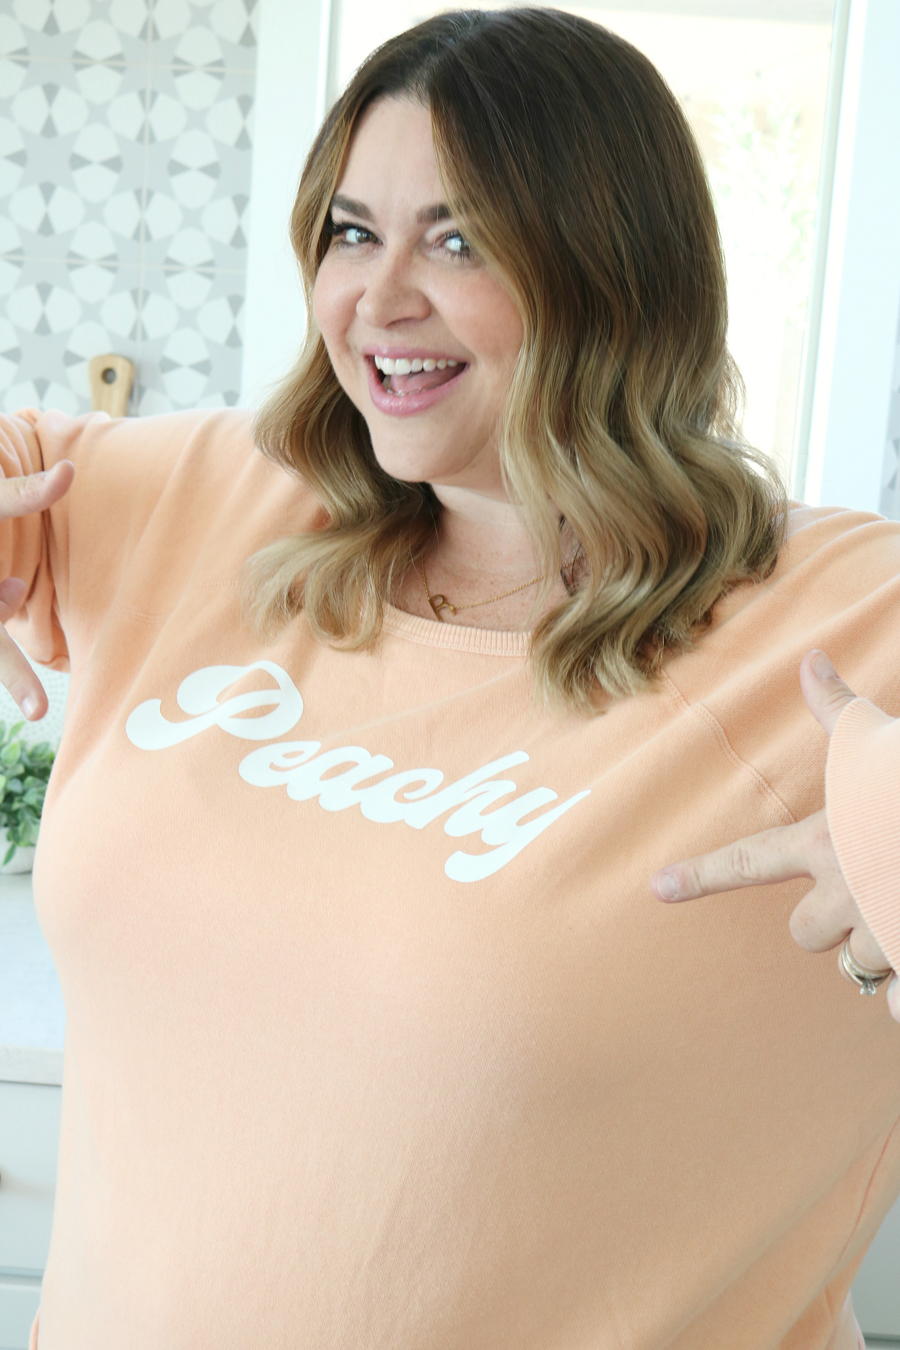
I mentioned earlier I love creating custom tee’s and sweatshirts with fun graphics that are on-trend. Oftentimes I see so many that online from stores I frequently shop in but the downside is that they don’t usually come in plus size (why I have no idea) and if they do offer plus size it’s very rarely true to size or it’s cropped (why?!). So that leaves me to make my own! For this project, I created two custom graphics for some comfy sweatshirts in photoshop and then uploaded my images to Design Space. So easy to do. I really loved this “Peachy” tee I found at Target and it was my inspiration for my first sweatshirt.
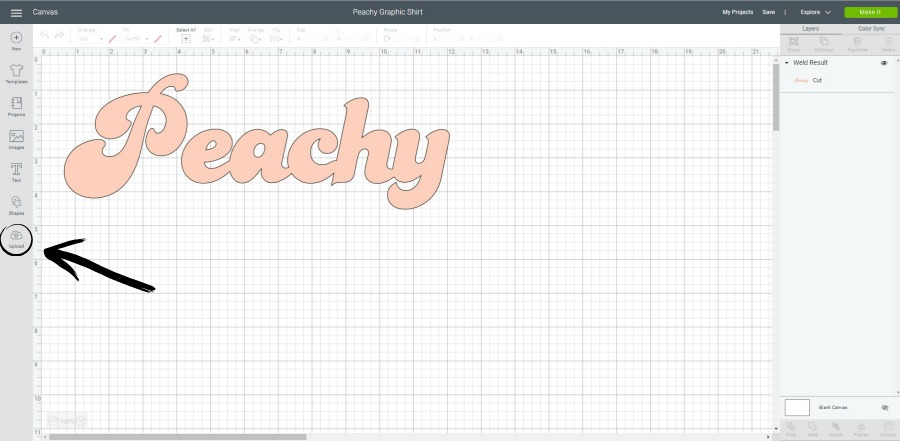
Go to Design Space and begin a new project you will need to upload your image if you’ve chosen to create your own file. You will see an upload button on the bottom left of your screen. Select that and upload your desired image. Otherwise, you can design something directly in Design Space or use one of the thousands of images available from Cricut. If you want to create this “Peachy” shirt you can go HERE to create it now.
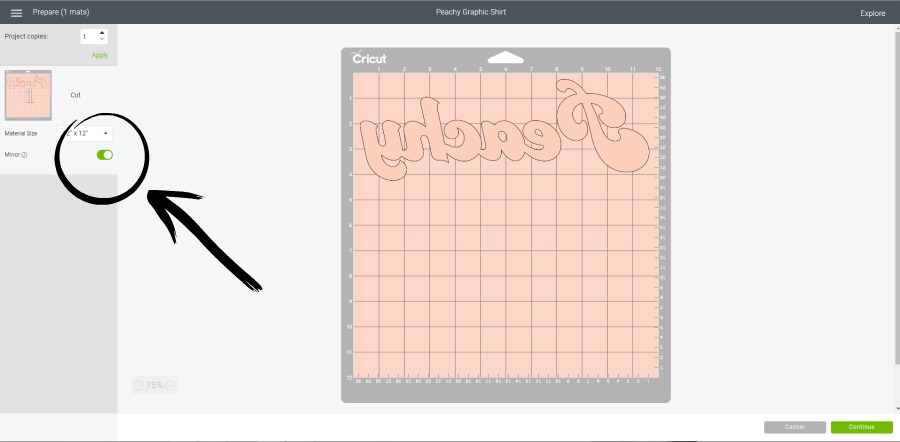
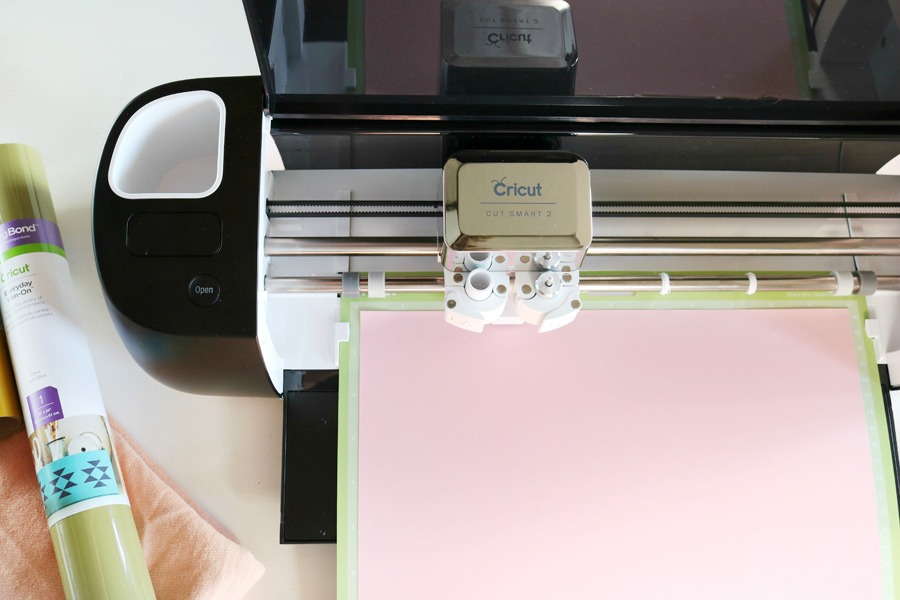
 Once you’ve uploaded your file to Design Space you and have turned it into a cut file you can resize the image to fit your t-shirt or sweatshirt. Then hit “Make It”. Be sure to place your iron-on vinyl shiny side down on your cutting mat to cut, don’t forget to “mirror” your image before loading your mat into the Explore Air 2. Hit the flashing button to begin cutting.
 When your image is done cutting remove it from your machine and weed any pieces of the iron-on you don’t need with your weeding tool.
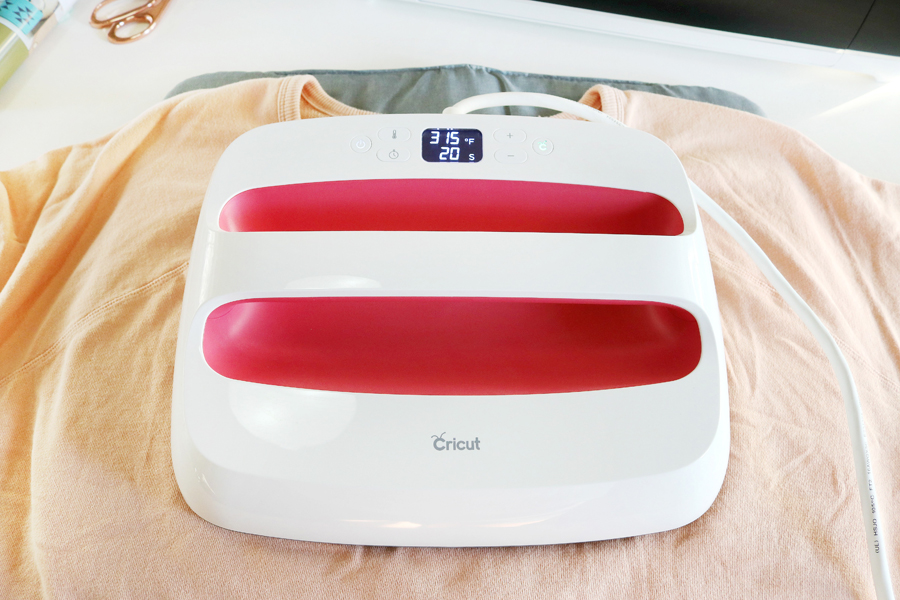
Preheat your iron or EasyPress 2, you will set your EasyPress to 315 degrees and a 30 second timer. This is such a great tool to have on hand.
Tip: You can find all the heat settings for the EasyPress machines HERE.
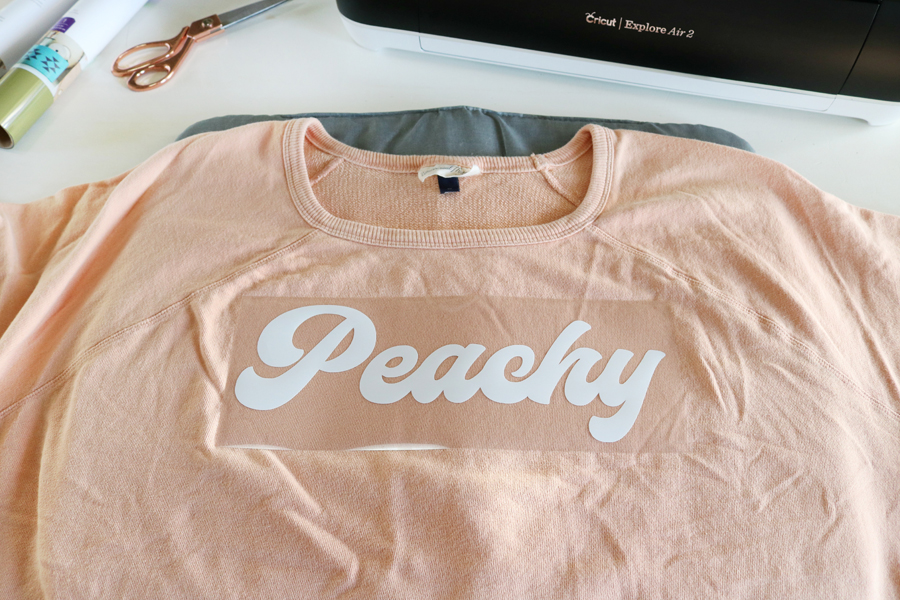
Lay your t-shirt or sweatshirt out flat on top of a hard surface and your EasyPress Mat. Using a ruler just make sure your iron-on design is centered on your shirt and you’re ready to adhere it with the EasyPress 2 for the 30 second timer with light to medium pressure. When the timer is done I like to flip my shirt over and put the EasyPress inside over the design for another 15 seconds just to be sure it’s on good. Then remove the EasyPress 2 and let it cool for a couple seconds, remove the carrier clear sheet and do a warm peel.
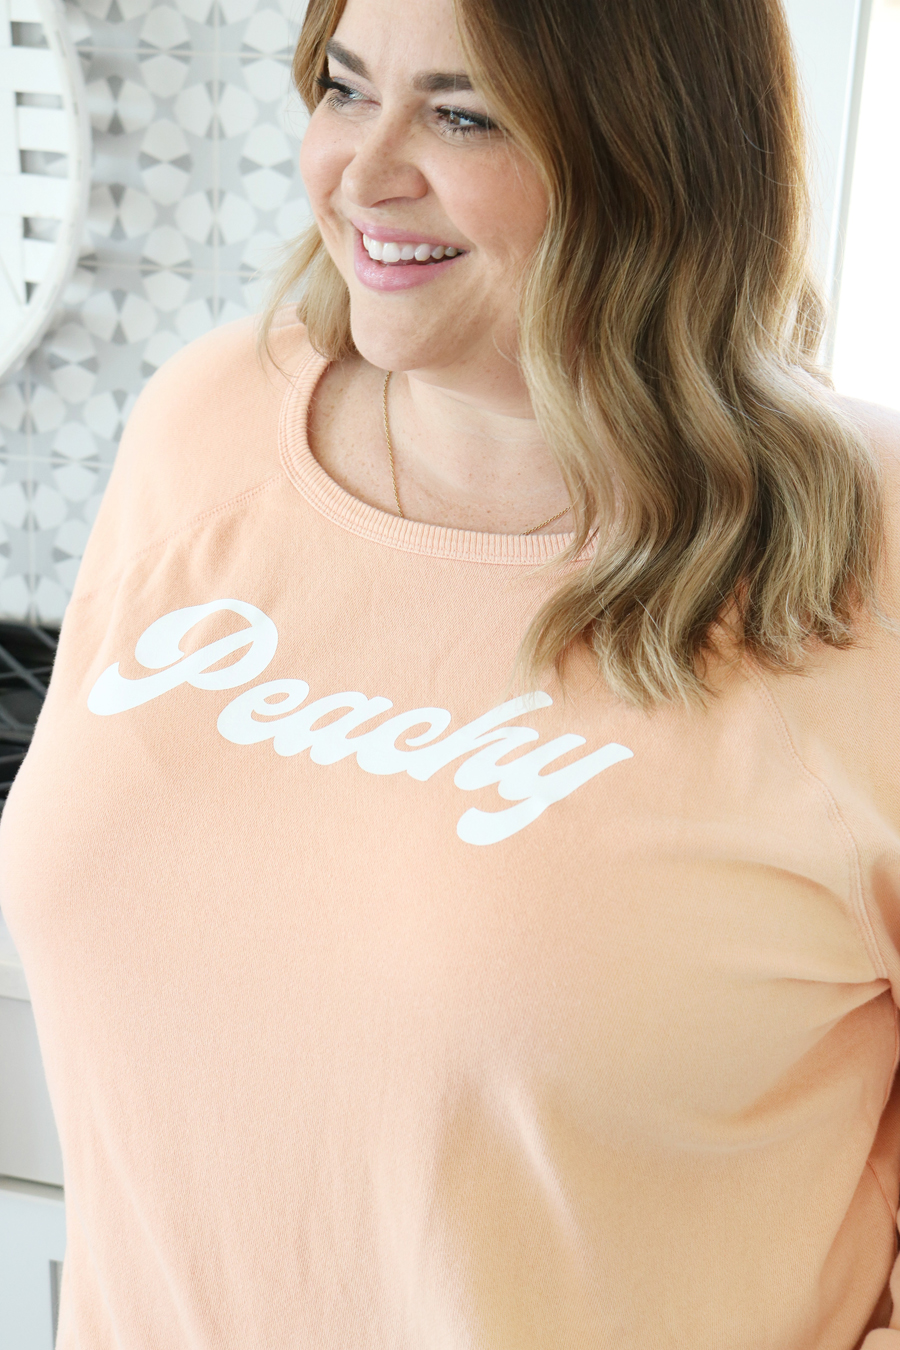
 So cute right?! I love how easy it is to make these custom DIY Fun Graphic Sweatshirts with Iron-On Vinyl and My Cricut Explore Air 2!
Are you already thinking of how many things you could make? I can’t even tell you how big my list of graphic shirts I want to make is! I’ll be busy for a while.
 Looking for even more ideas to make with your Cricut machine? Be sure to check out these awesome DIY’s!
- DIY The Desert Is Calling and I Must Go T-Shirt
- DIY Disney Mary Poppins Inspired Shirt
- DIY Tote Bag & Coasters Easy Gift Idea
- DIY Leather Watercolor Journal
- DIY Black & White Succulent Sign
- Cricut Maker VS Cricut Explore Air 2 Cutting Machines
- 10 Cricut Explore Air Tips & Tricks
Time to make my second Cute Graphic Sweatshirt!
I created another custom image in photoshop, for this design I wanted something simple and modern. Seeing as how I’ve grown up in Arizona practically my entire life I’m a desert babe through and through and love it. Again, I uploaded my image into Design Space and turned it into a cut file. Then I simply did the exact same steps as the previous sweatshirt to cut my design. This time I was working with two different colors of iron-on so that required two separate cuts.
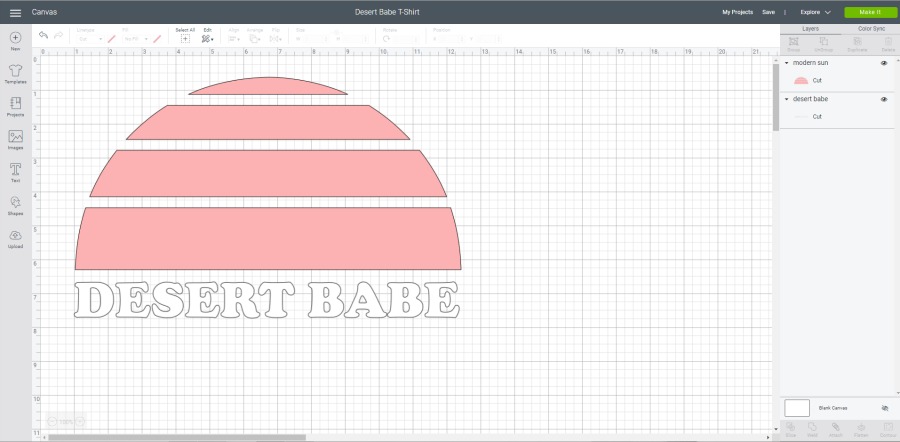
 I placed my modern sun design image on the sweatshirt first and used my EasyPress 2 to adhere the iron-on to the sweatshirt following the same instructions as above. Before I removed the carrier clear sheet from that image I placed my wording on the sweatshirt and ironed it on. Then did a warm peel of both carrier sheets together once everything has adhered.
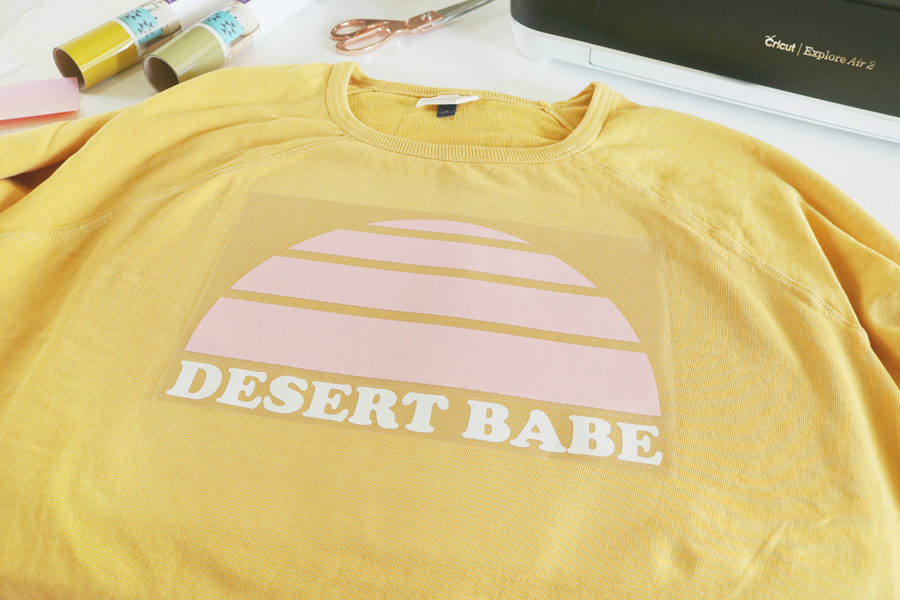
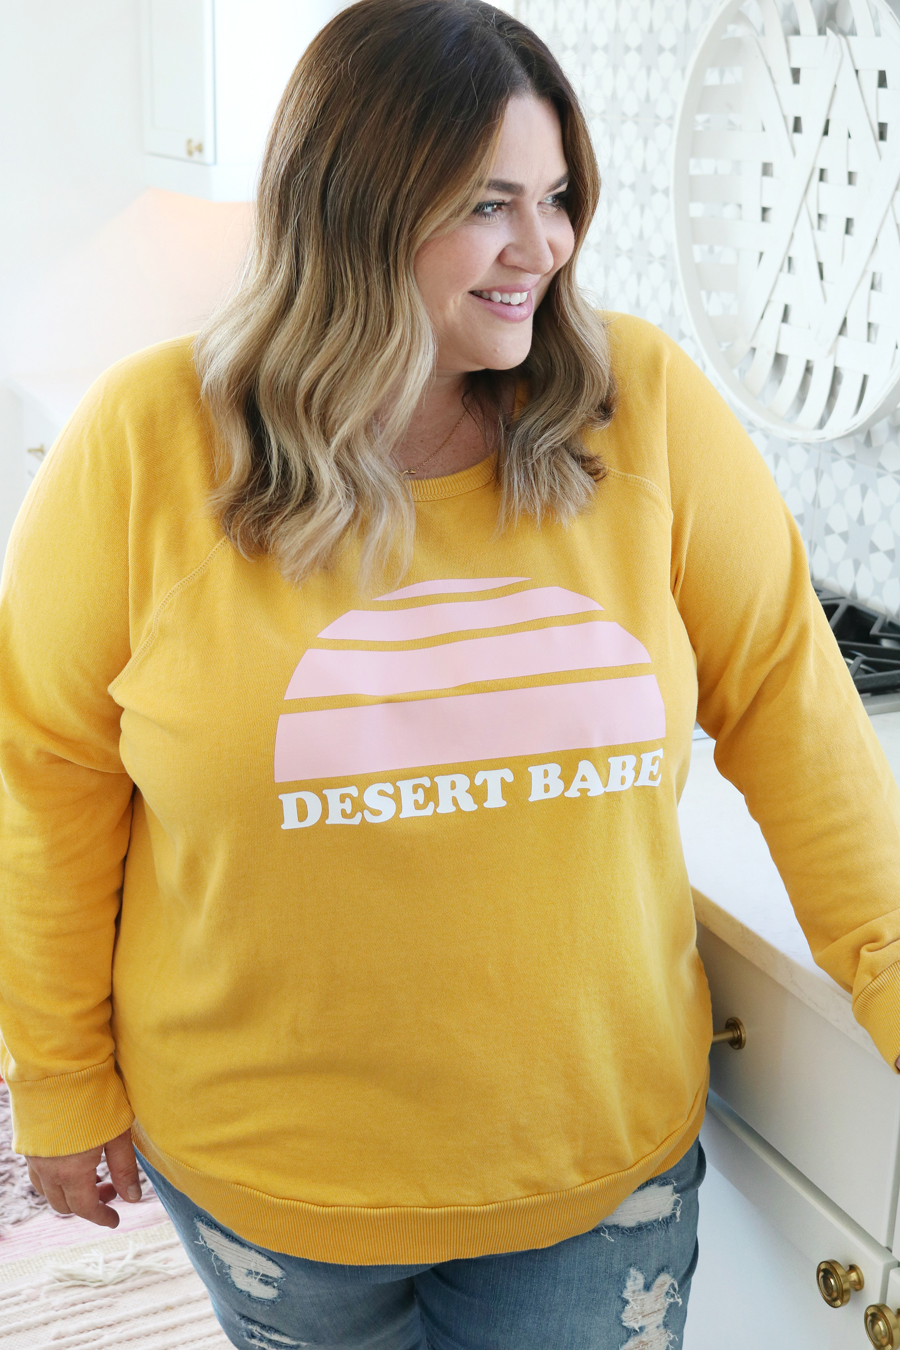
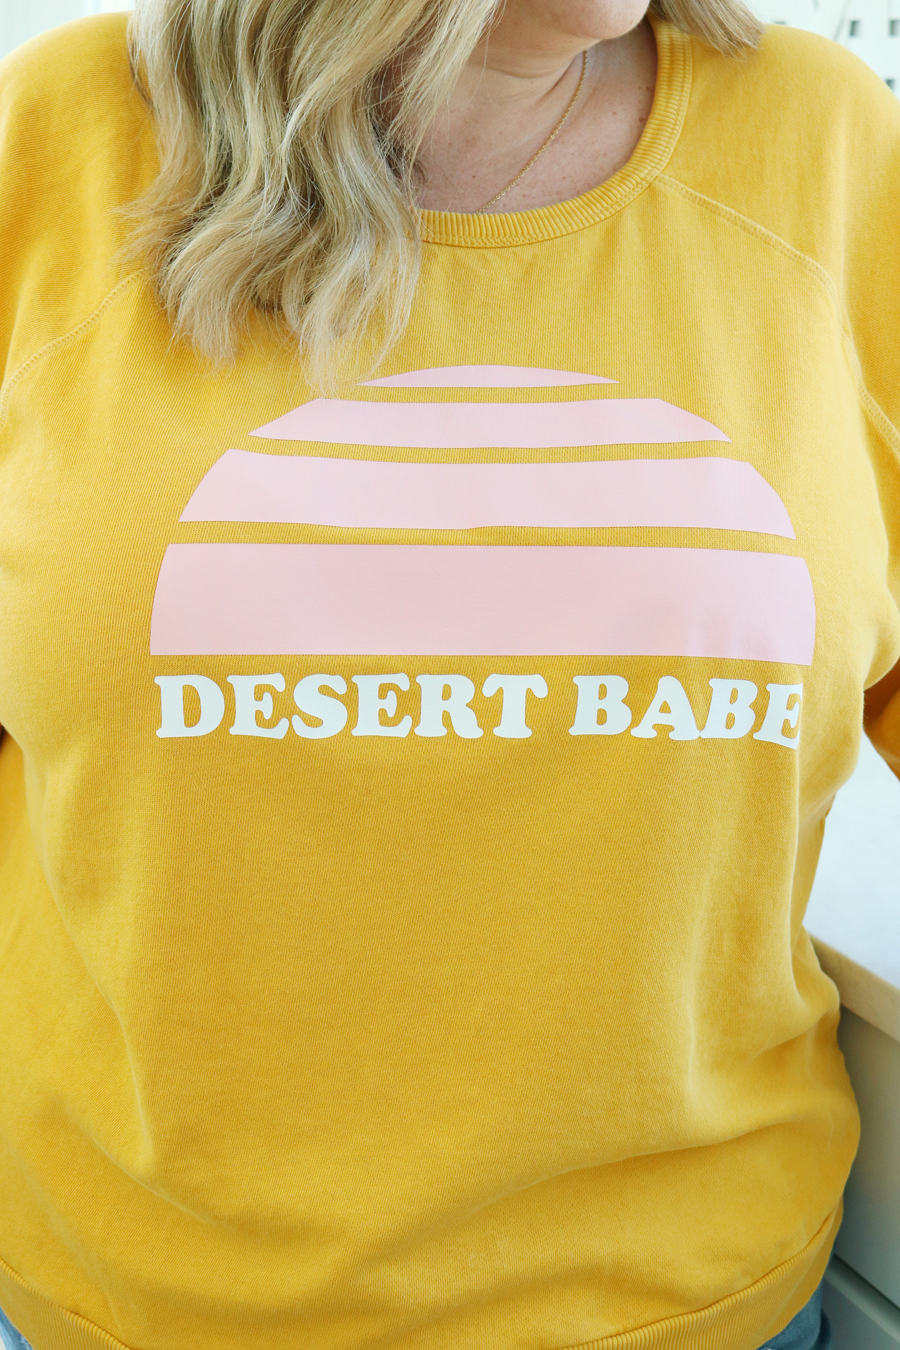 I’m not really sure which one of these DIY Fun Graphic Sweatshirts is my favorite, but for some reason, I’m really drawn to this mustard sweatshirt with the pink and white combo, it’s SO good! Plus I love the whole design. What do you think? Feeling “Peachy” and ready to get making?
DISCLOSURE | This is a sponsored conversation written by me on behalf of Cricut. The opinions and text are all mine. This post may contain affiliate links at no cost to you.


Leave a Reply