The Crafted Sparrow

Create to Inspire!

  • Home
  • About
    • Advertise
    • About Me
    • Disclosure
  • Tutorials
    • home decor
    • diy
    • crafts
    • Cricut
  • recipes
    • Appetizers
    • Sides
    • Soups and Salads
    • Dessert
    • Drinks
  • holidays
    • new years
    • Valentine’s Day
    • st. patrick’s day
    • mothers day
    • fathers day
    • 4th of July
    • halloween
    • thanksgiving
    • christmas
  • free printables
  • Contact

DIY Foam Stamps

01/22/2013 22 Comments

Hi Friends!  Today I’m sharing a really fun way to personalize packaging.  I’m showing you how to make your own DIY Foam Stamps.  I recently made two different styles, a chevron print and a striped version. These stamps are really easy to make and you probably already have enough supplies at home to make them.  
What You Need:
– Craft Foam Sheets 
(the kind kids make fun crafts out of, you can typically find it by the felt at Michaels)
– Scissors
– Ruler
– Marker or Pen
– Paint or Stamp Pads
– Foam Craft Paint Brush or Foam Craft Paint Dobber
– Something pretty to stamp it on
– Glue Gun
– Foam Core or A Small Piece of Wood
I had a bunch of small 4 x 6″ craft foam on hand from my kids stash of craft supplies.  So that’s what I grabbed and it was perfect for my Brown Paper Kraft Bags that I wanted to stamp on.  I began by finding my center point and making a small dot with my marker.  I then found the center point on both sides of my original center line, and then once again I found the center mark to those second set of dots (make sense?) It should look like my foam below when your done marking it vertically.  
I then found all my center points horizontally and drew those lines.  It will look like this second picture below where I started marking my chevron points.  My chevron zig zags are about 1/2″ wide.

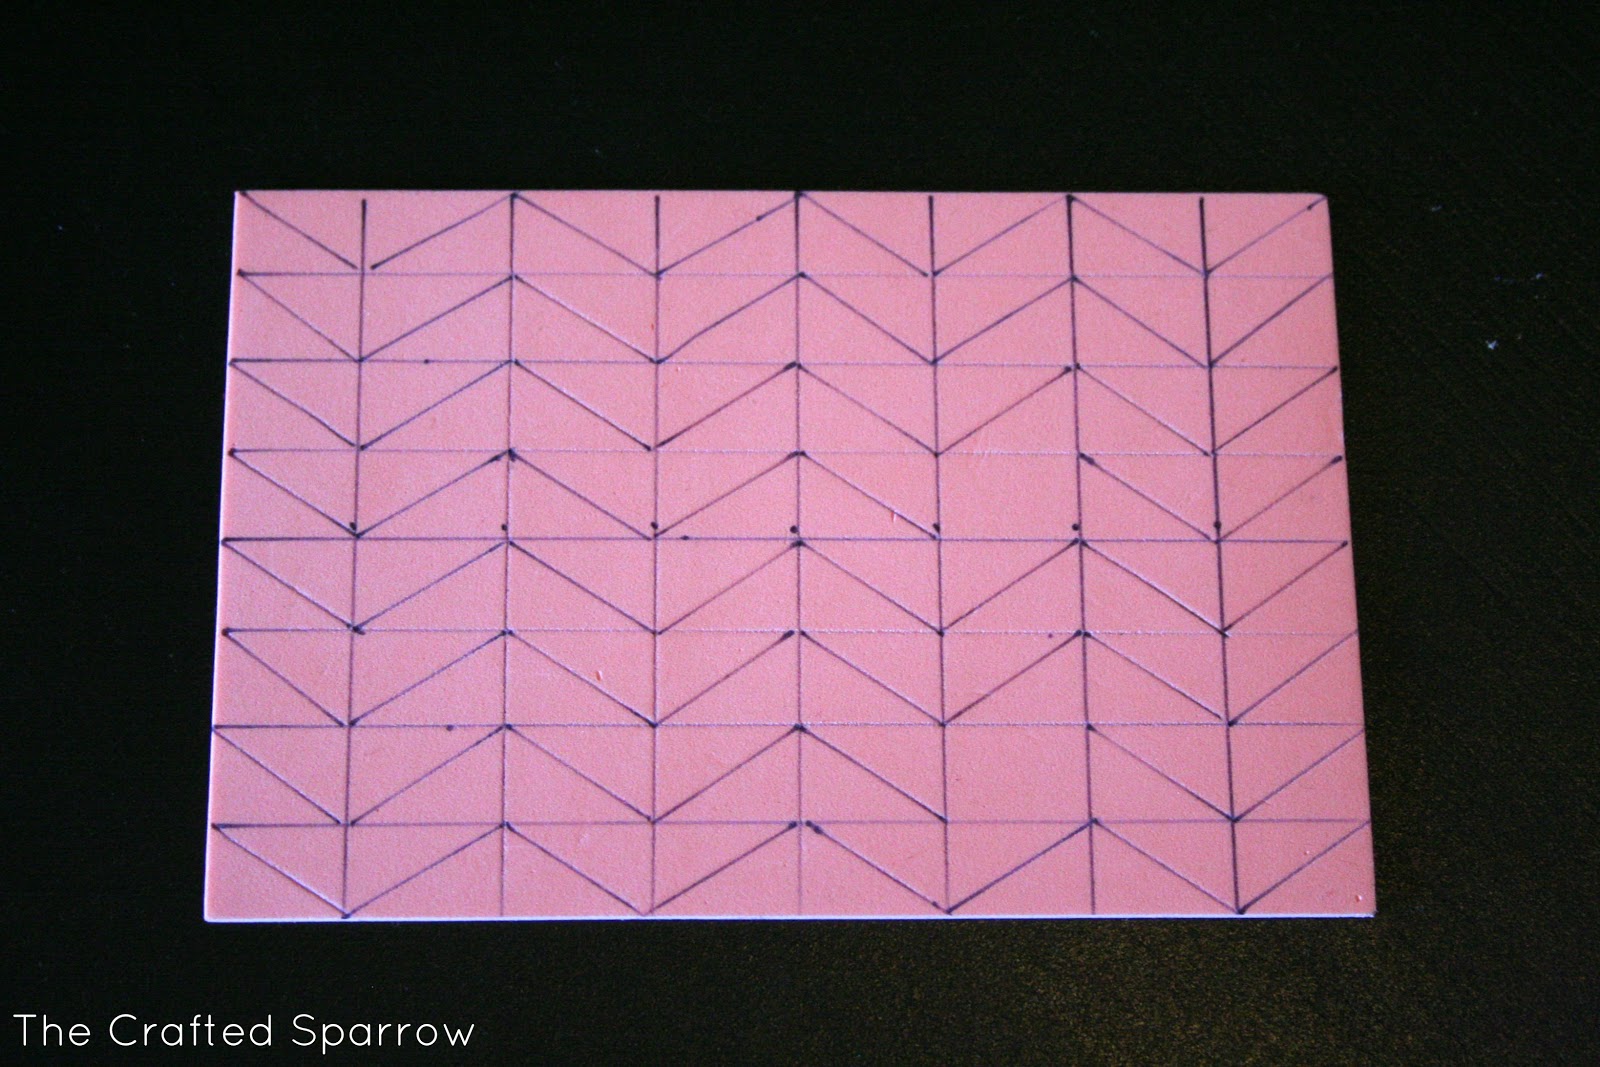
With my ruler I just connect the lines diagonally.

It will look like this when you are done drawing all your diagonal lines.

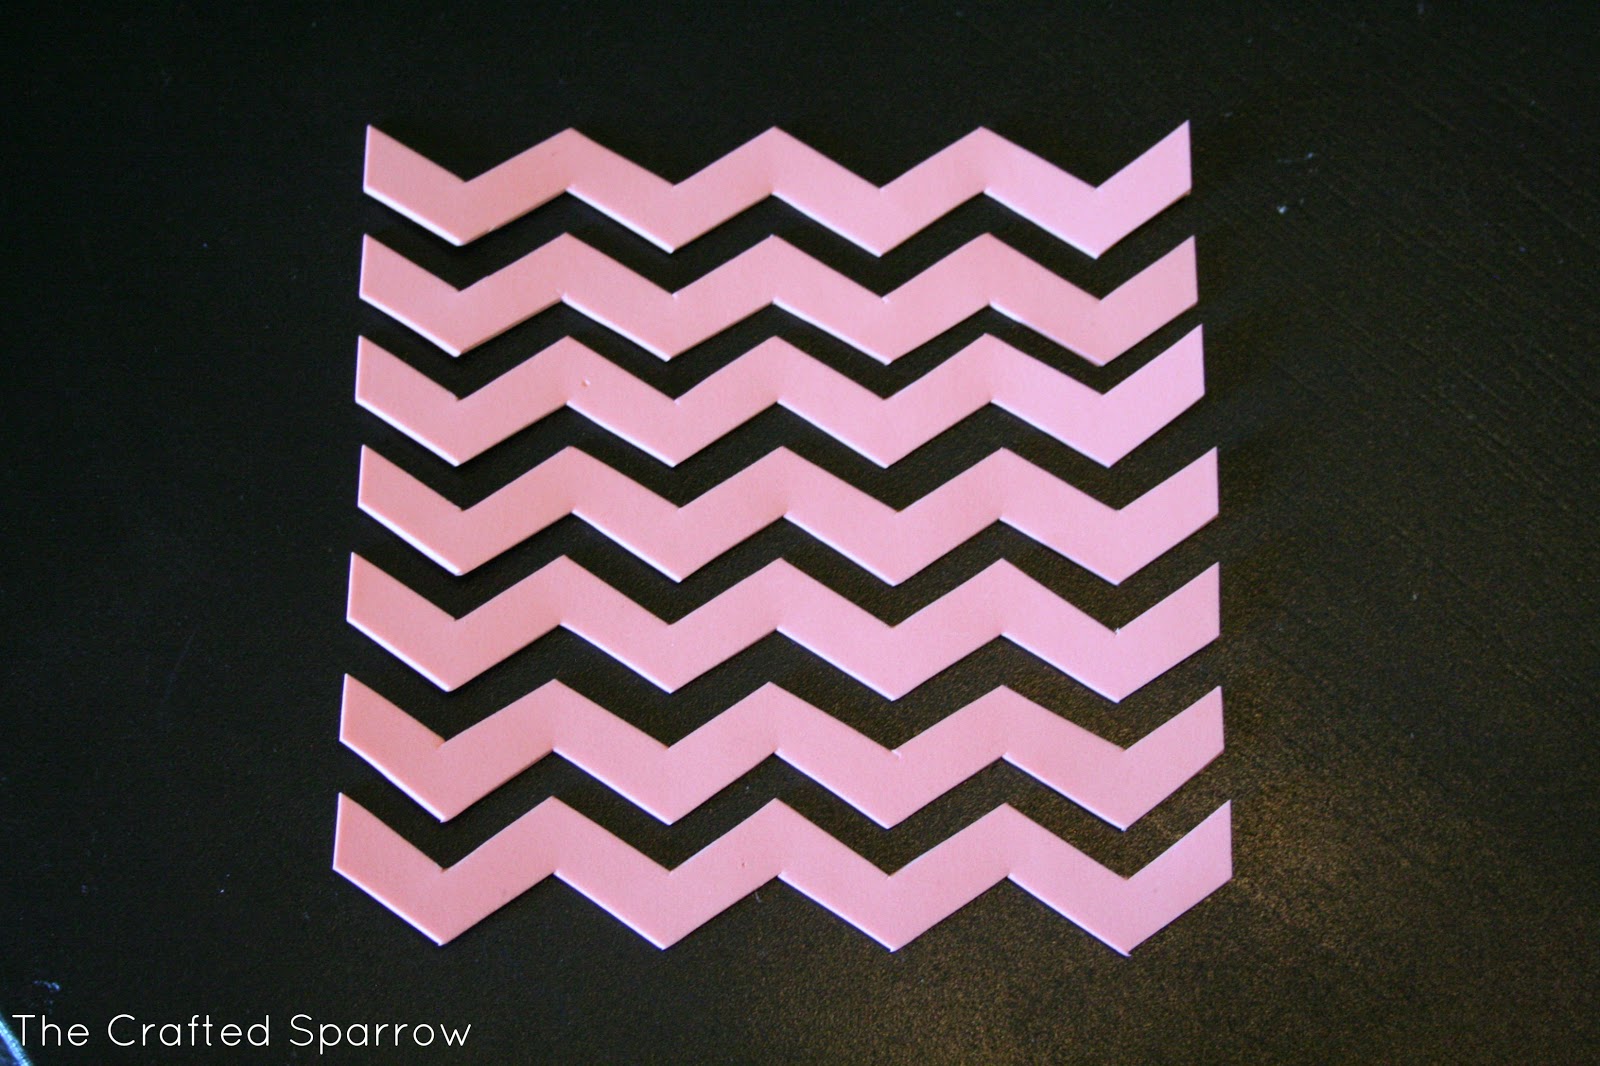
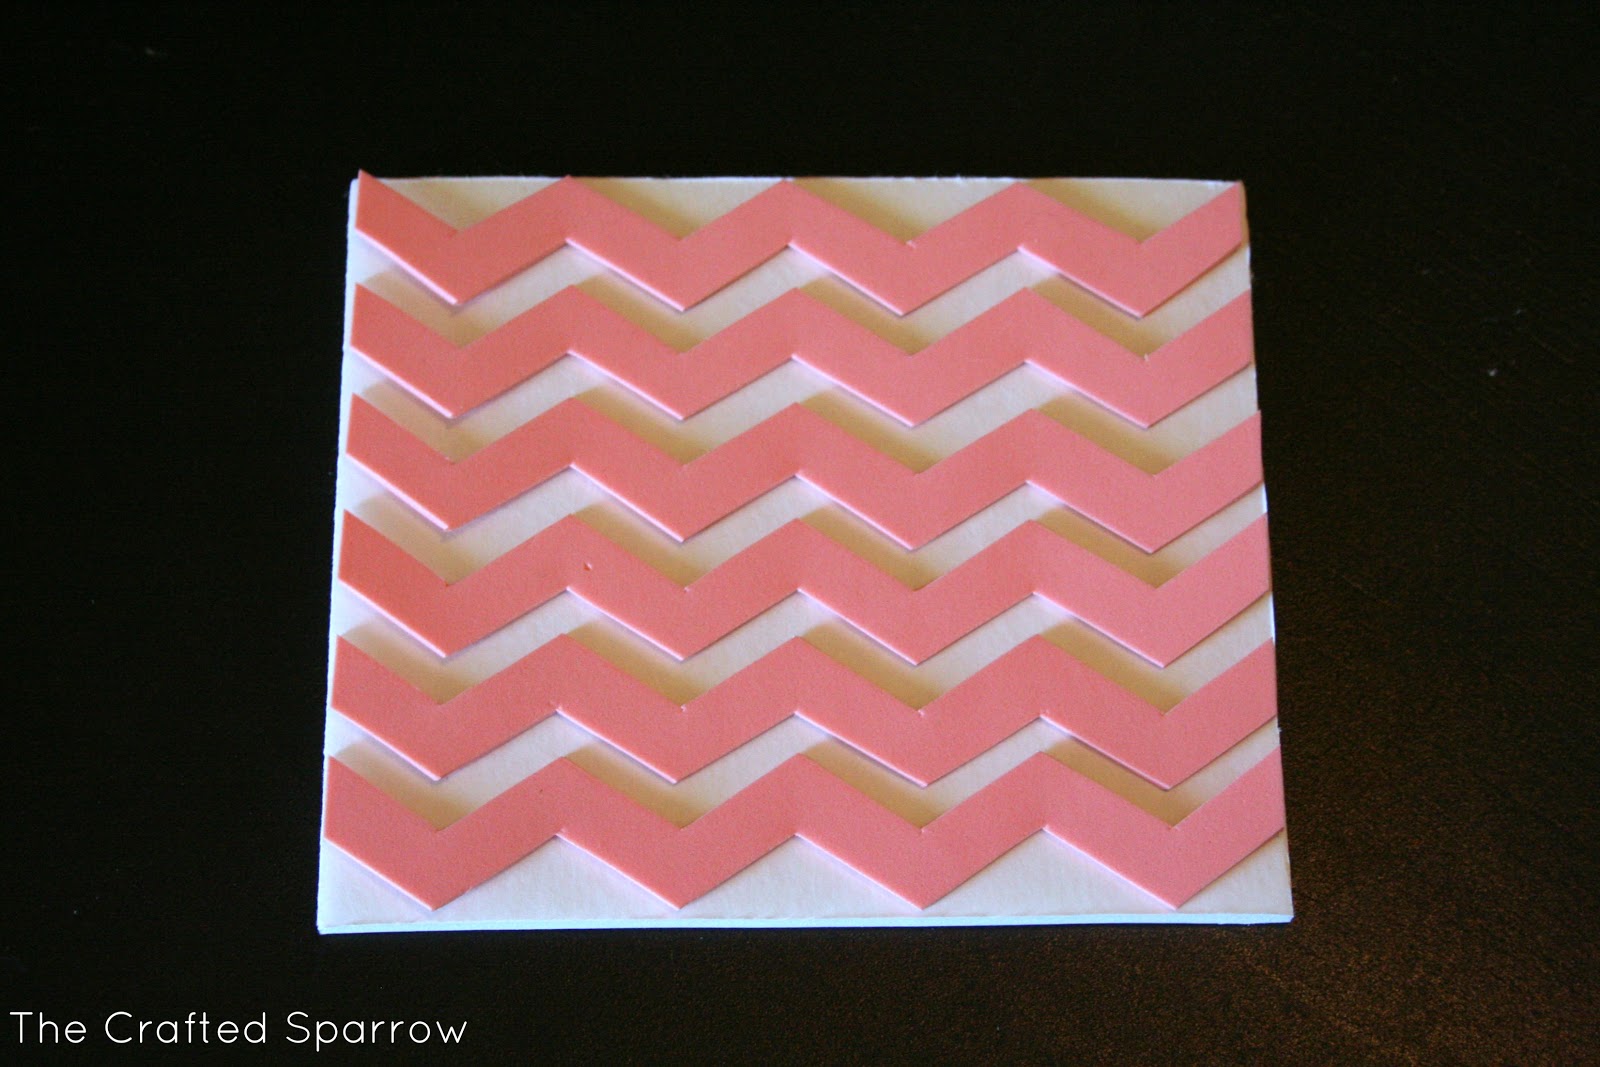
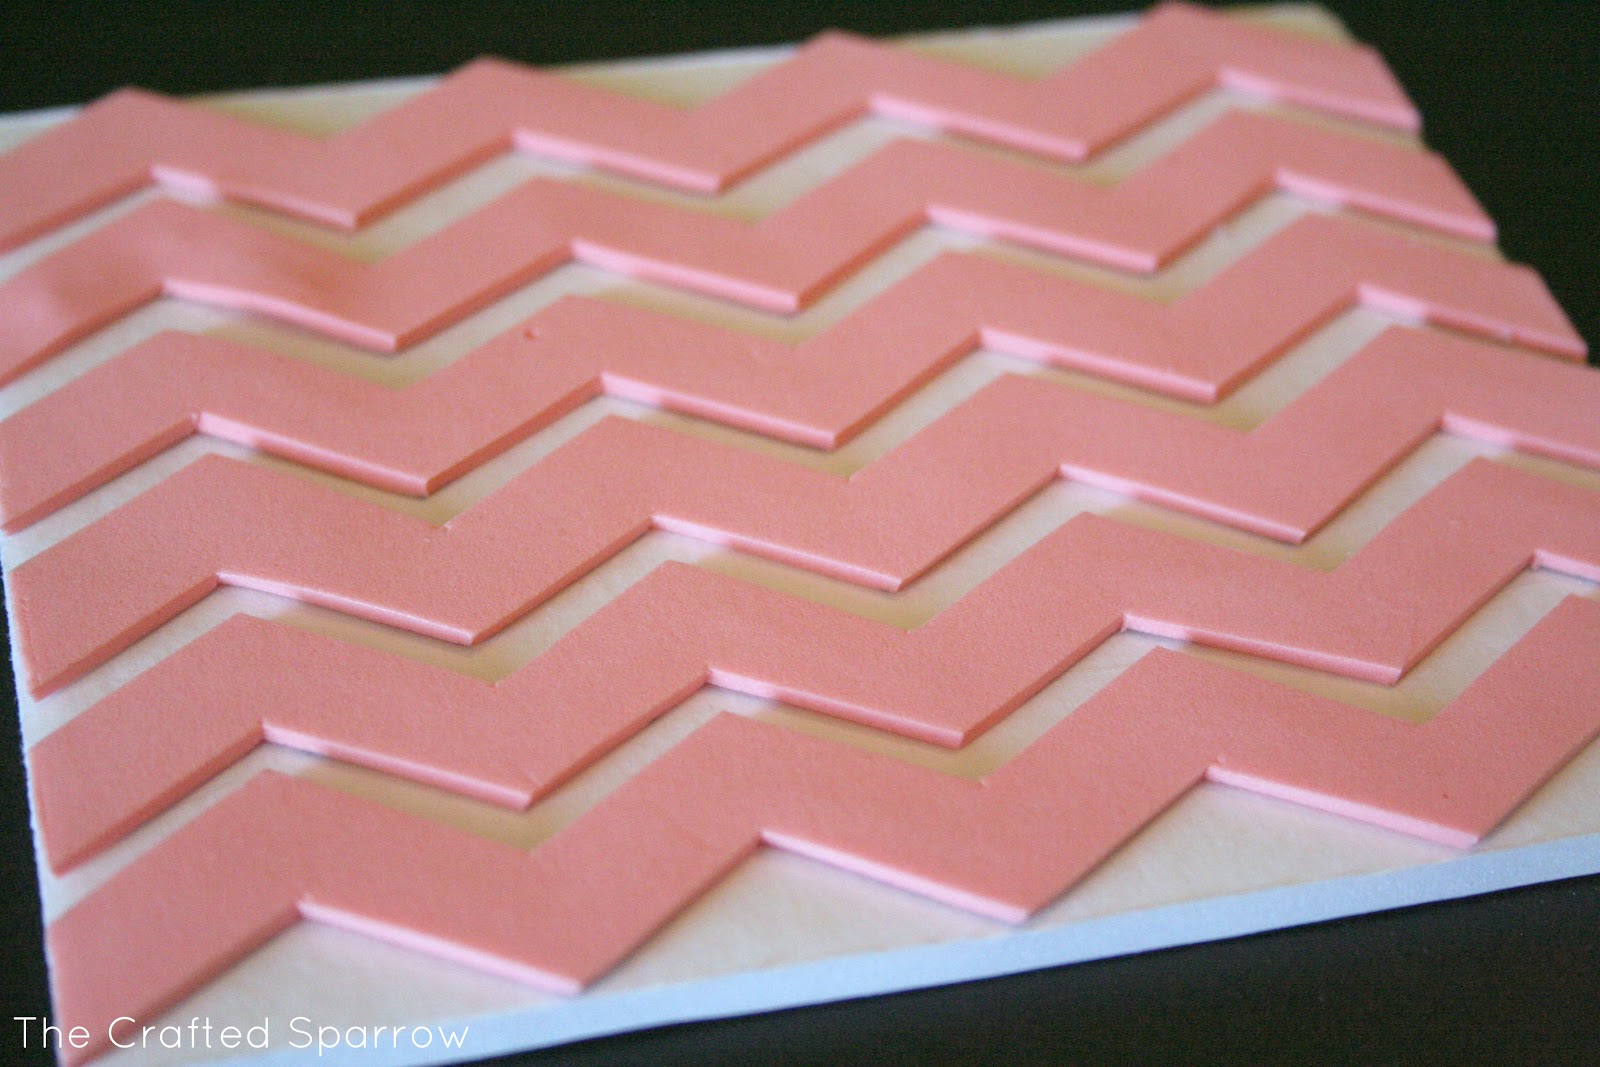
I then cut it all out with my scissors.  There is something about cutting craft foam to me that is therapeutic, it just cuts so smooth.  When your done cutting you’ll have a ton of chevron stripes like this.

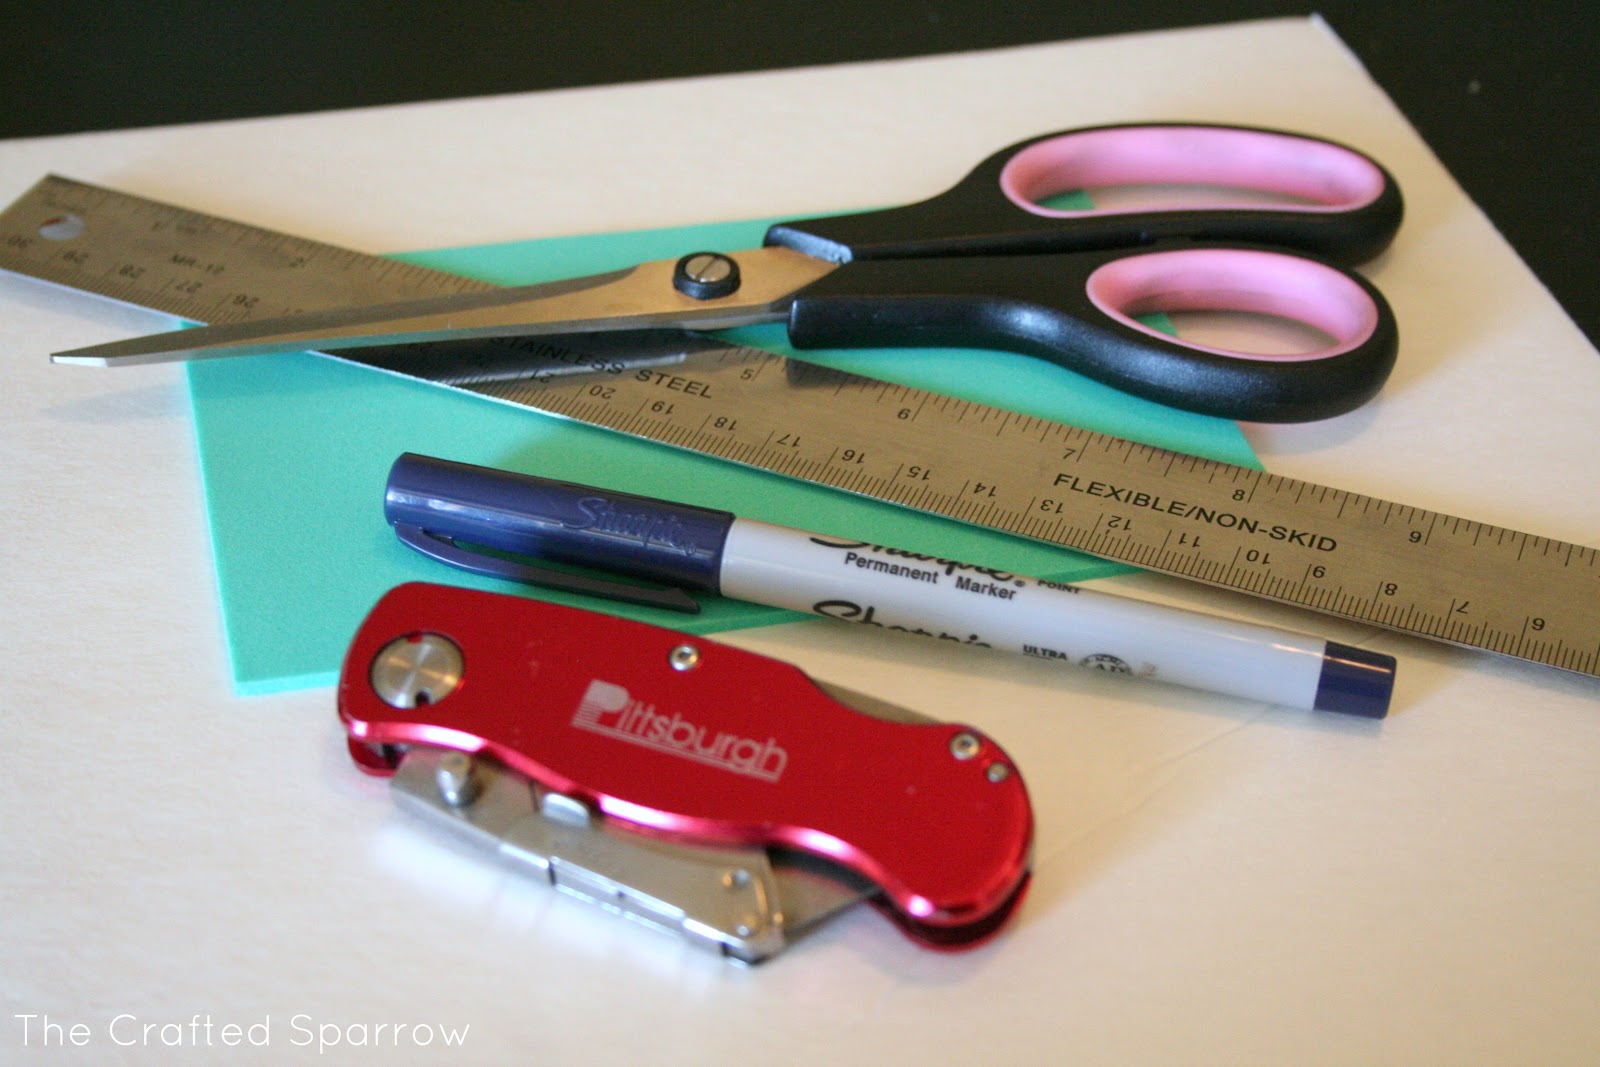
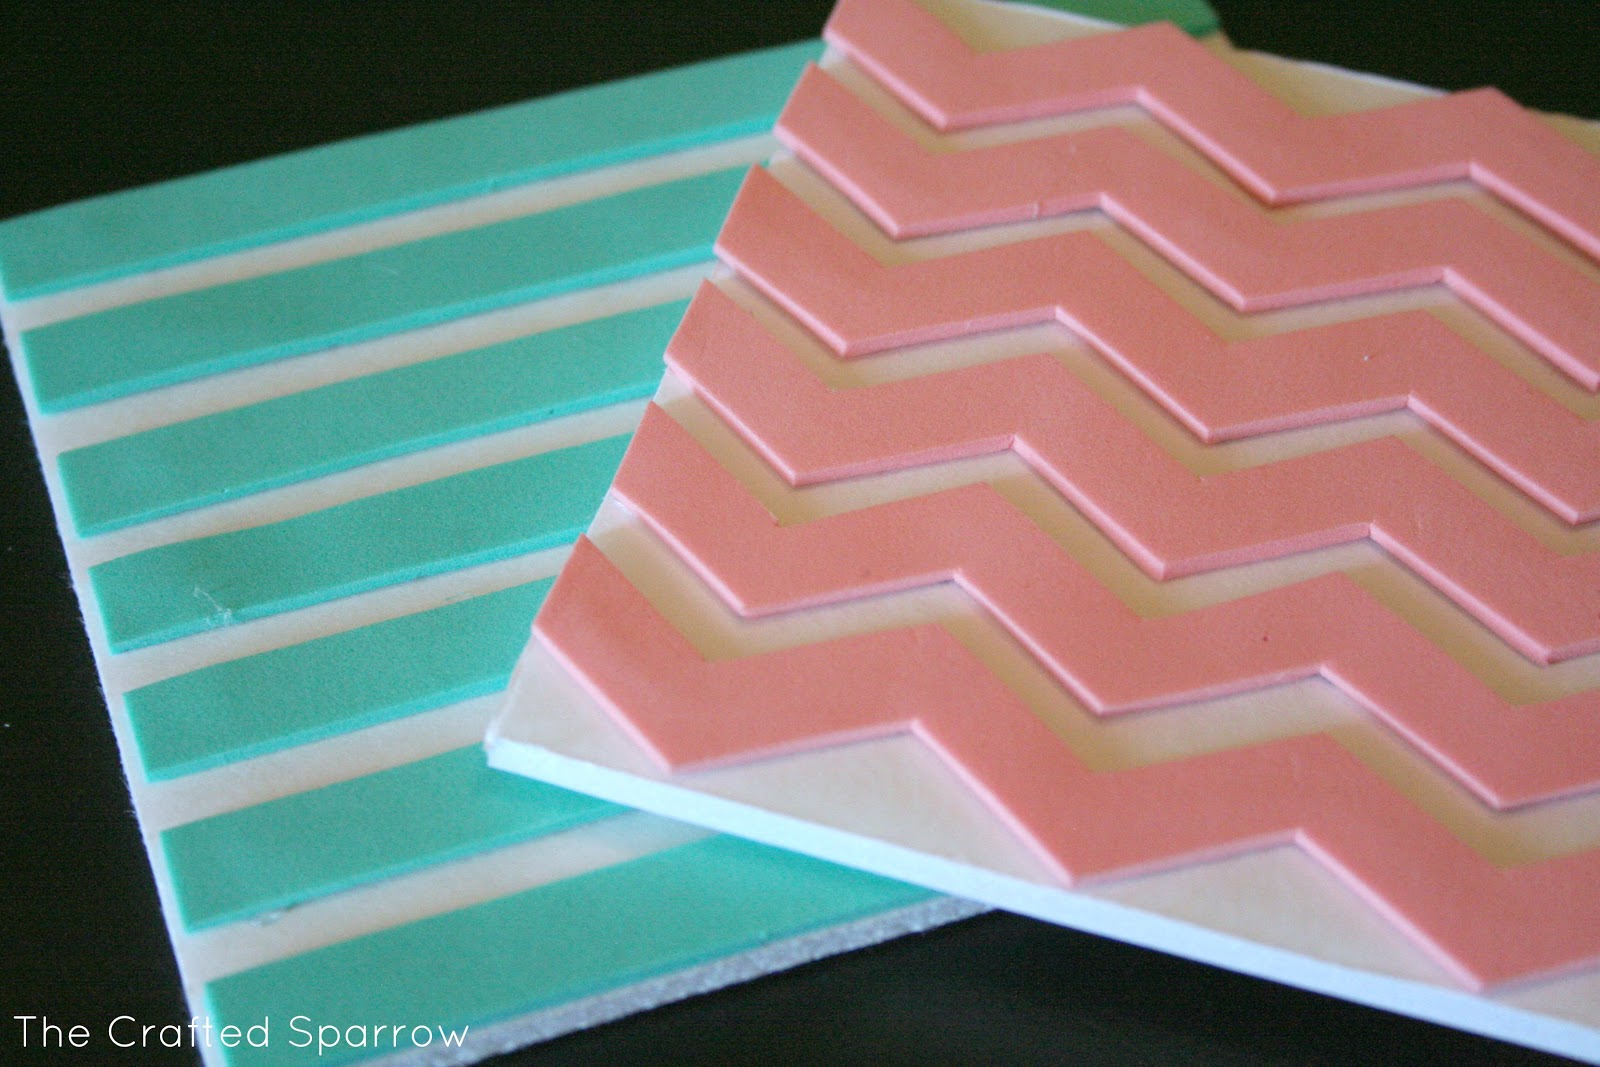
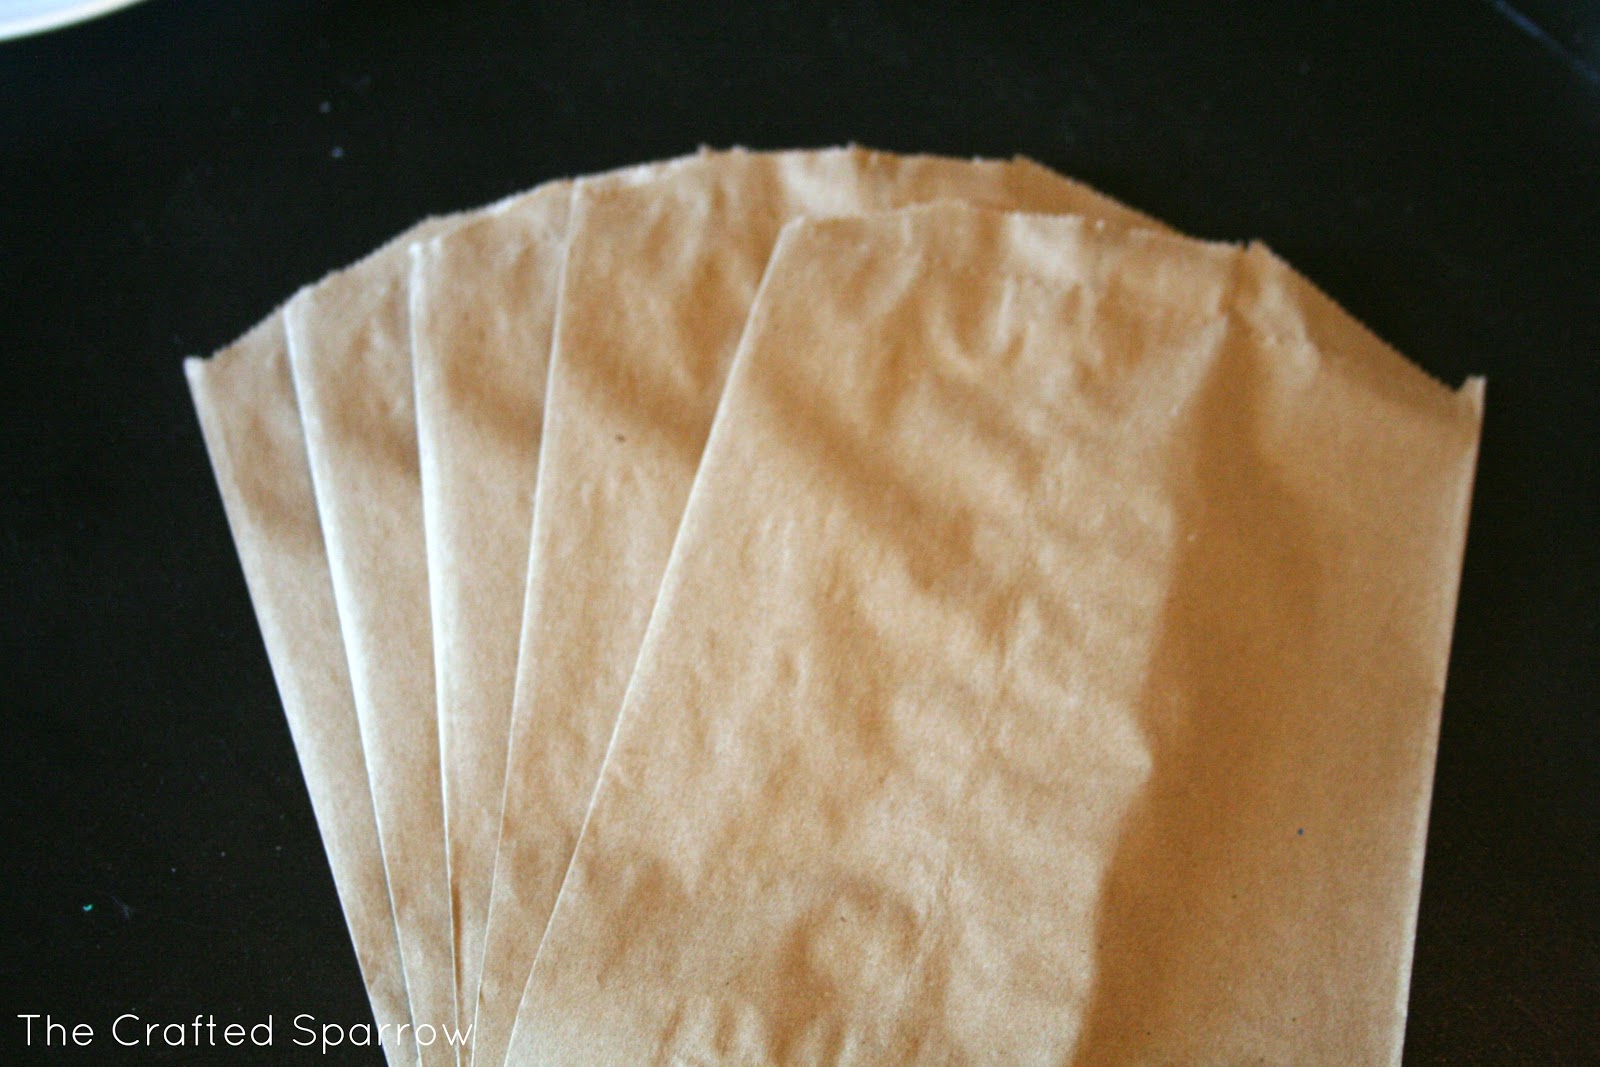
I then used what I had on hand (which was foam core board), you could use that or if you have some nice scrap pieces of wood that you could make custom sized blocks that would be perfect and make it washable. I however did not have that on hand.  So mine aren’t washable, but that’s ok.

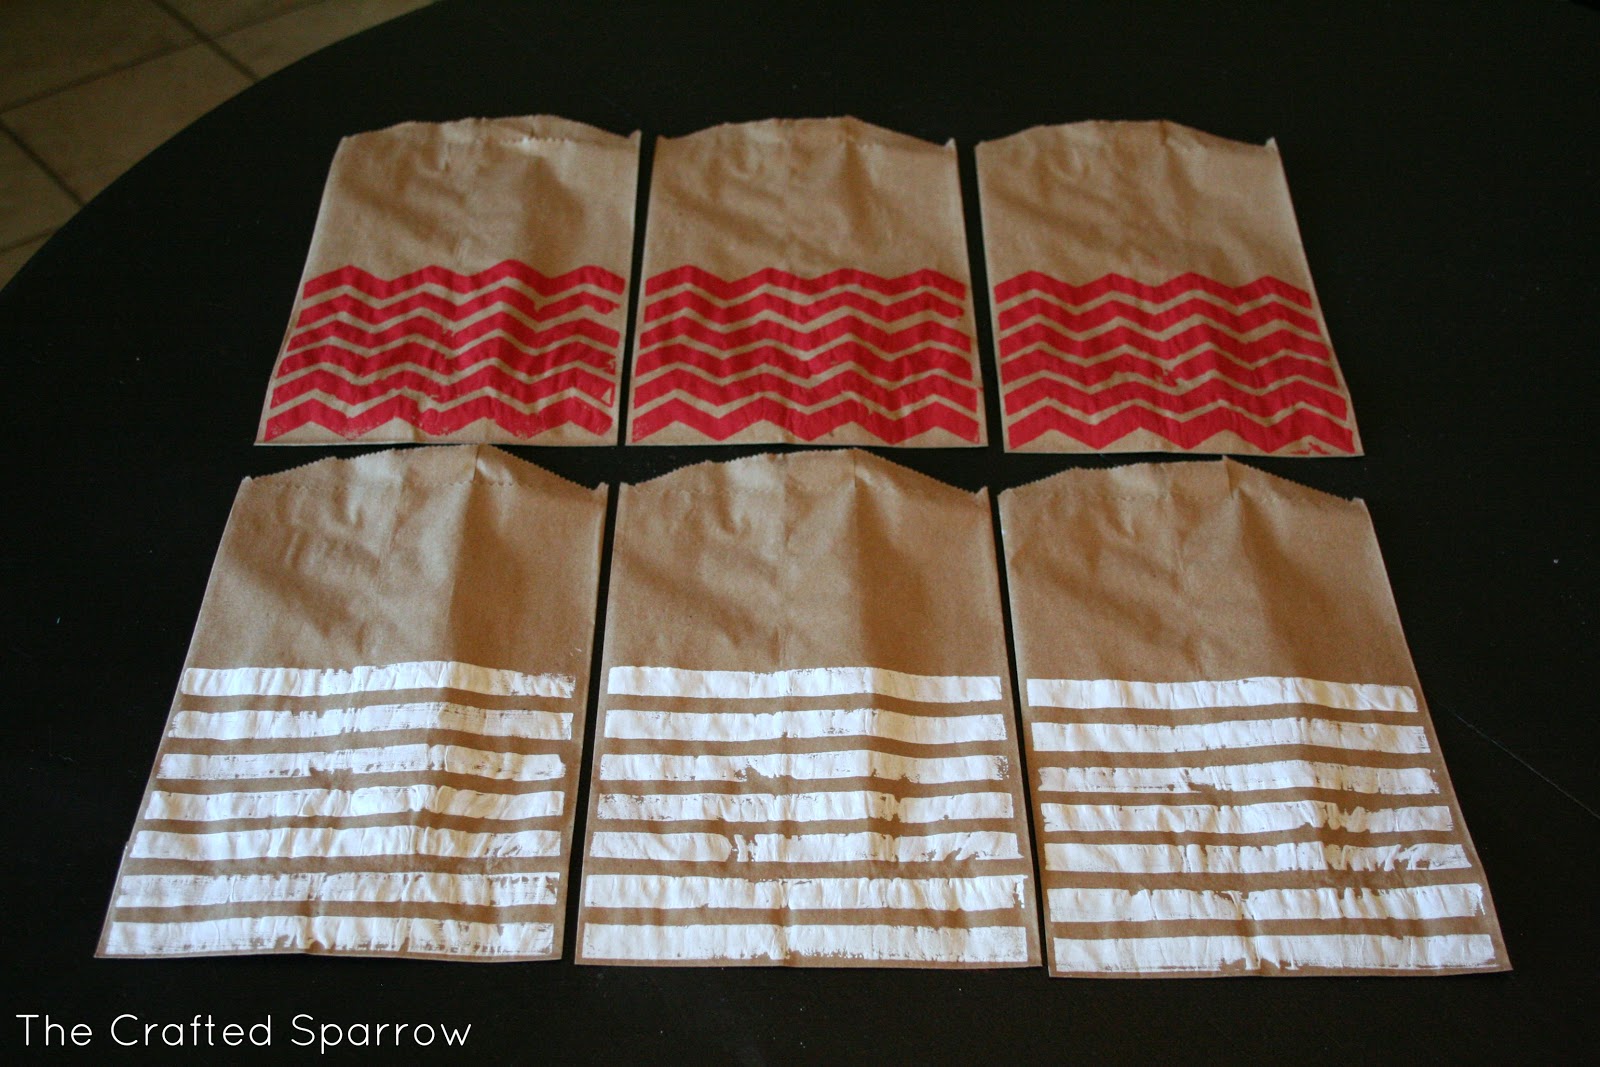
Now you just hot glue your chevron stripes on to your firm surface, be sure to space them evenly.  And your done with your stamp.  For my striped stamp I just measured and cut my strips.  Super easy.

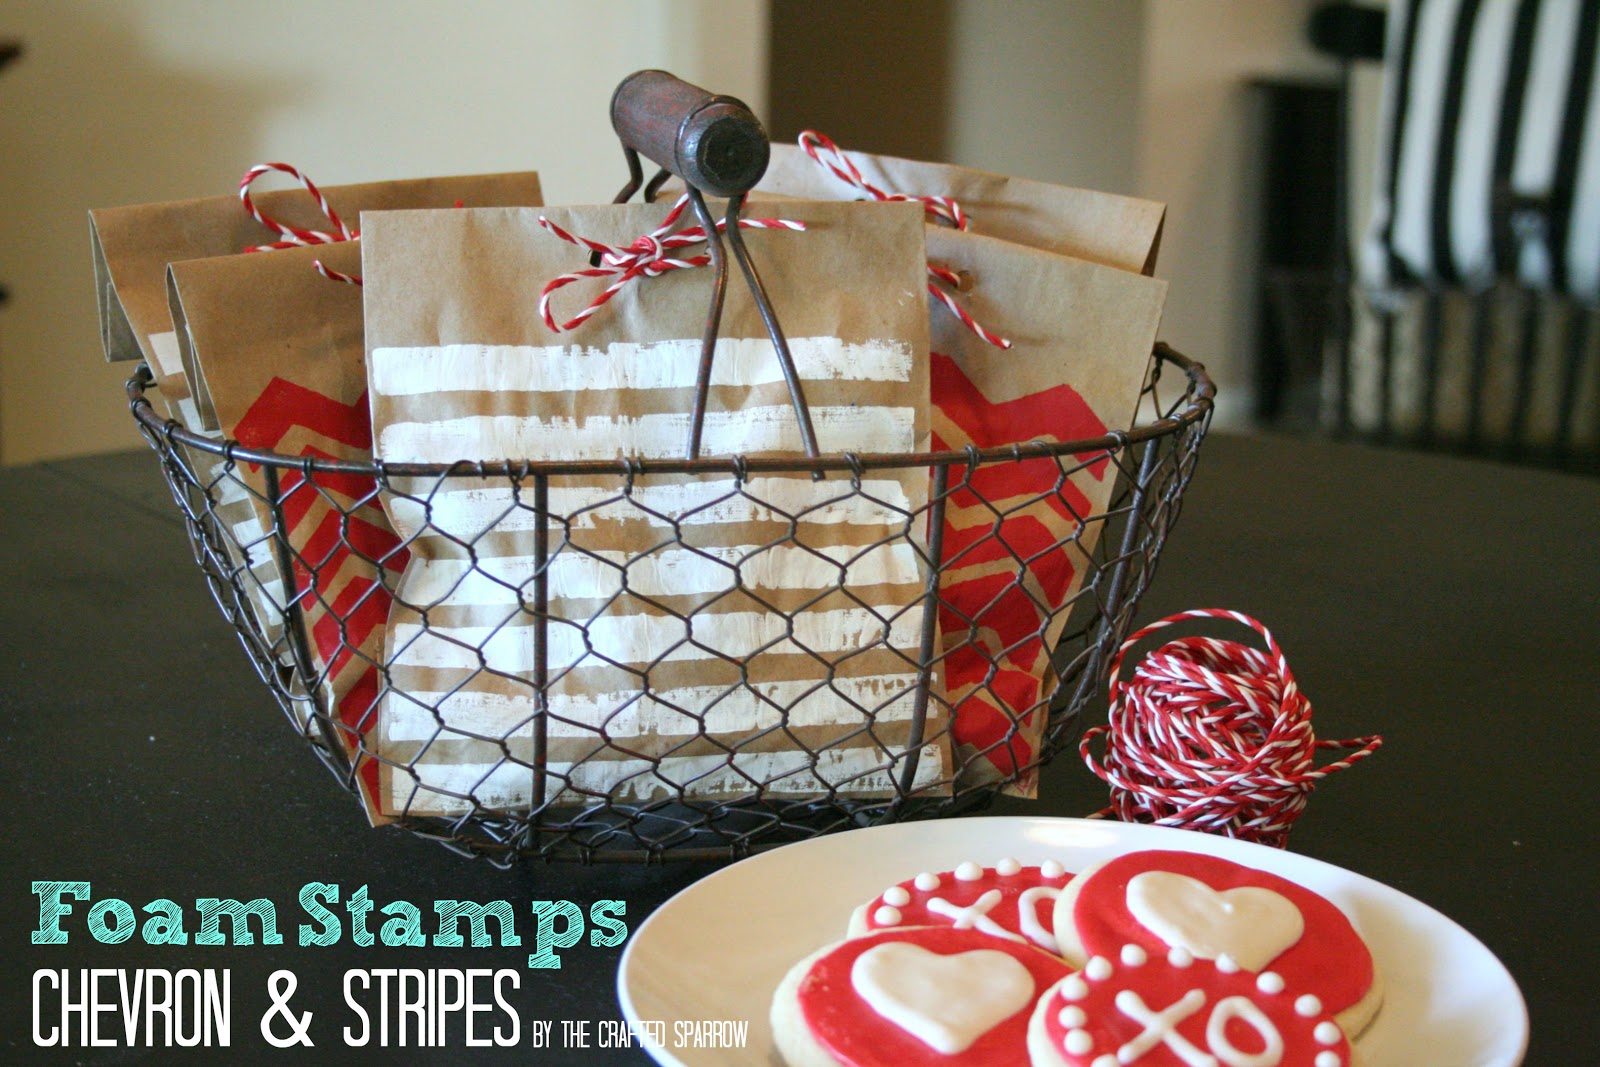
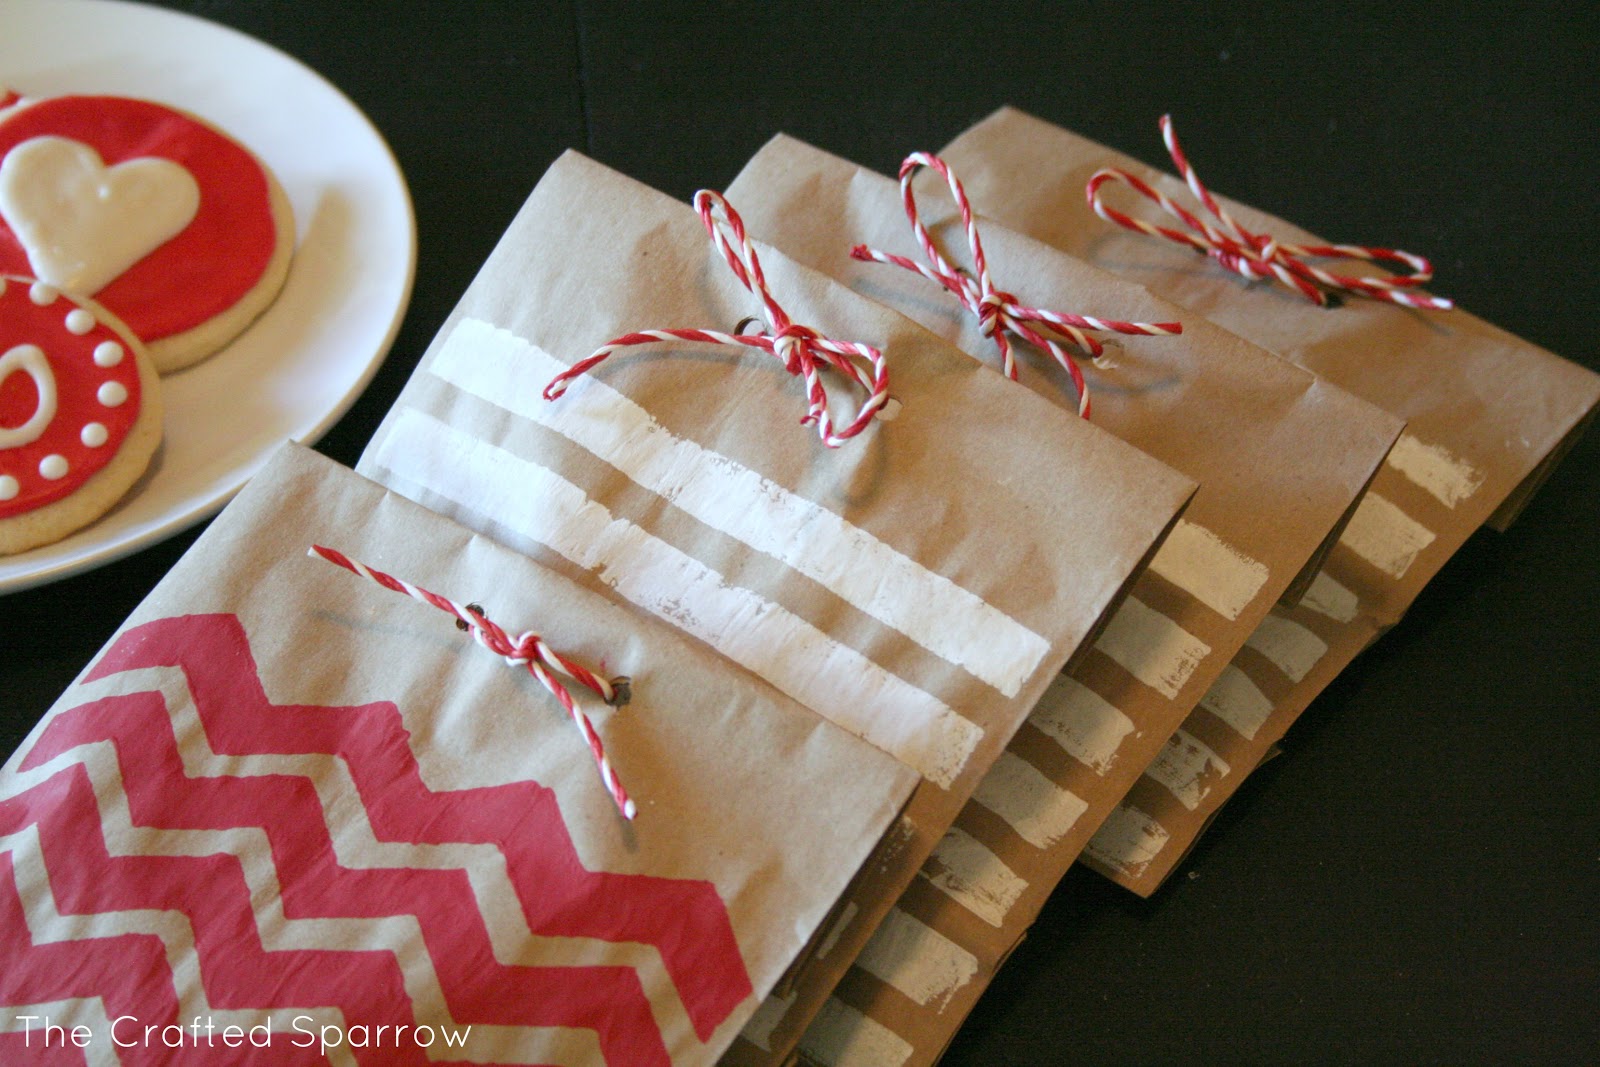
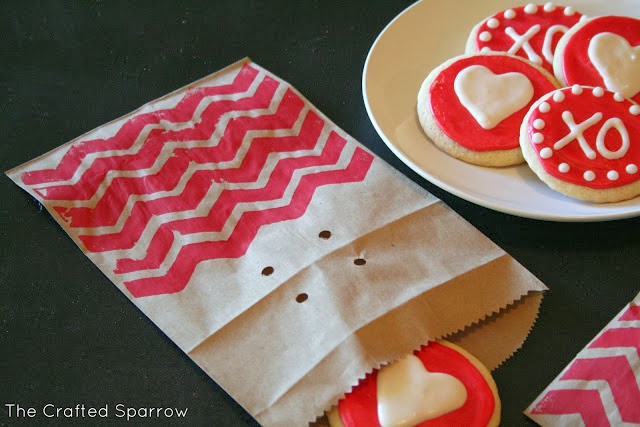
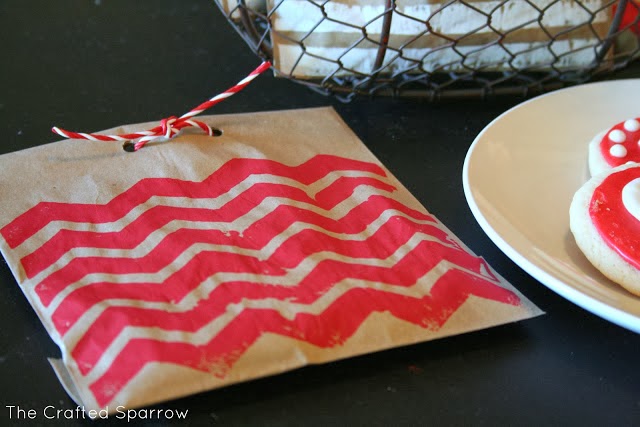
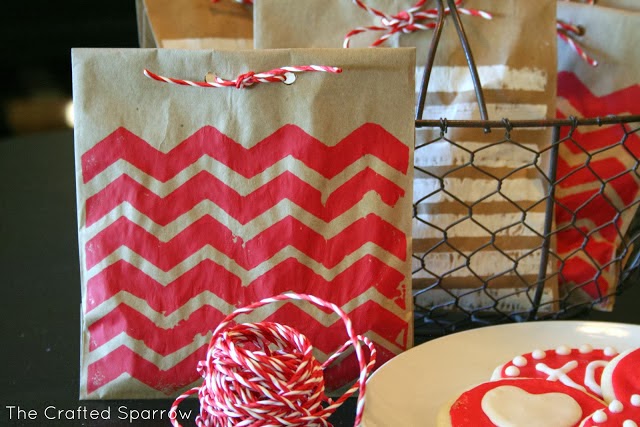
I wanted to create something I could use as packaging for my son’s class treat for Valentines Day so I chose a red & white acrylic paint to use when stamping on my bags.

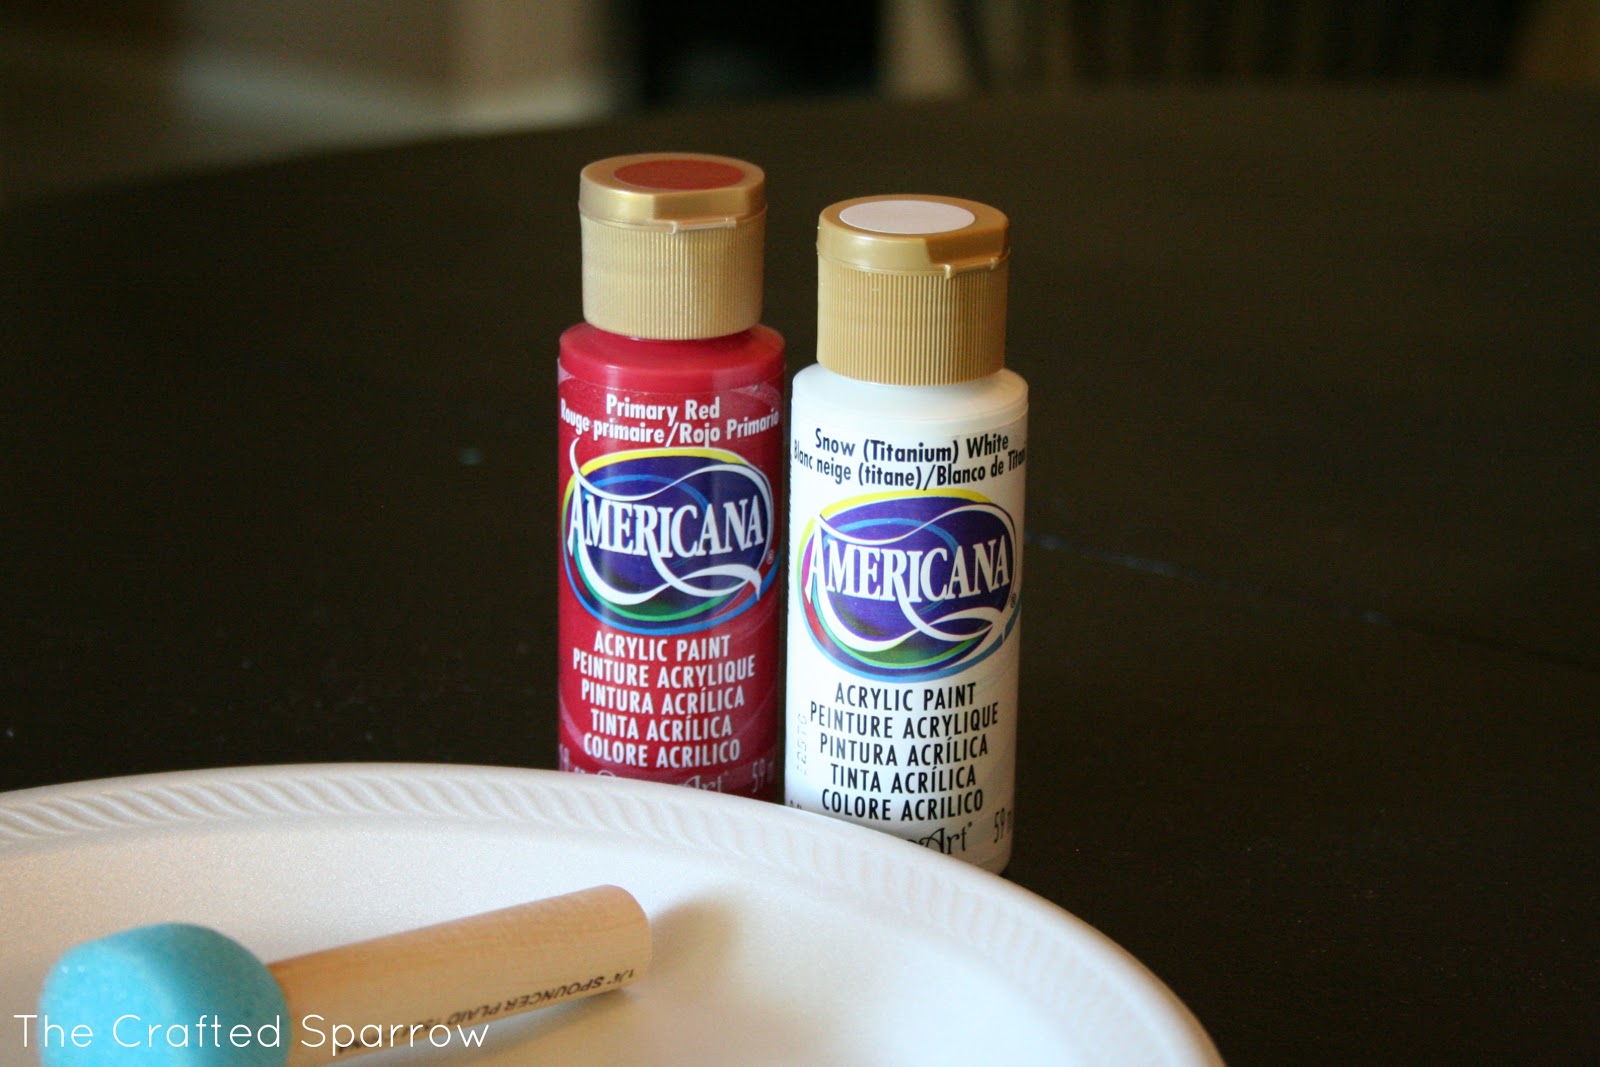
I just used a round foam dobber paint brush and applied the paint to my foam stamp then stamped my bags.  Carefully lifted my stamps up and let my bags dry.

I love how these bags turned out.  I think I did to make some polka dot bags next!  Hope you like them.

Related Posts

  • Notebook Paper ChalkboardNotebook Paper Chalkboard
  • DIY Foam Stamped Arrow TankDIY Foam Stamped Arrow Tank
  • Polymer Clay Personalized Gift Tags & Simple Gift WrapPolymer Clay Personalized Gift Tags & Simple Gift Wrap
  • Striped Ball JarStriped Ball Jar
  • DIY Geek Inspired ShirtDIY Geek Inspired Shirt
  • Copper Inspired Fall TablescapeCopper Inspired Fall Tablescape

Filed Under: crafts, diy

« Quick & Easy Chili-Mac
French Fry Cookie Valentines »

Comments

  1. Amberly @ Bingo Buttercup Crafts says

    01/22/2013 at 8:48 AM

    Super cute! I love the handmade-ness of these stamps. Lots of character!

    -Amberly
    http://www.bingobuttercupcrafts.com

    Reply
  2. Our Pinteresting Family says

    01/22/2013 at 1:00 PM

    Such a cute idea! I love the stamped bags too. ๐Ÿ™‚ Megan

    Reply
  3. Chrysta says

    01/22/2013 at 9:03 PM

    I am kicking myself a little bit for not realizing how simple making chevron stripes could be… You are a genius! Thank you for sharing your wisdom!

    Reply
  4. Lori Schmid says

    01/23/2013 at 12:54 AM

    I just love the stamped bags! I never knew how easy it was to make homemade stamps. Will definitely be making some of my own! Thanks for sharing!

    Lori
    Thrifty Decor Mom

    Reply
  5. Donna says

    01/23/2013 at 2:50 PM

    AWESOME!!! TFS

    Reply
  6. [email protected] says

    01/23/2013 at 6:59 PM

    Super creative & cute, Rebecca!! I’m loving that chevron!!

    Reply
  7. Anonymous says

    01/24/2013 at 4:43 AM

    What’s up, the whole thing is going perfectly here and ofcourse every one is sharing facts, that’s actually good, keep
    up writing.
    Here is my weblog : forex signals provider

    Reply
  8. Jenn @ Clean and Scentsible says

    01/24/2013 at 5:54 AM

    Such a cute idea! They look awesome all packaged up!

    Reply
  9. Melanie LaDue says

    01/24/2013 at 6:18 PM

    SO CUTE! Found you on Lil’ Luna’s link party and I’d love for you to come link this up at my Tuesday Time Out that is still open! I love it!

    Reasons To Skip The Housework

    Reply
  10. Dorothy @ Crazy for Crust says

    01/24/2013 at 7:08 PM

    I love this idea!

    Reply
  11. Liz Fourez says

    01/25/2013 at 2:07 AM

    Genius! Love these so much, Rebecca! I’ll have to give them a try sometime. The bags turned out super cute : )

    Hope everything is going well with your cabinets! Can’t wait to see them!

    Love Always,
    Liz

    Reply
  12. Chessa @ Antsi-Pants says

    01/26/2013 at 5:26 AM

    What a great idea! Very cute. I love the look on the brown paper bags. TFS!

    Reply
  13. Karen says

    01/27/2013 at 4:07 AM

    Amazing idea!

    Reply
  14. Ruth says

    01/28/2013 at 5:15 PM

    These are great!!! I love the bags with the chevron prints. Thanks for sharing this great idea.
    Ruth

    Reply
  15. Jenn AJennuineLife says

    01/28/2013 at 7:26 PM

    So cool! I’d love it if you stopped by and linked up at Thrifty to Nifty Thursdays at A Jennuine Life. http://ajennuinelife.blogspot.com/2013/01/thrifty-to-nifty-thursdays-4.html

    Reply
  16. Ginger says

    01/31/2013 at 1:53 PM

    Featuring YOU today! Thank you so much for sharing at {wow me} wednesday! ๐Ÿ™‚

    Ginger @ GingerSnapCrafts.com

    http://www.gingersnapcrafts.com/2013/01/take-look-at-you-my-favorites_31.html

    Reply
  17. Doreen says

    01/31/2013 at 4:43 PM

    Hi Rebecca,

    I am visiting from Ginger Snaps Crafts. Love your Valentine’s Chevron and stripes rubber stamps and bags you created. A few friends of mine are coming over tomorrow to craft, and I want to wrap up a few stamping goodies for them. Now I know how! Thanks so much for sharing your inspiration.
    I’m now following you and look forward to catching up on your old posts and new ones! I blog at Altered-Artworks.blogspot.com and would love for you to visit.

    Doreen
    altered-artworks.blogspot.com
    @alteredartworks

    Reply
  18. Summer says

    02/02/2013 at 4:59 AM

    Those bags are perfection; what a genius idea! I’ll be featuring this on my blog tomorrow!

    http://www.sumossweetstuff.com

    Thanks for linking up!
    Sumo:)

    Reply
  19. Glamorous Mommy says

    02/03/2013 at 11:55 PM

    These are absolutely adorable!! Found you featured over at Sumos Sweet Stuff and following you now ๐Ÿ˜‰

    Fotini

    Reply
  20. Bethany @ A Fish Who Likes Flowers says

    02/23/2013 at 7:11 AM

    This is such a cool idea! Thanks for sharing!

    Reply
  21. Krystal Gable says

    09/18/2013 at 11:52 PM

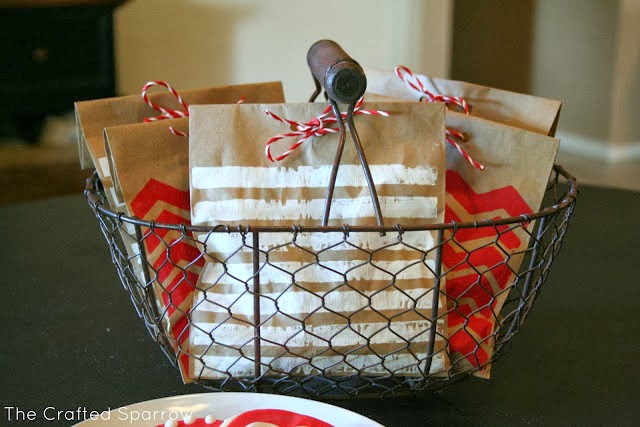
    Adorable! By the way, I love your chicken wire basket! Where might one find that? ๐Ÿ™‚

    Reply

Trackbacks

  1. DIY Stamped Halloween Treat Bags | eighteen25.com says:
    05/14/2015 at 8:21 AM

    […]  DIY Foam Stamp as wide as your bag {go HERE for instructions on how to make […]

    Reply

Leave a Reply Cancel reply

Your email address will not be published. Required fields are marked *

This site uses Akismet to reduce spam. Learn how your comment data is processed.

  • Email
  • Facebook
  • Google+
  • Instagram
  • Pinterest
  • Twitter

Copyright © 2023 ยท Genesis Framework ยท Design By: Key Lime Digital Designs ยท Privacy Policy ยท Log in