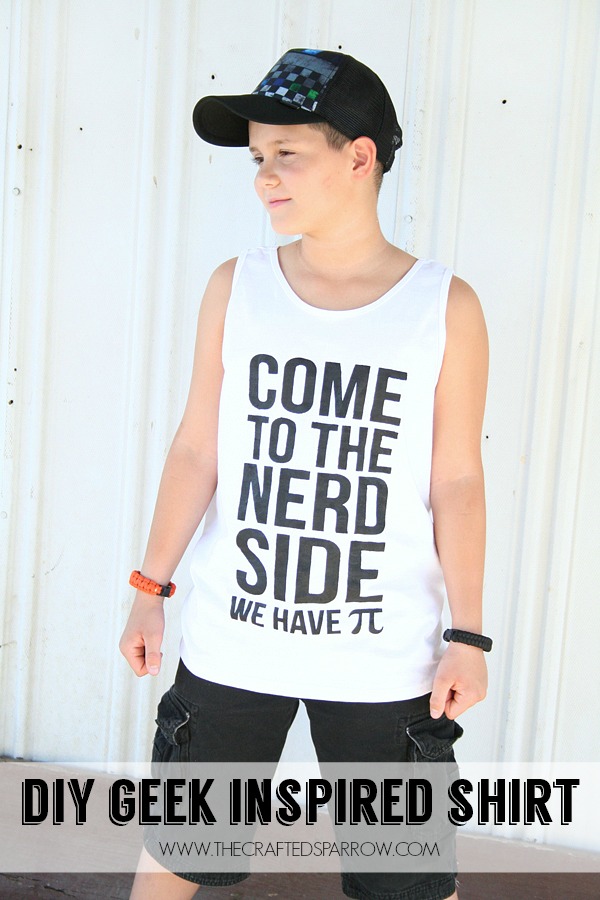
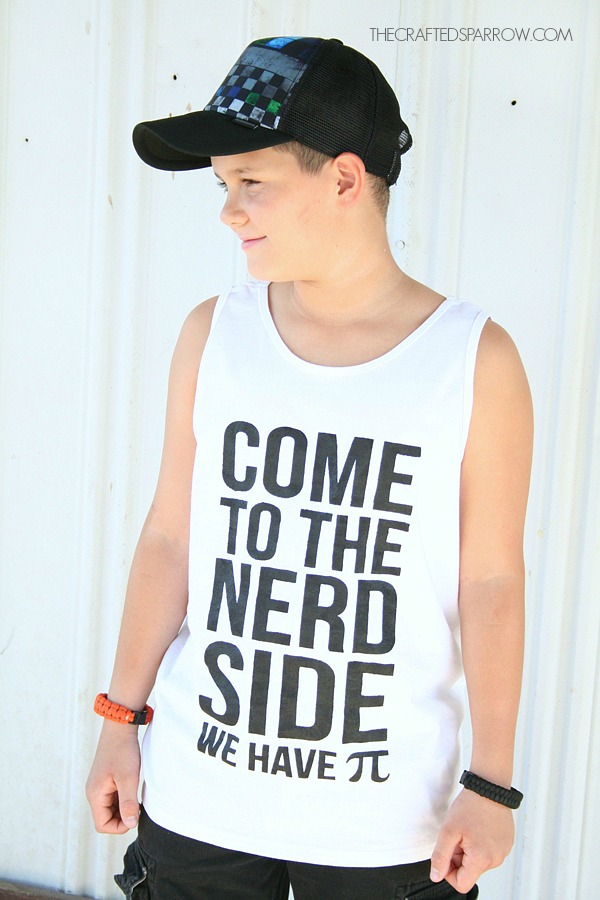
 Where are all my mathletes? This DIY Geek Inspired Shirt will be a huge hit with the math lovers of the world.
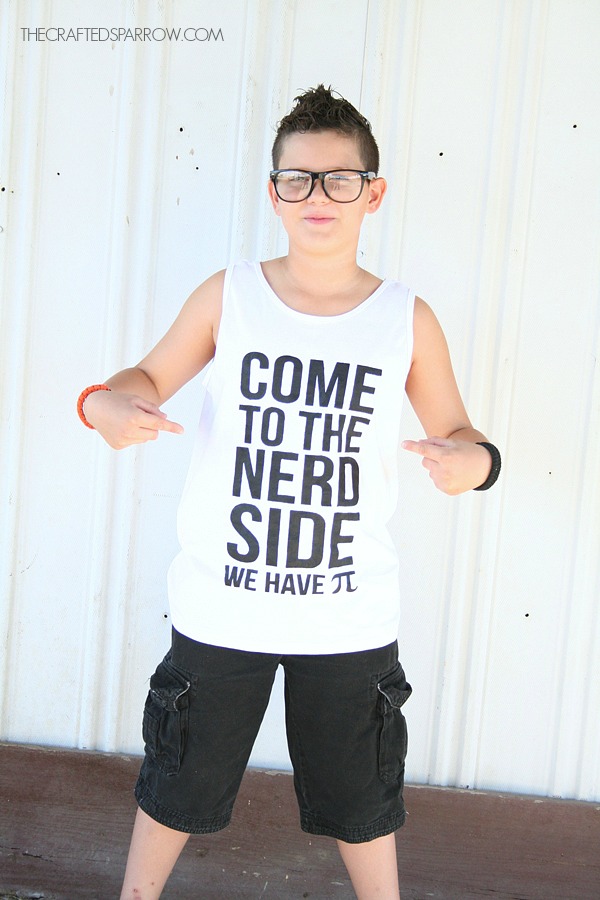
Now I will admit math was and is still not my favorite thing to do, just ask anyone who knows me. Let’s just say someone may have taken pre-algebra about three times before finally passing. Yikes. Now that handsome kid you see in the picture is pretty good at it and I’m hoping he got the math and science gene. I knew he’d love this shirt, and sure enough he had a good giggle over it.
This is my last Geek Chic project for the week in the Cricut Design Space Star competition if you’ve been following along.
Supplies:
– Cricut Explore cutting machine
– Cutting mat (regular grip)
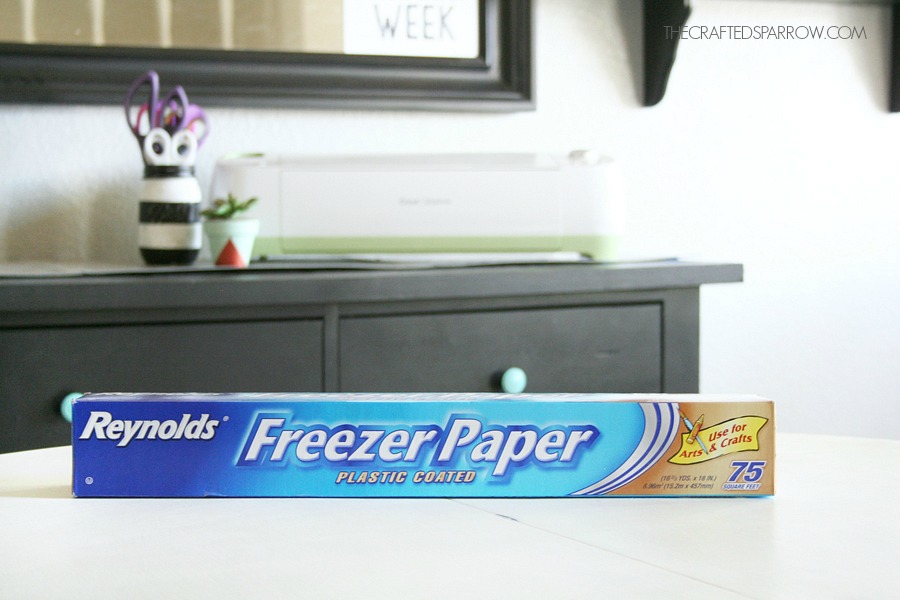
– Freezer Paper
– Tank top or t-shirt
– Fabric paint
– Foam brush or round foam dobber
– Iron
I have done several tutorials on using freezer paper stencils, it’s one of my favorite methods of stenciling on fabrics. I find that I get much cleaner lines and less mess. Plus it’s like $4 for a giant roll of it. For more detailed tutorials on how to use this method you can go HERE, or HERE. Freezer paper has a paper side and shiny side, the shiny side is what will adhere to any fabric surface once you iron it and apply heat. Pretty cool.
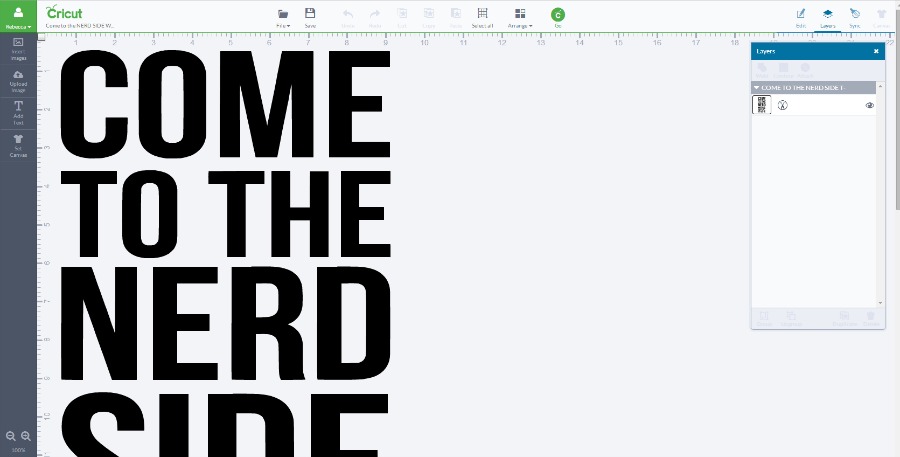
 I began by creating my design in photoshop, then uploaded it to Cricut Design Space. Once uploaded I made it a cuttable image.
Size the design to the size of shirt you will be using.
 Hit GO, then load the mat.
Note: Freezer paper should be placed shiny side down on the mat before loading the mat.
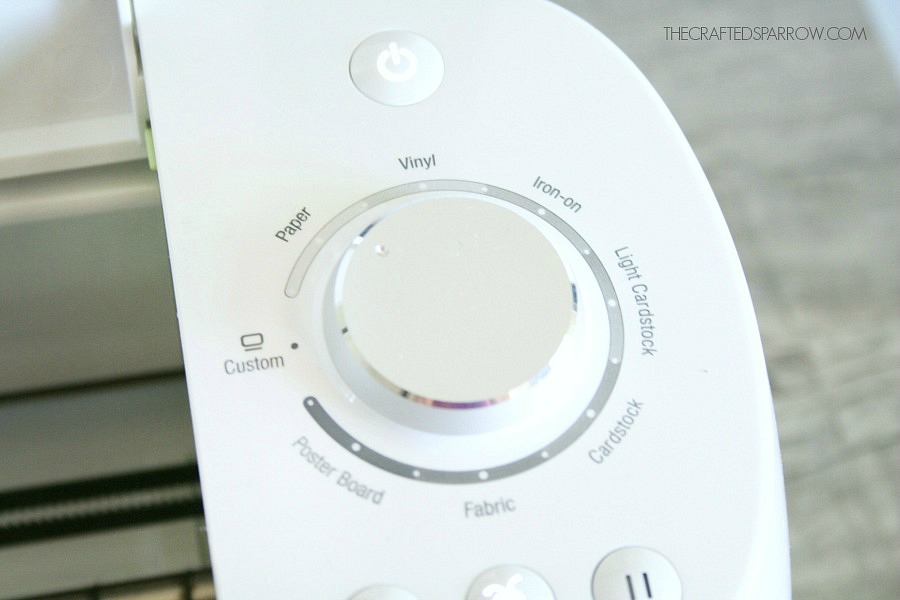
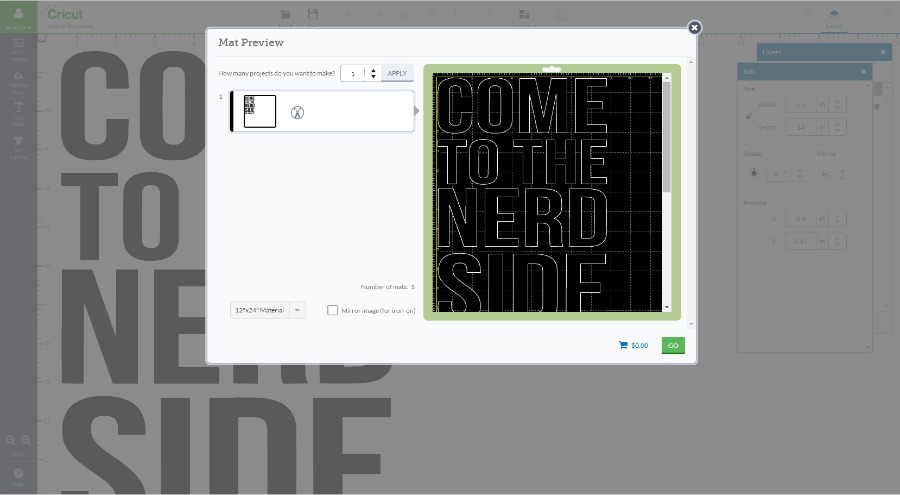 Turn the dial to paper, and hit the GO button when you are all set.
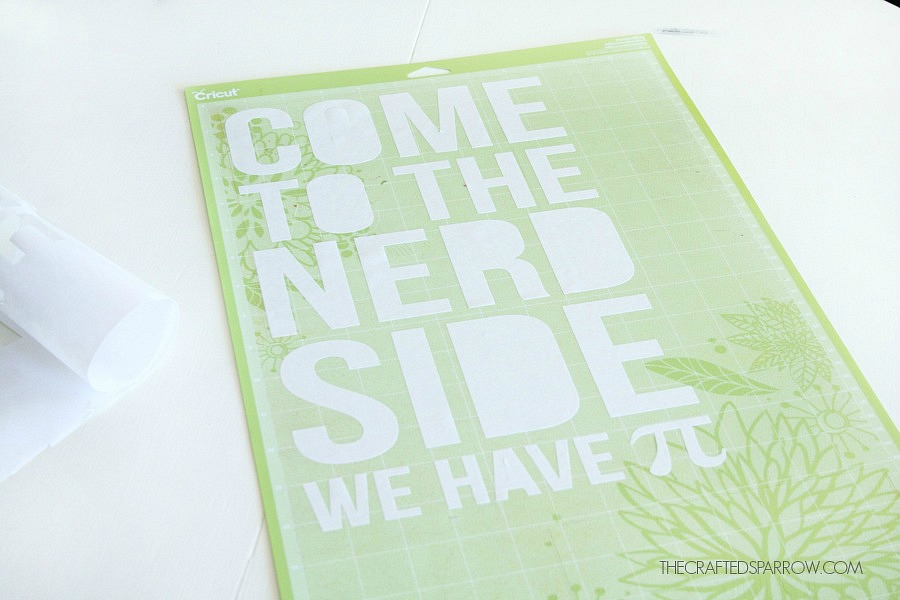
 When the Explore is done cutting the image you will need to weed the design.
It is important that you pay attention to detail here, for my particular design I needed to save the negative piece. So I carefully peeled away the negative so it remained in one huge piece. I also saved the middle of the letters that had centers. You can place those in a small bowl.
The rest of what is left on the mat can just be tossed.
 Carefully center your image on the shirt of your choice. You can tape down the sides for a couple of minutes so it doesn’t shift, just remove the tape before ironing that part.
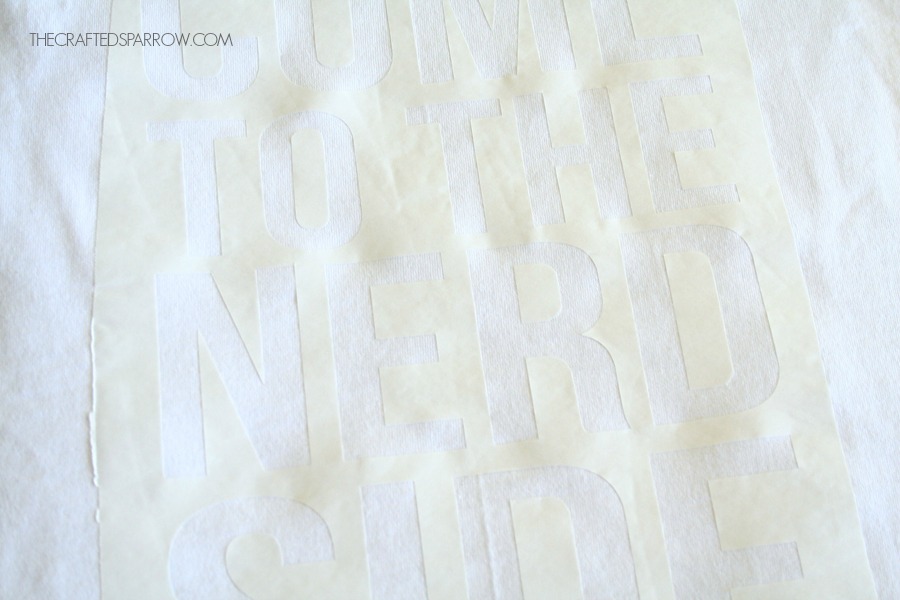
Using an iron on a no steam setting, a medium heat is perfect (although I prefer a high heat) iron on the freezer paper stencil shiny size down. I just rest the iron on each section, being careful to not have the iron get caught on any of the letters. Once you iron freezer paper it won’t re-iron again, so be careful. Be sure all of it is adhered.
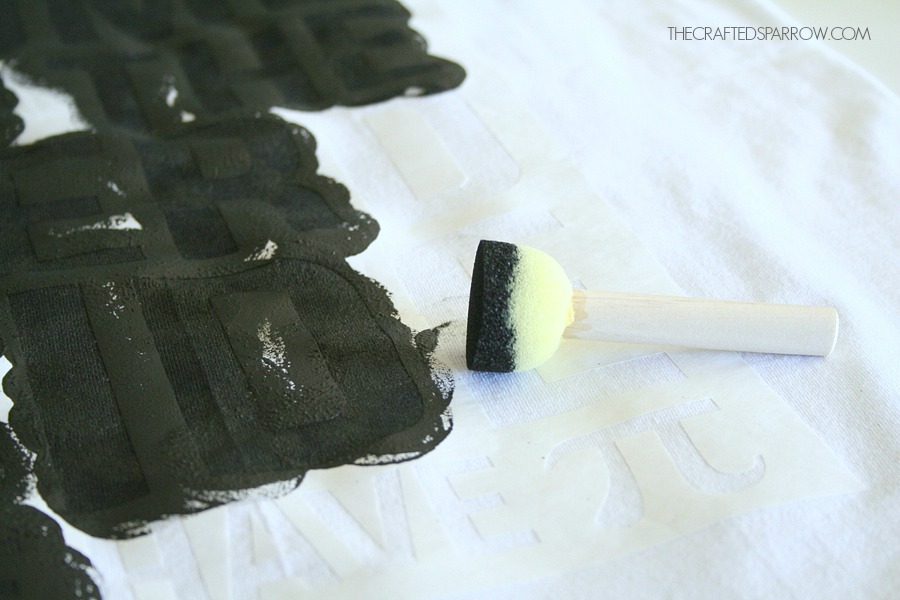
 Grab your fabric paint and round dobber brush or foam brush.
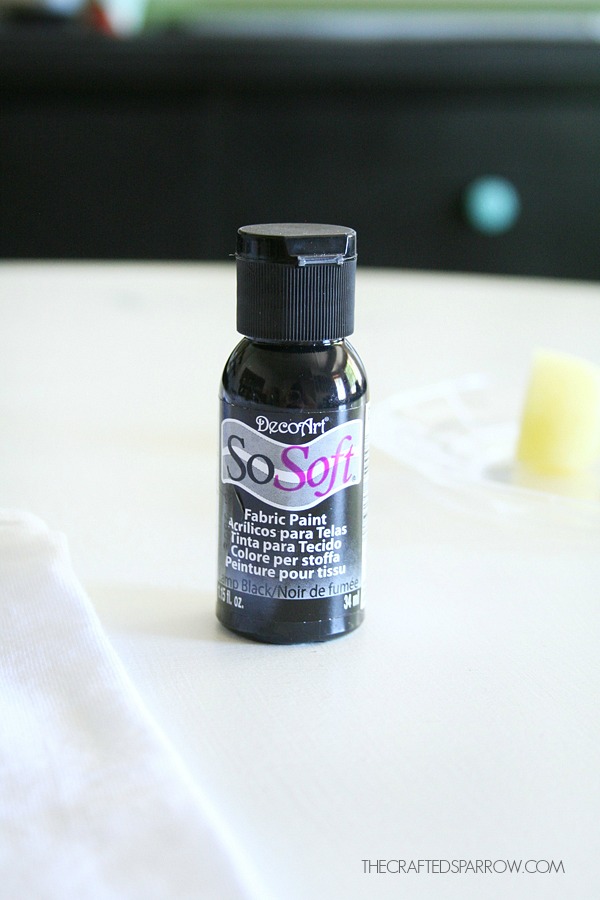 Be sure to dab off excess paint from brush, you don’t want splatter or too much paint. I only needed two coats on the white shirt.
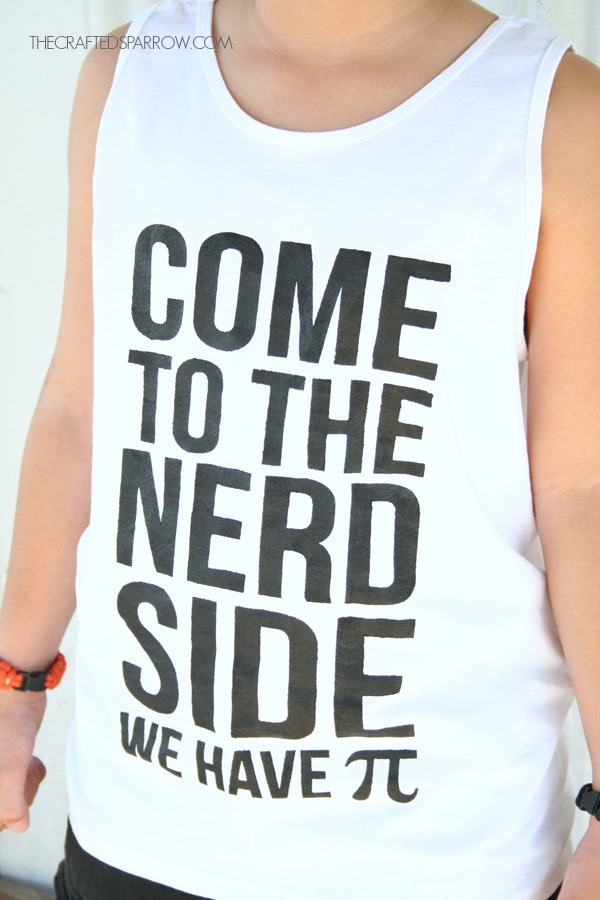
When the paint is dry completely you can remove the stencil by carefully peeling it off. It is important to be sure it is dry before removing the freezer paper. Let the shirt dry for 24 hours, you can wash it in cold water before wearing if you want.
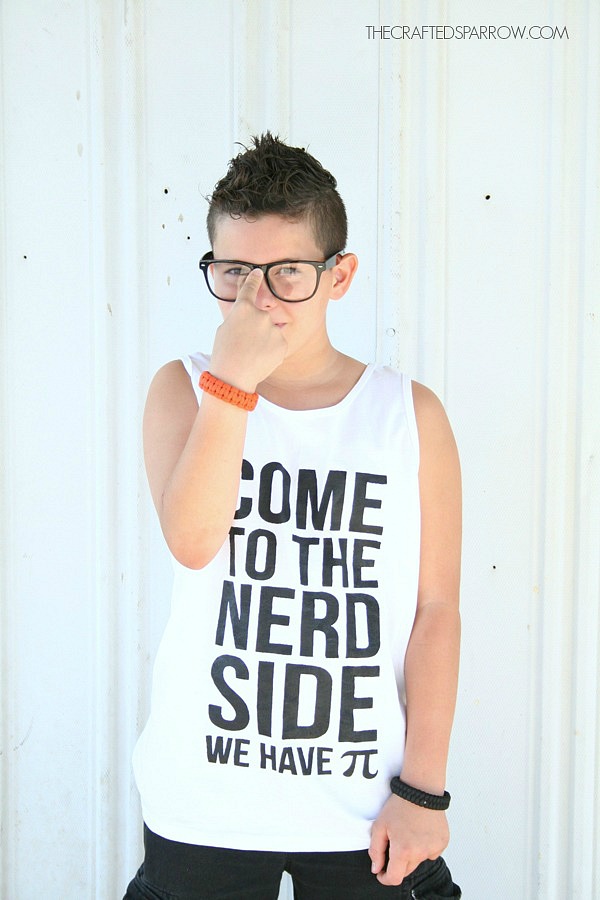
 I love how this turned out, and I think this guy kind of loves it. I’m sure his teacher will love it too.
 In case you missed my previous two posts this week I made a DIY Geek Chic Leather Tablet Sleeve, and some DIY Geek Chic Cell Phone Cases. This post wraps up my week of Geek Chic projects. I hope you love them all like I do.
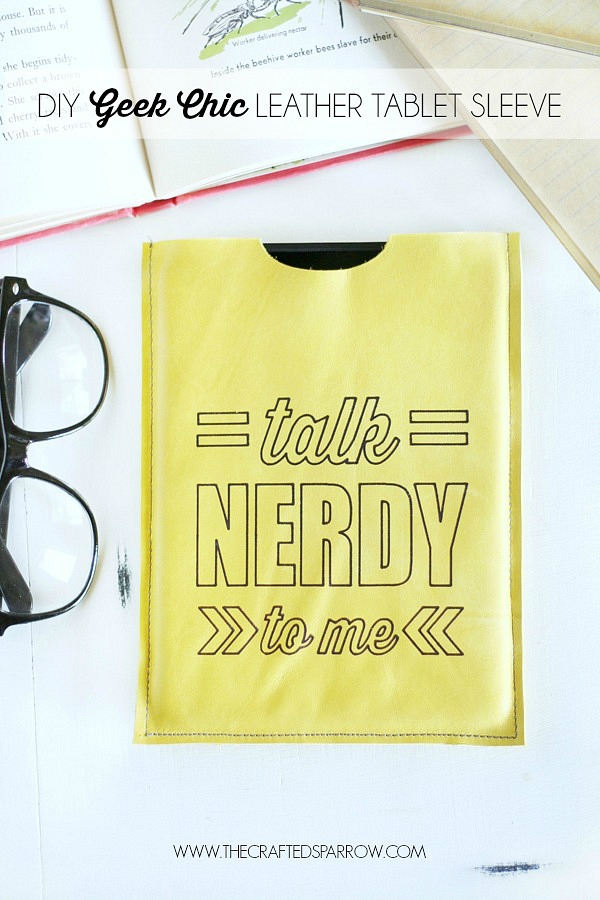
DIY Geek Chic Leather Tablet Sleeve
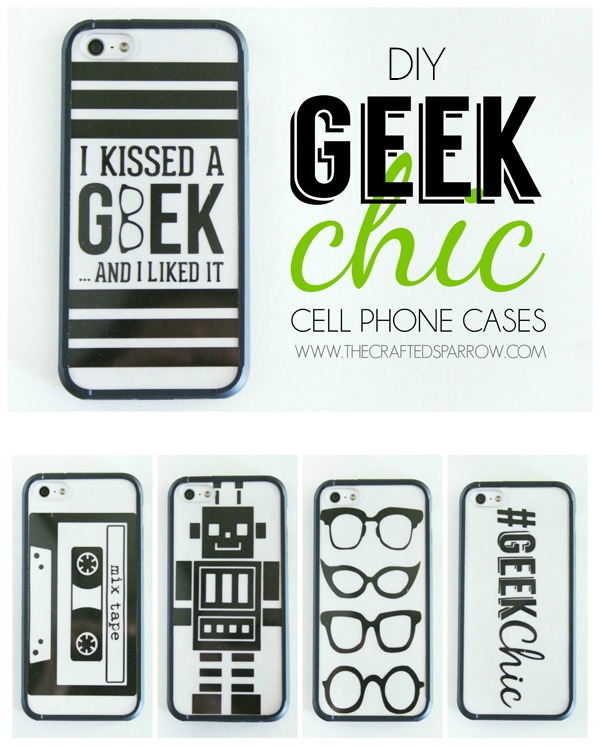
DIY Geek Chic Cell Phone Cases
Disclosure | I am a member of the Cricut Blogger Network. I may receive prizes in exchange for my winning projects. Even though I am not being directly compensated for these posts, I am under consideration for a prize with Cricut Design Space Star. All opinions are 100% my own.


Thank you so much for this – I used your technique exactly to each point to make a personalized coffee lover’s T-shirt for my best friend’s surprised birthday. She absolutely loved it and I realized how easy it is to create something unique and personal for someone. I will be using this technique again and if I ever get a blog up and running for all my crafty things, I will push everyone back to you. Much appreciated.
That’s awesome Daphne, so glad you love this technique as much as I do. It’s honestly my favorite way to create personalized decor or clothing. 🙂
I was thinking about buying Cricut iron-on material but this looks much more economical. I had no idea you could do this instead. New to the Cricut world and your blog has been an amazing help. Thanks.
Thanks Beth. It’s one of my favorite ways to make shirts, mostly because it’s so much cheaper. I will warn you though the more intricate the design the harder it can be to use since you have to add back small pieces of lettering and such. But it’s so fun and always gets crisp lines if you iron it correctly. 🙂
I am SO glad I found your blog. I just got the Cricut Explore Air and I am so excited about what it can do! Do you have any idea how I could use my Cricut to address envelopes? I am getting married next year and was hoping I could use my Cricut and a calligraphy font to address my envelopes. Have you ever done this or do you have any tips?
Lacy, Congrat’s you’re going to love it! I have never addressed envelopes, but I know it can totally be done. There is a fantastic Facebook group called “Cricut Lover’s Guide to Design Space”, I highly suggest asking to join the group. They know so much stuff and can totally tell you what kind of pen / marker to use and what fonts work best. 🙂 https://www.facebook.com/groups/CricutLoversGuide/
Can you make the stencil by hand if you don’t have a cutting machine?
Hi Joy! You sure can, you will need freezer paper or vinyl to create the stencil. Freezer paper would work best since you would need to trace the design onto it. Just print out your saying then trace onto the freezer paper and cut with an xacto knife and iron-on to the fabric for painting. You can search freezer paper stencils on my site for instructions on how to do it. 🙂