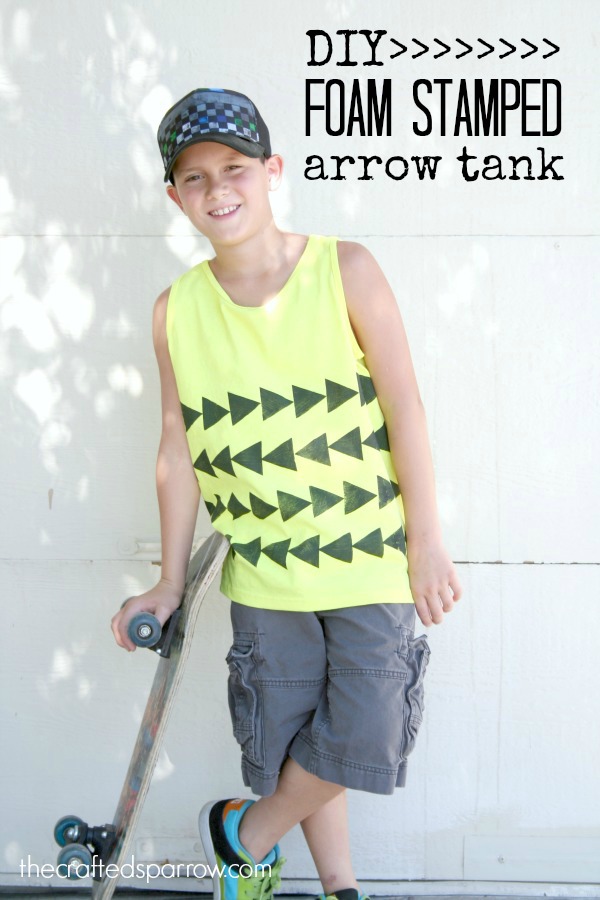
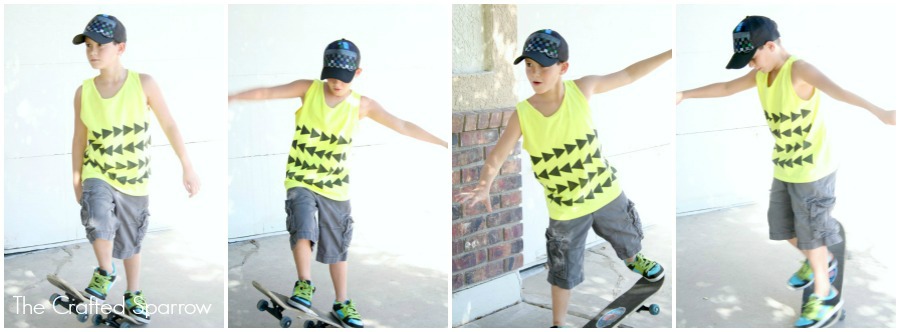
Today I’m sharing a fun and easy way for you and your kiddo’s to create a custom summer look. This DIY Foam Stamped Arrow Tank is great for older kids, and younger kids with the help of mom of course. Let’s get started.
Supplies:
– Tank top or T-shirt {pre-washed}
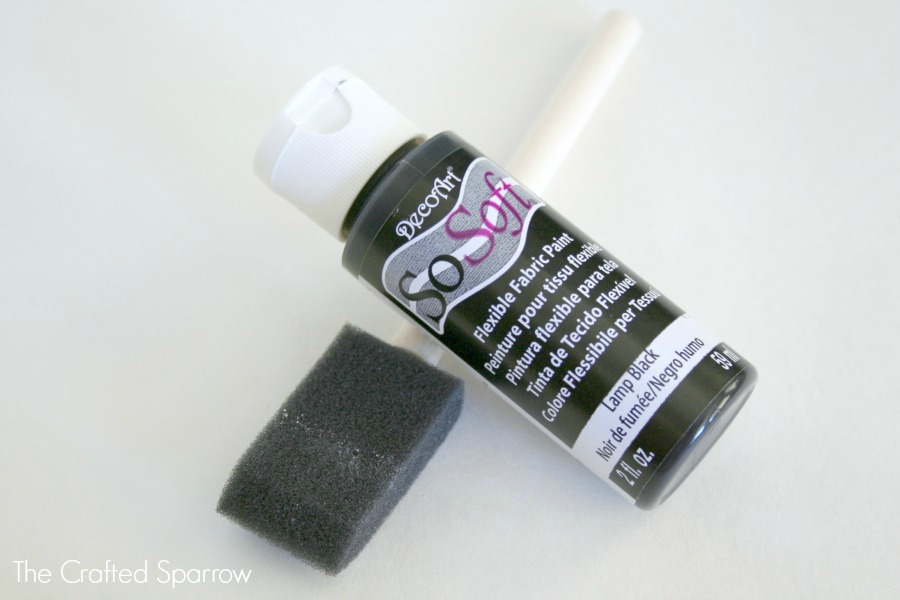
– DecoArt SoSoft Fabric Paint
– Foam paint brush
– Metal lid from old jar
– Craft foam sheet
– Scissors
– Glue or Hot glue gun {with the help of mom or dad}
– Masking tape or painters tape
Using a pen and a ruler measure and cut 2 equal triangles from your craft foam sheet. Mine were 2″ wide triangles. Then using your glue gun {with parent supervision} or craft glue, glue your two triangles directly on top of each other and then on to the metal lid from an old jar. Now you have a stamp.

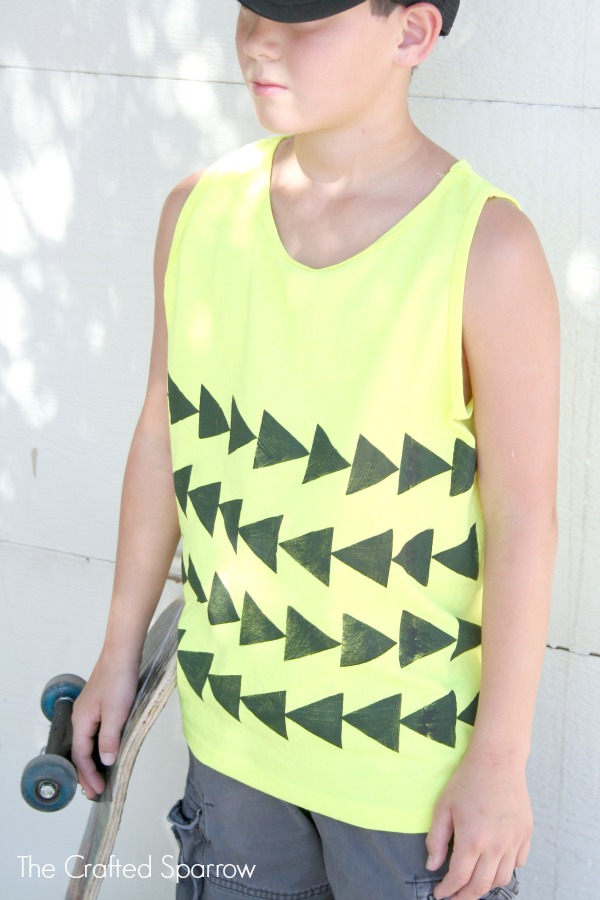
I then grabbed a boys tank top that I was able to find at Walmart for $3 in this fun bright yellow color, perfect for summer. I took some masking tape I had on hand and placed strips of tape 2″ apart on my shirt, this was the width of my stamp. I used the tape as a guide for where to stamp to be sure my rows of arrows were all straight.
Once you have it taped off for however many rows of arrows you want begin stamping.
Use your foam brush to put a small amount of fabric paint on the stamp. Carefully line up your arrows and just press down. Let it air dry for at least 3 – 4 hours, and follow directions on fabric paint bottle for further care instructions.

Now you have an awesome one of a kind tank. You can create any shape stamp and create lots of design and fashion looks for both boys & girls.


Okay he is a handsome boy!! And I love love love that shirt! So cute, I bet he’d have fun helping make it. Cute model!
Thanks friends! We are blessed to make such good looking boys!
Thanks for posting! I’ve been wanting to try some fabric paints… how does this one hold up to washing? It looks “thin” enough on the shirt to be comfortable and not gloppy.
Thanks for your help!
I love this idea! I can imagine this print on an accent pillow – how awesome would that be!?!?