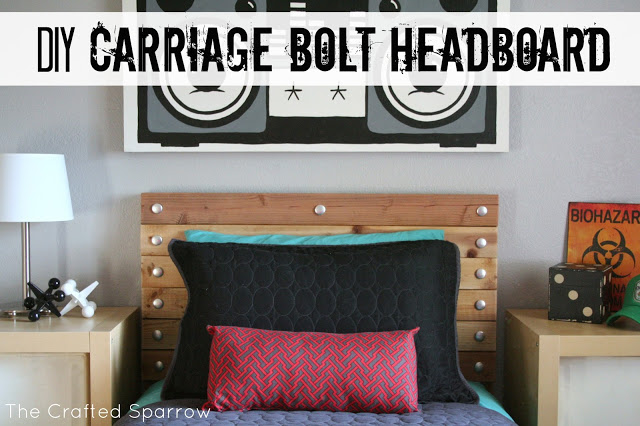
Well I think I originally did a post about a year ago saying I was going to redo my son’s room. Here I am today to tell you, that it’s still not quite done…almost but not quite. It’s not like it has been anything super hard to do or super expensive, I just procrastinate things. Today I’m sharing with you the first sneak peak – the DIY Carriage Bolt Headboard we made.
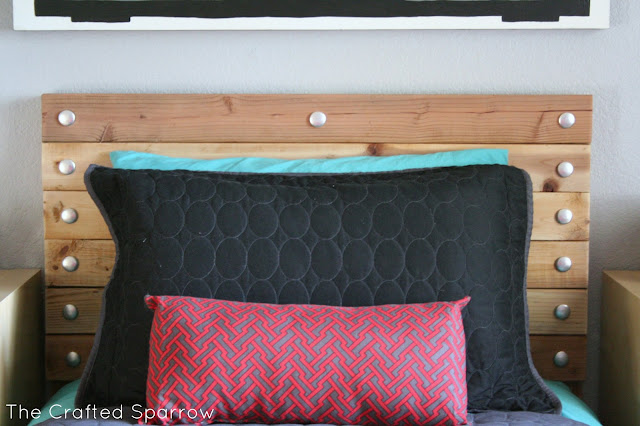
I love carriage bolts and how industrial they look on shipping crates and other things, so I knew I wanted to do something a tad different than the popular palette pieces you have seen around pinterest.
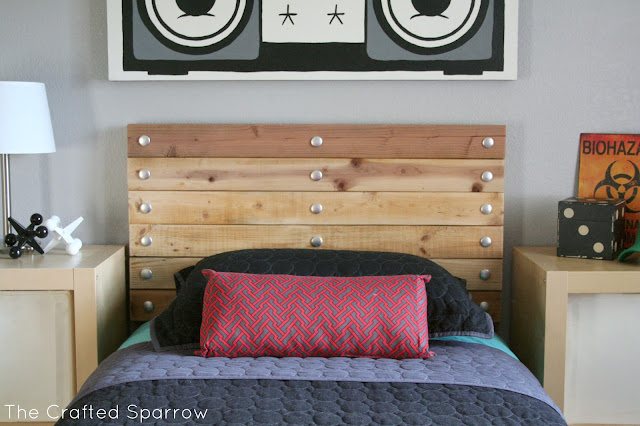
We took a few of the 2 x 4’s we had laying around in our backyard and I had the hubby cut them all to the same length.
He attached them all to 3 – 1 x 4’s. The 1 x 4’s are what we used to attach the headboard to the bed frame.
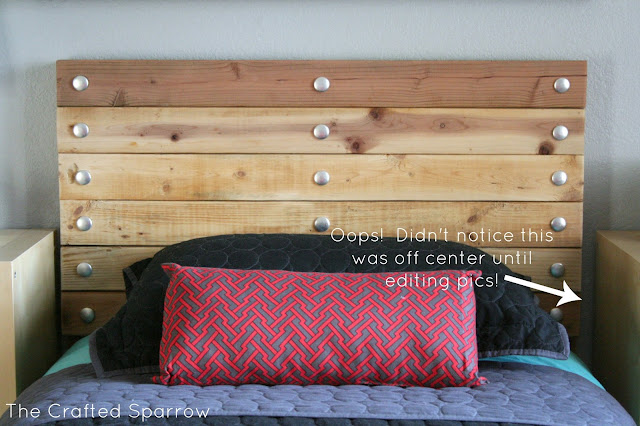
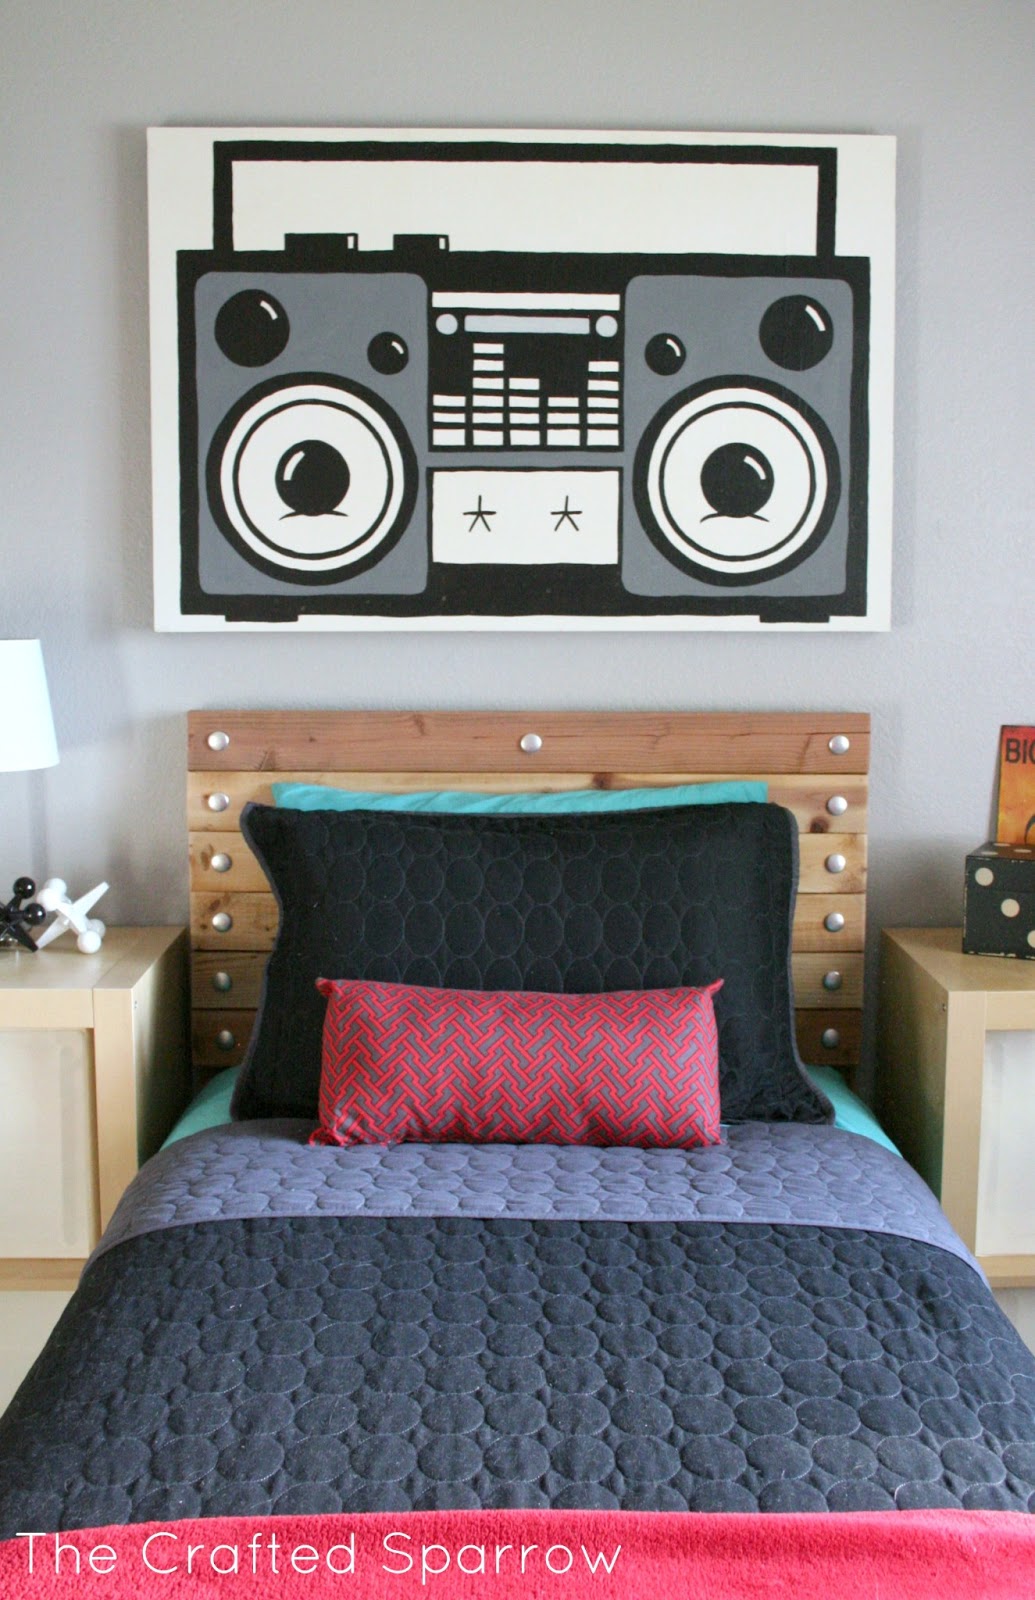
I decided not to stain or paint the headboard once the hubby was done with it, I kind of like the raw wood next to the light wood storage he has on each side of the bed.
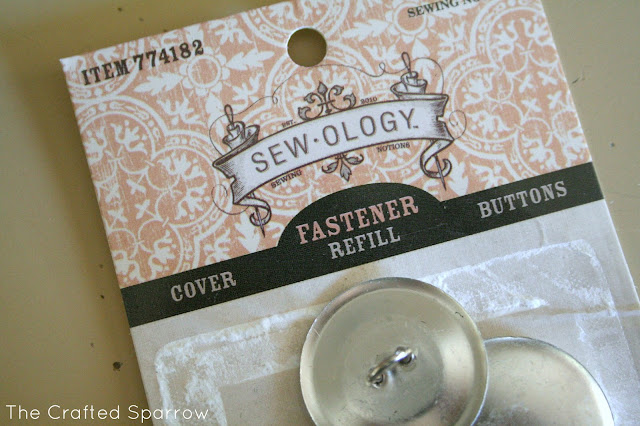
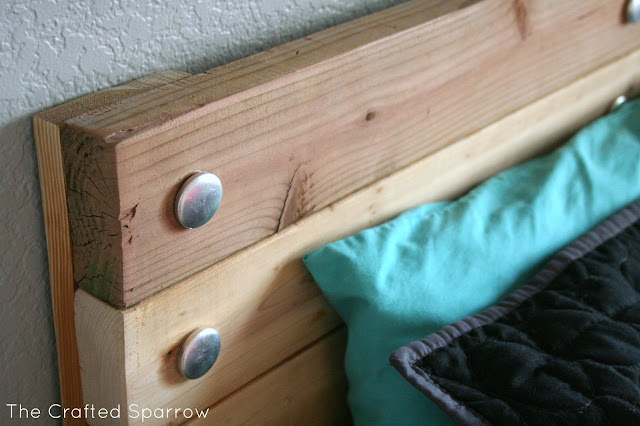
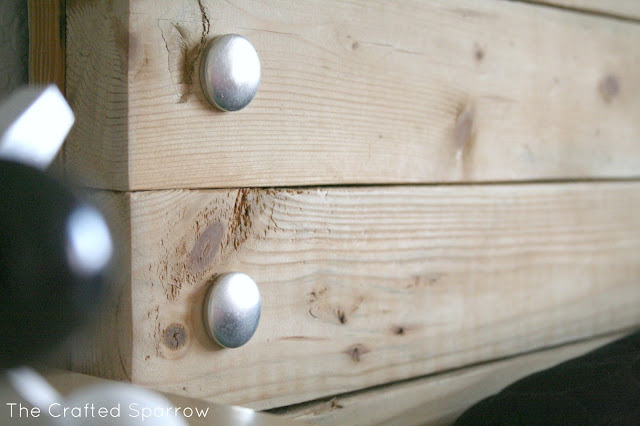
Then I busted out the hot glue gun and my ruler and glued all the aluminum buttons on to my headboard. Viola! They look like carriage bolts!


Lovin’ everything about this space, Rebecca! Brilliant to use aluminum buttons- love how you think out of the box (; Pinned! xo
Love the room! We’re going to do my son’s over and love the headboard idea. You did an awesome job!! Loved his canvas makeover too – lucky kid!
Amazing job. You have inspired me to do some work in my son’s room!
Clever to use the “naked” buttons to mimic the carriage bolts! I have a teenage son but he refuses to decorate his room at all. No artwork. Nothing. I do need to make him a headboard, but I’ve been procrastinating. His ceilings angle down, so the headboard can’t be too high. I got a jigsaw for Xmas so I want to do some sort of shape so I can use my new saw!
Wonderful headboard! I’m really digging the painting and the biohazard print off to the side. Can’t wait to see the full reveal.
This is a ROCKIN’ head board Rebecca!!
CONGRATS!!!
You have been featured at The DIY Dreamer!! Come on over and grab your featured button… you deserve it!
http://thediydreamer.com/from-dream-to-reality/features-57/
Don’t forget to come back this evening to link up again! 🙂
I love all of the colors and textures in the room. It’s great!
ummm this is pretty damn amazing! love this.
So happy to be here. This is such a cool headboard. I love the accents too. Following you now!
I also host a party every Thursday. If you are interested in linking up you can find it live today on my blog.
I hope you are looking forward to a great weekend. : )
Hani
Reply
great!