Disclosure || I am a member of the core blogger program with DecoArt. I received compensation and product for this post. All ideas and opinions are 100% my own.
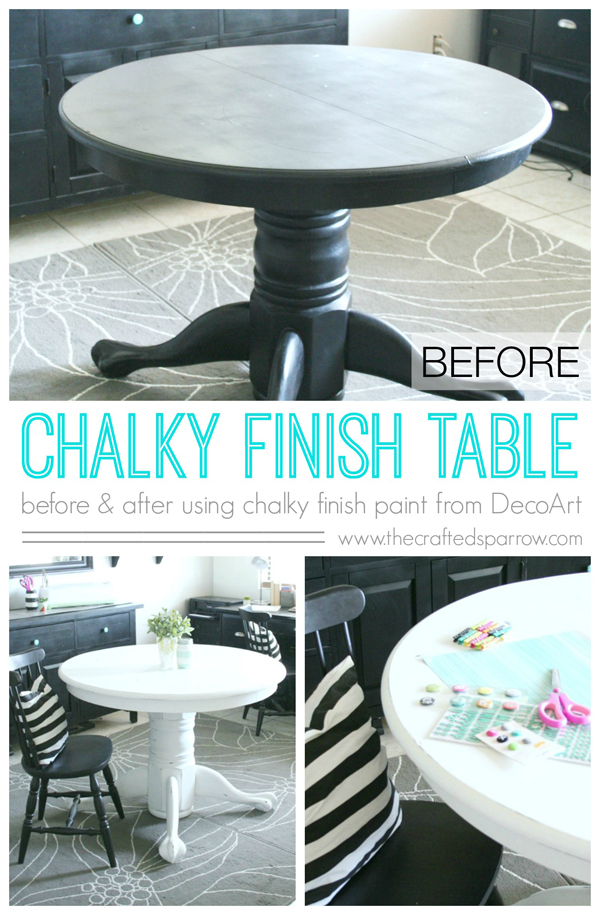
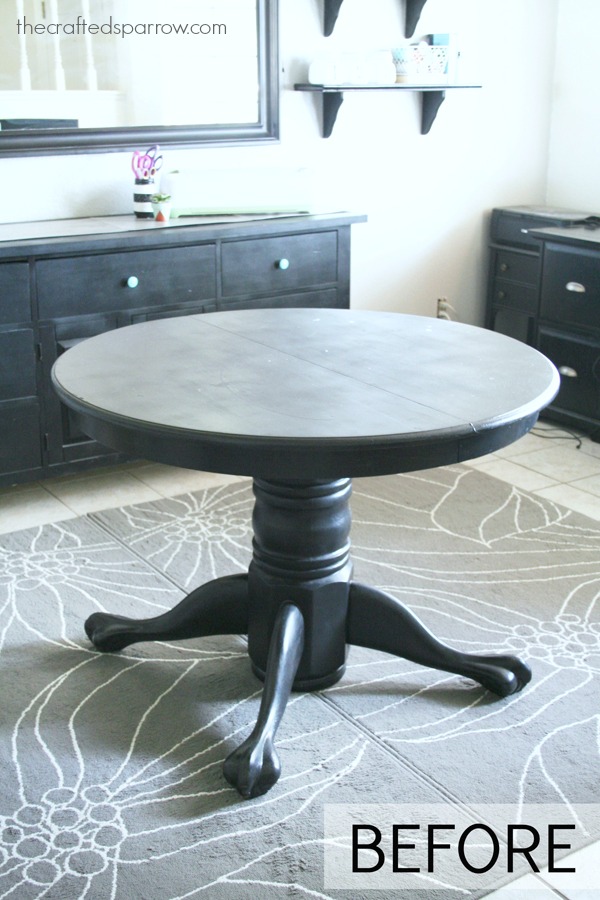
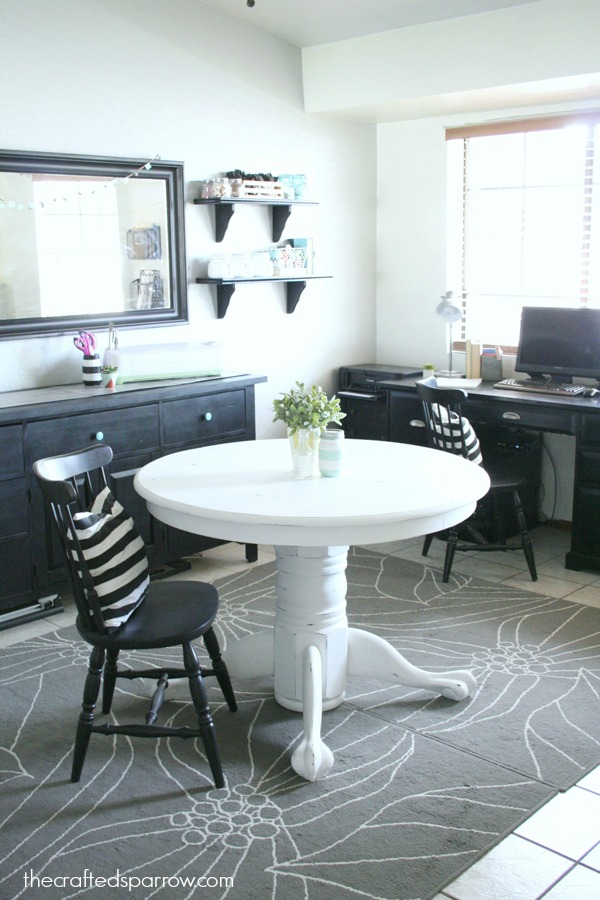
If you happened to catch my Craft Room Tour a couple of weeks ago, you may have seen my giant claw foot table in the center of the room. This massive table is one of my favorite pieces of furniture that I own. I paid $50 for it and the three chairs it came with. It was a craigslist find, but the owner said she paid $500 for it and four chairs from a local rustic shop. $500! Can you believe that!?! I’m going to be super honest with you, I would never pay $500 for anything unless it was a bed, or couch. Especially a table that was used and just painted black then resold. Call me cheap (I prefer thrifty) but nope it would never happen. The quality of this table is amazing though. Totally solid, and will last many more years.
Today I’m sharing my Chalky Finish Table redo with you. While I loved the black, it was just too much black furniture in my office / craft room. I’m trying to slowly lighten a few things here and there and this table was the perfect candidate for my Americana Chalky Finish paints that are found either online at Home Depot, in some select Home Depot & Michaels stores.
 Supplies:
Americana Chalky Finish Paint in Everlasting
Americana Soft Touch Varnish
2 Paint Brushes
Lint Free Soft Cloths
Sandpaper (optional)
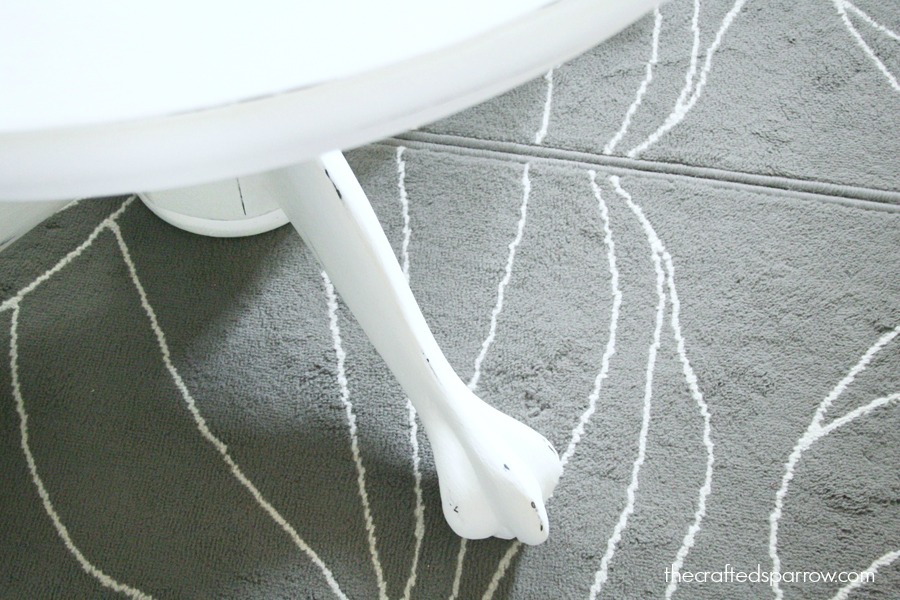
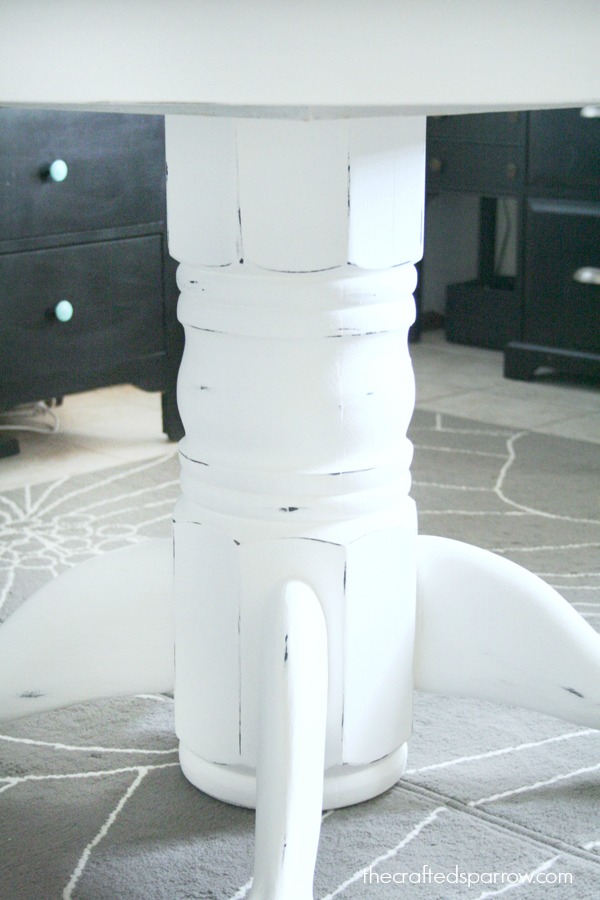
There really isn’t much to explain here. I used the Everlasting white Chalky Finish Paint. I gave my entire table top a quick sanding, only because I had been careless with some craft supplies lately and it wasn’t as smooth as I would have liked it. Then I used a paint brush to apply my chalky finish paint right over top the black that was already on the table. I knew ahead of time I’d be distressing the table and wanted all that black to peak through. So it was perfect.
I will tell you honestly it took about 5-6 coats to cover the black, and I think I used about 1 1/2 8oz. containers of the Chalky Finish Paint. That is only because I was going from the extreme dark to the other extreme of white.
Let each coat dry before applying the next. One of my favorite things about this paint is that it dry’s SO quickly. Makes painting large pieces like this a breeze.
If you are distressing it, now is the time.
Once you are satisfied with the color and it is dry, it will be time to apply your soft touch varnish. You can use créme wax or the soft touch varnish. I went with the varnish because I wanted it to be a little more protected since I use it daily and can get rough with it. Follow the instructions on the varnish or créme wax, it’s just as easy to apply as the chalky finish paint.
When the varnish is dry gently buff it with a clean lint free soft cloth, white cloth only! This will bring out the silky – buttery sheen.
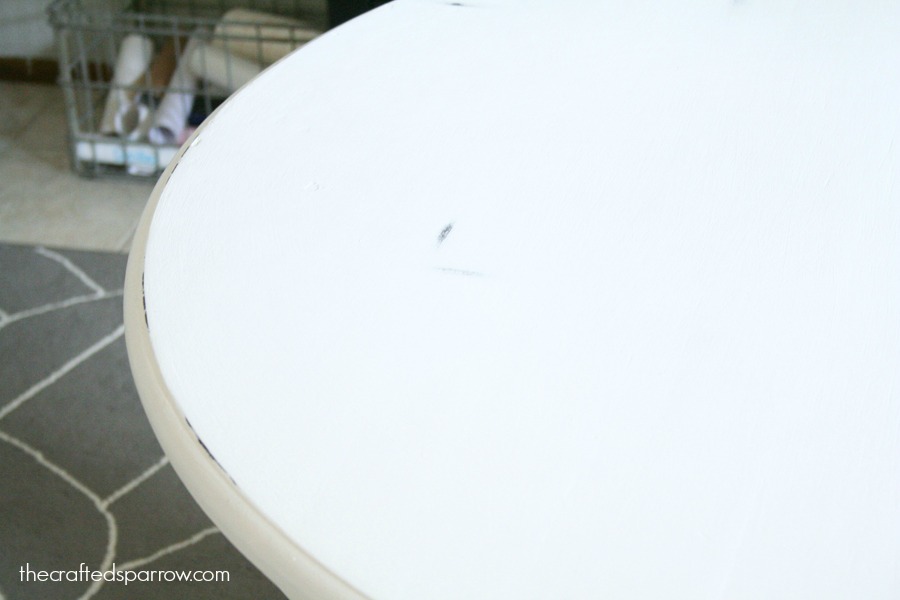
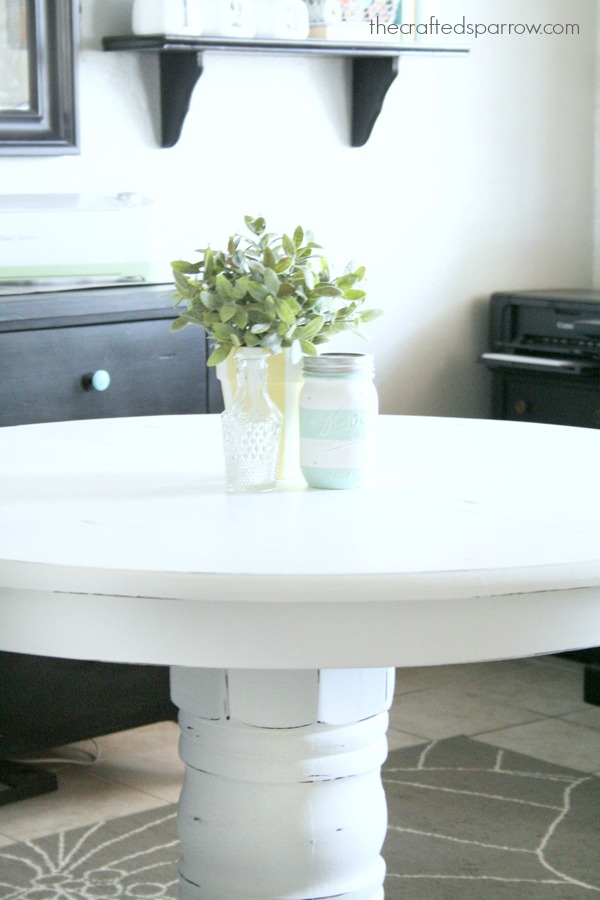 When I said earlier that this finish was silky & buttery, I wasn’t joking. It’s so smooth, it’s almost hard to stop touching. I may have had to pull myself away from the table the first couple of days because I was so in love with it. I’m so glad I chose to brighten it up, it makes me so happy to see it and it brightens my office / craft room up so much.

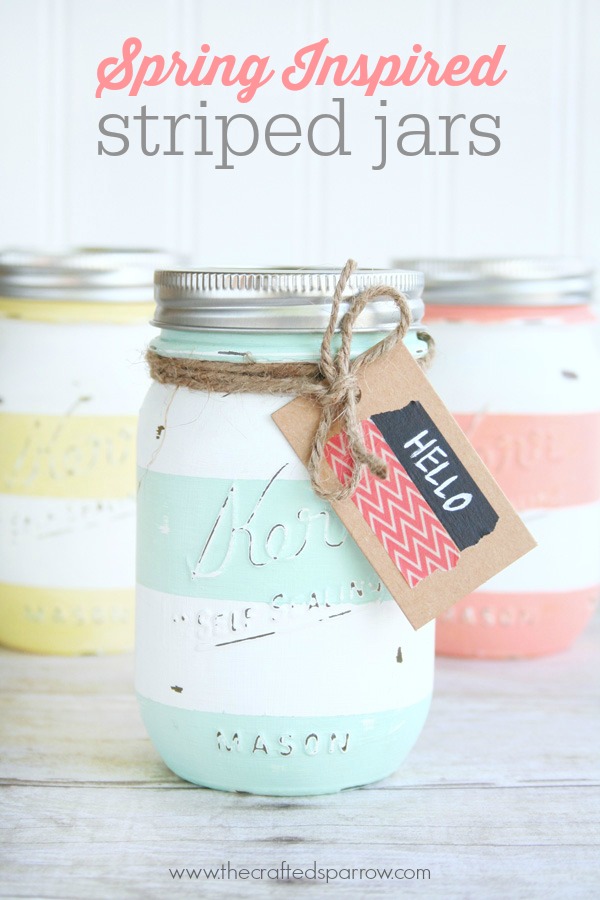
 Be sure to check out these Spring Inspired Striped Jars that I also made using the Americana Decor Chalky Finish Paints. They are perfect on any tabletop with flowers, or for spring decor.


Oh man, you seriously scored with that table purchase. It is beautiful! I love the way it looks all white and bright. Gorgeous!
Thanks Kara! I did score! Have a super week!
Crazy how it totally brightens up the space! Looks fab!!
Thanks twinners! xoxox
I just had to say hello, It will be a short stay, as I need to tape my jars for the next step!!!! thank you so much for sharing! 🙂
I would like to paint my kitchen table (which is unfinished wood) white. And I would like to distress just as you did however I don’t want to paint the entire table black first… Do you have a recommendation for a more neutral color I could put under the white…. Or any other idea?
Thank you!!
Hi Laina. Yes, you could just stain the parts of the table (or paint) you want to have distressing. Then paint your white over top of everything. If you are using a really great chalk paint product it should cover those areas nicely until you distress them. I really love BB Frosch Chalk Paint Powder for all my projects now. http://bbfrosch.com/ It honestly amazing!