The Crafted Sparrow

Create to Inspire!

  • Home
  • About
    • Advertise
    • About Me
    • Disclosure
  • Tutorials
    • home decor
    • diy
    • crafts
    • Cricut
  • recipes
    • Appetizers
    • Sides
    • Soups and Salads
    • Dessert
    • Drinks
  • holidays
    • new years
    • Valentine’s Day
    • st. patrick’s day
    • mothers day
    • fathers day
    • 4th of July
    • halloween
    • thanksgiving
    • christmas
  • free printables
  • Contact

DIY Slip Covered Ottoman & Freezer Paper Stencils {it’s a double post!}

02/29/2012 4 Comments

DIY Slip Covered Stools & Freezer Paper Stencils
While I’m in the midst of finishing up my sons room remodel {still a few more accessories & wall art to finish} I decided today that I should be productive and make one project for his room.  These DIY Slip Covered Stools & Freezer Paper Stencils were a great place to start.

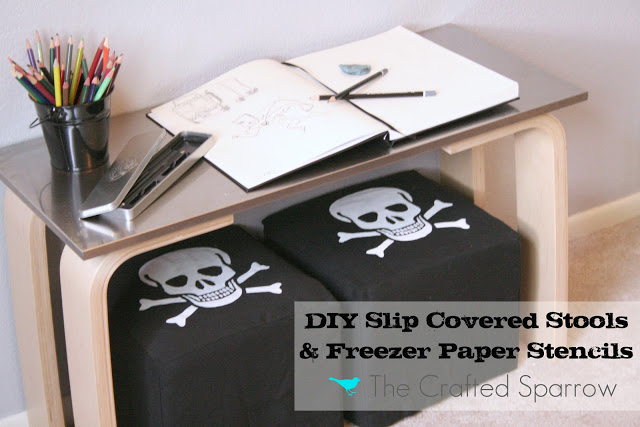
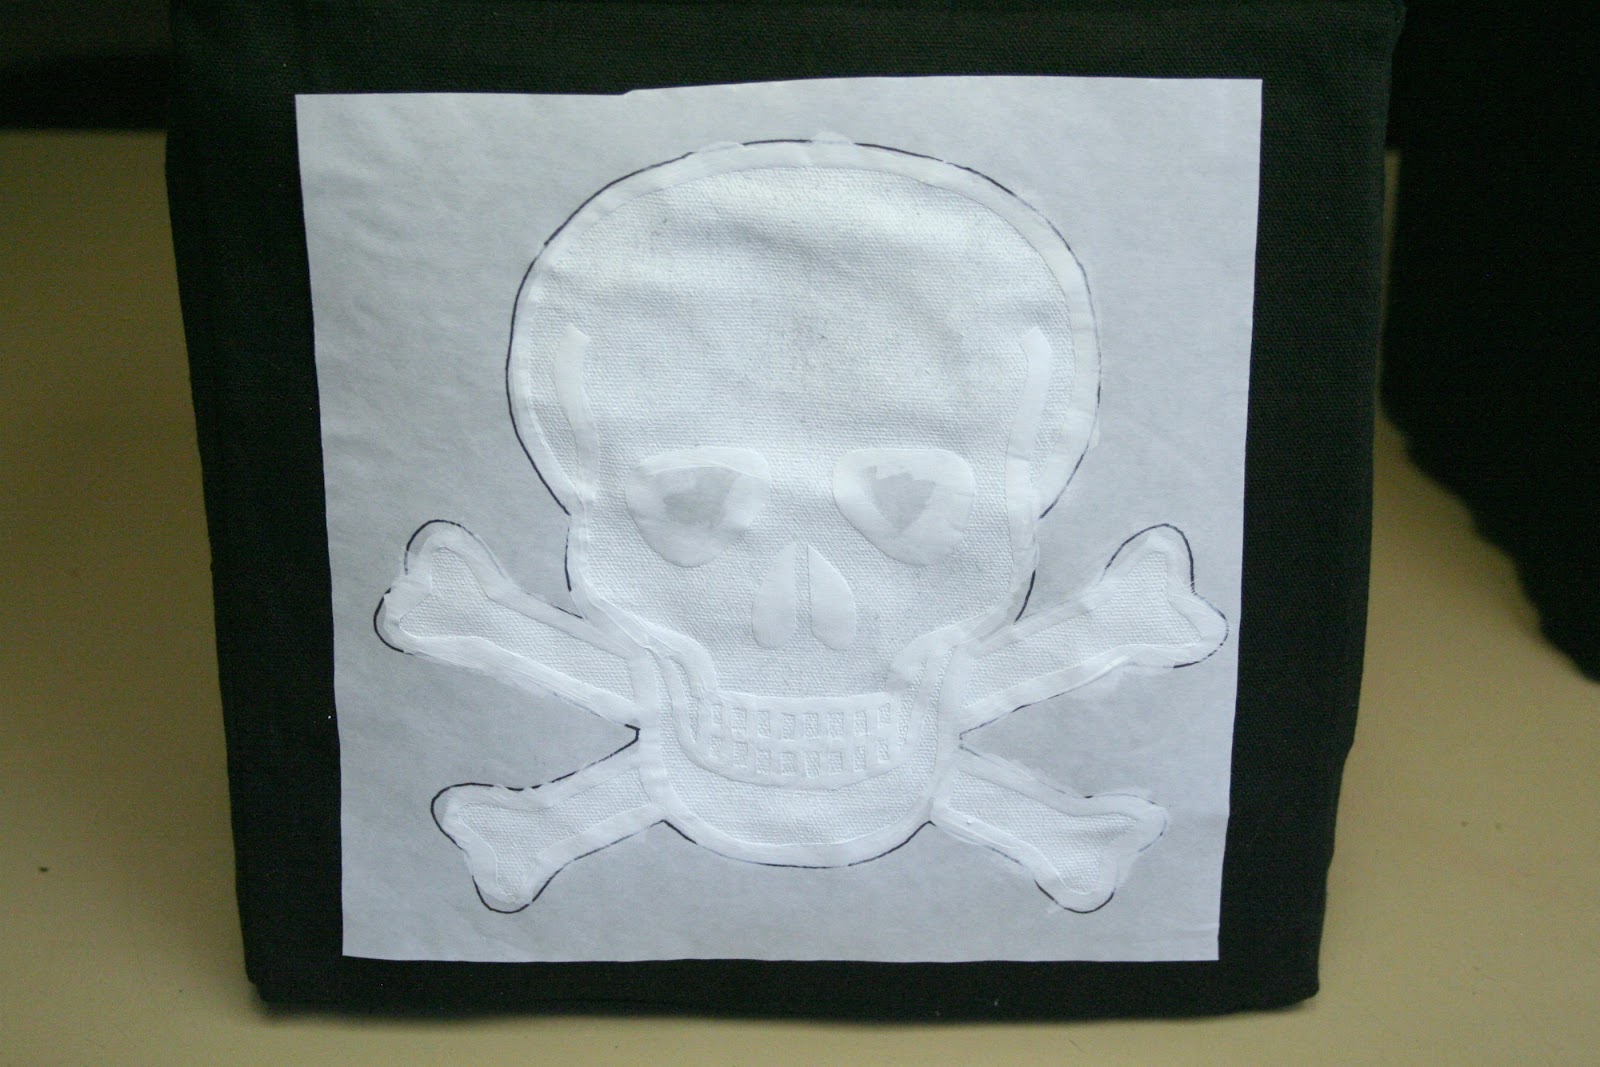
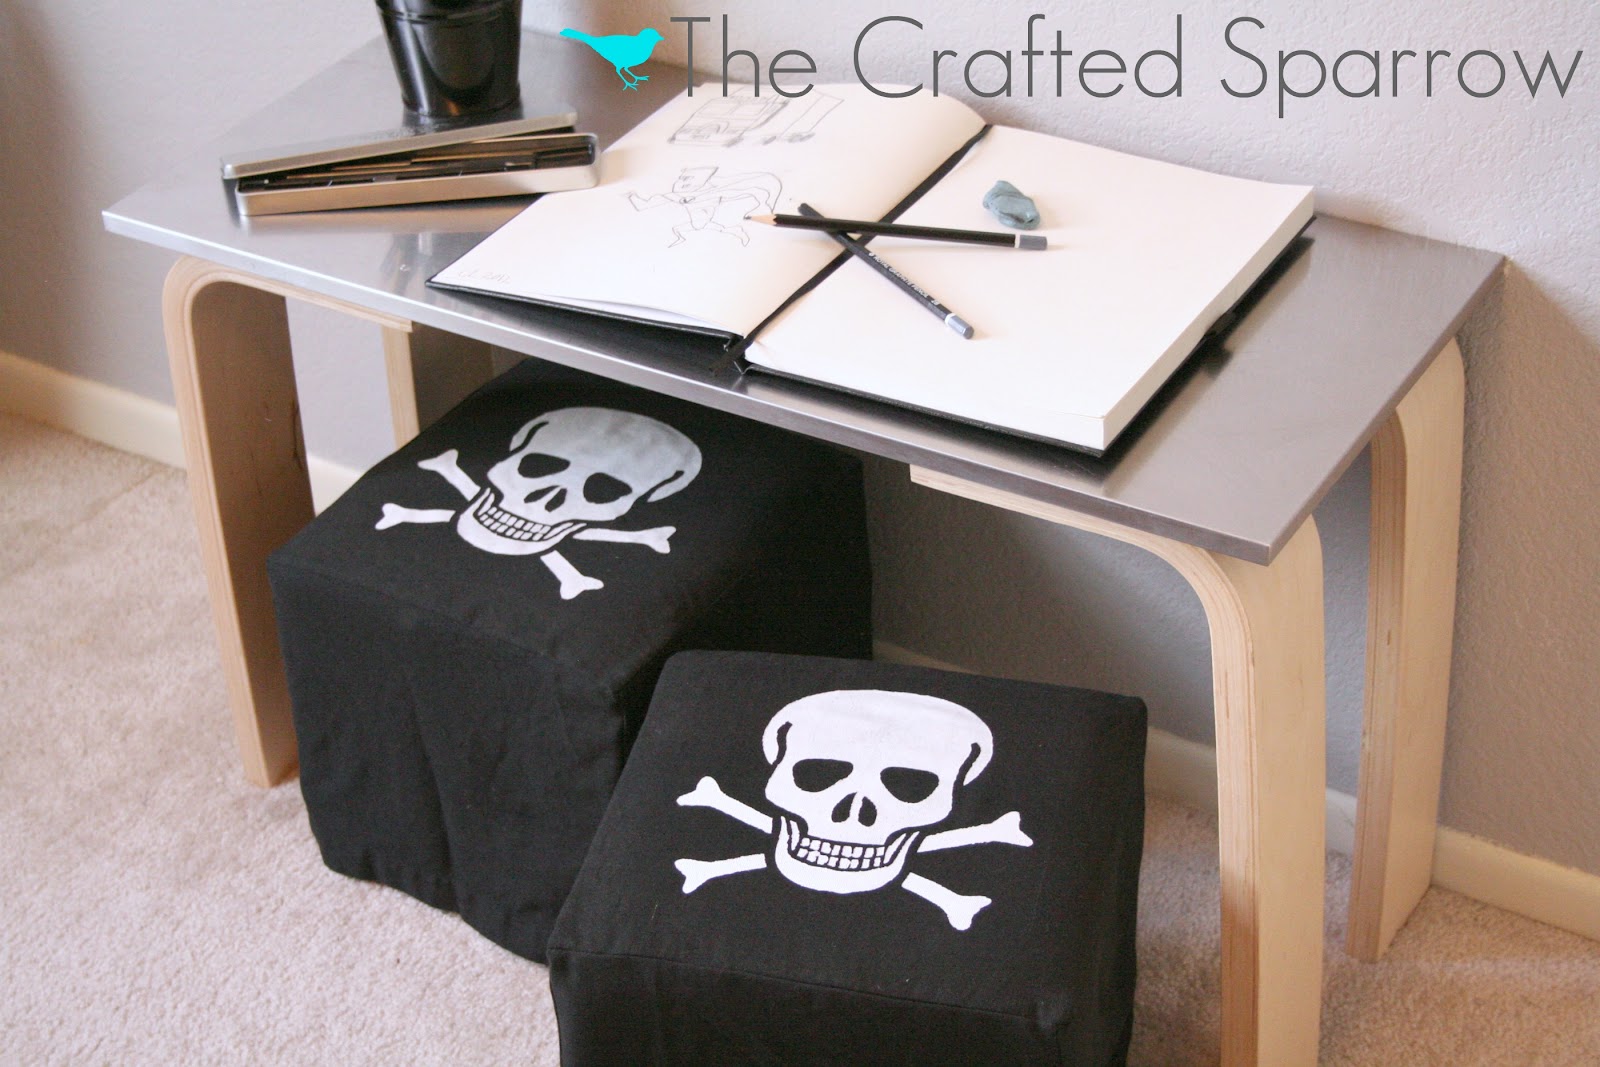
He has a small desk that I made a couple years ago.  I used an Ikea stainless steel cabinet door front that was in the clearance section for like $4, and some clearance legs that I also found at Ikea for $2 a piece.  The legs match his other furniture perfect.  And just buy adding the legs it was an instant little desk that is perfect for this little guy.  And not to mention super easy to clean since the stainless just wipes clean.  When I made the desk I found these perfect little cube ottomans from Ross that are 12 x 12″ and fit under it perfectly.  Since they are tan from his old room I knew I needed to slip cover them. Luckily I had bought some black canvas curtains from Goodwill several months ago that I decided not to use in his room.  It’s the perfect material for this project.

How to make a DIY Slip Covered Ottoman

Start with the old ottoman.  These are small ones, but this same thing can be done to any ottoman.
Measure all 4 sides of the ottoman, and then measure the top.  Now cut all the pieces out of your new fabric.  Luckily the curtain I used was hemmed on both sides so I used the hem for the bottom of my slipcover so I didn’t have to sew one.
Pin the right sides together making sure to match up the hemmed edges at the bottom so they are even.  Sew one seam at a time.  When your done with one, just add another piece of the fabric to the next edge to sew.  Your basically making a big long strip of fabric.  When you sew all 4 pieces together you will have a square.
Now just sew on your top piece from the inside obviously, and your done.  You can tell in my pictures I didn’t use the iron…but be my guest!
How to use Freezer Paper to stencil your fabric
You need freezer paper!  Completely different from wax paper {so I’ve learned this past week}.  The freezer paper has a shiny side like the picture below, and the other side is almost like a white paper
First you need to print off or draw out your design.  I chose to print a skull template.
You will need to place your printout under the freezer paper {it will show through to trace} and trace your design.
Once you have completely traced the design or drawn your own, you will need your craft knife to start cutting out the design.  Be sure to save pieces that are like my eyes and nose cavity pieces.
Now on a dry warm setting iron the design on to the fabric, just make sure you get it really good around the edges.  Then get your fabric paint, tulips “soft” fabric paint is best for this.  And paint it on.  You need to let it dry for a couple hours before removing the stencil.
And your done.  Some things need to be set, just read the directions for your fabric paint.

Related Posts

  • DIY Faux Leather Mason Jar Tumbler CuffDIY Faux Leather Mason Jar Tumbler Cuff
  • DIY Sheet Pan ChalkboardsDIY Sheet Pan Chalkboards
  • Copper Inspired Fall TablescapeCopper Inspired Fall Tablescape
  • Vintage Truck Christmas PillowVintage Truck Christmas Pillow
  • Vintage Inspired Christmas Pillow and a BIG Announcement!Vintage Inspired Christmas Pillow and a BIG Announcement!
  • Notebook Paper ChalkboardNotebook Paper Chalkboard

Filed Under: crafts, diy, home decor, sewing, Tutorials

« St. Patty’s Day Recipes & Treats
Happy Birthday Dr. Suess! »

Comments

  1. Kimberly Sneed says

    02/29/2012 at 4:19 PM

    those turned out AWESOME! i bet he loves them! so cool!

    Reply
  2. The Crafted Sparrow says

    02/29/2012 at 7:46 PM

    He does, thanks! Gonzalo was mad though because he thought I bought new ottomans…I told him to “open his eyes”! lol. 😀

    Reply
  3. Julie says

    03/04/2012 at 1:11 AM

    You are invited to participate in my blog hop:
    http://juliejewels1.blogspot.com/2012/03/show-your-stuff-13-chocolate-cover.html

    Reply
  4. Anonymous says

    02/06/2014 at 5:33 PM

    hi there great craftiness
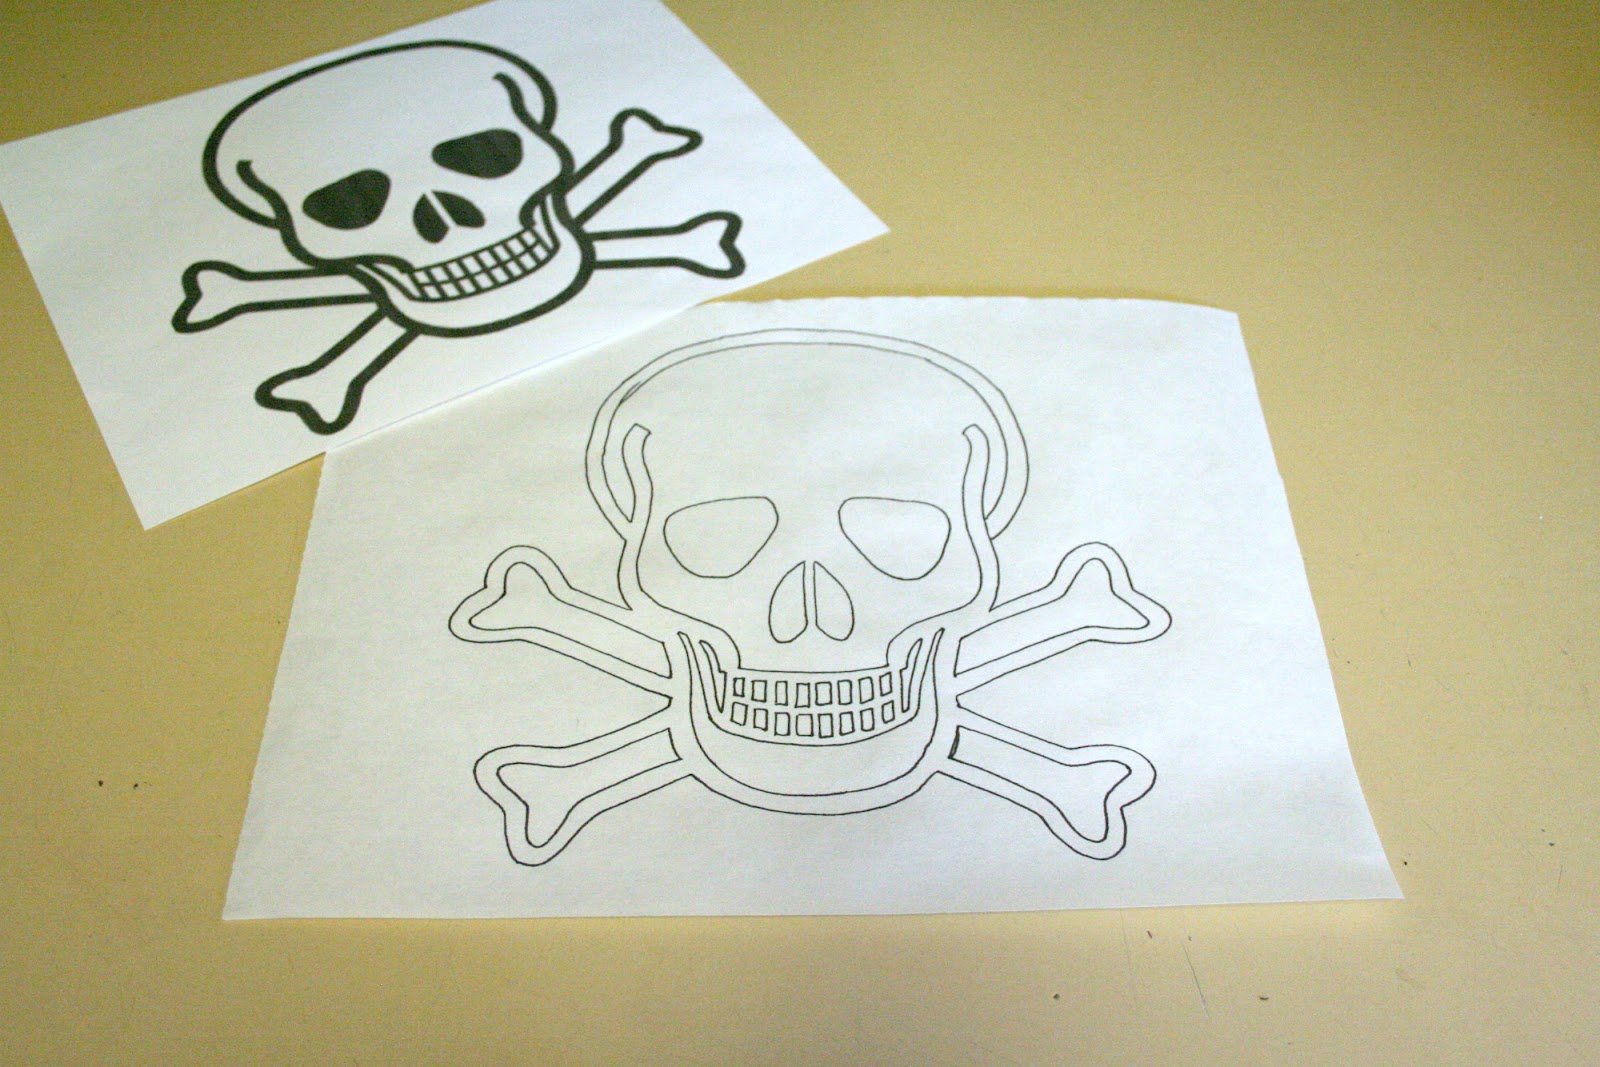
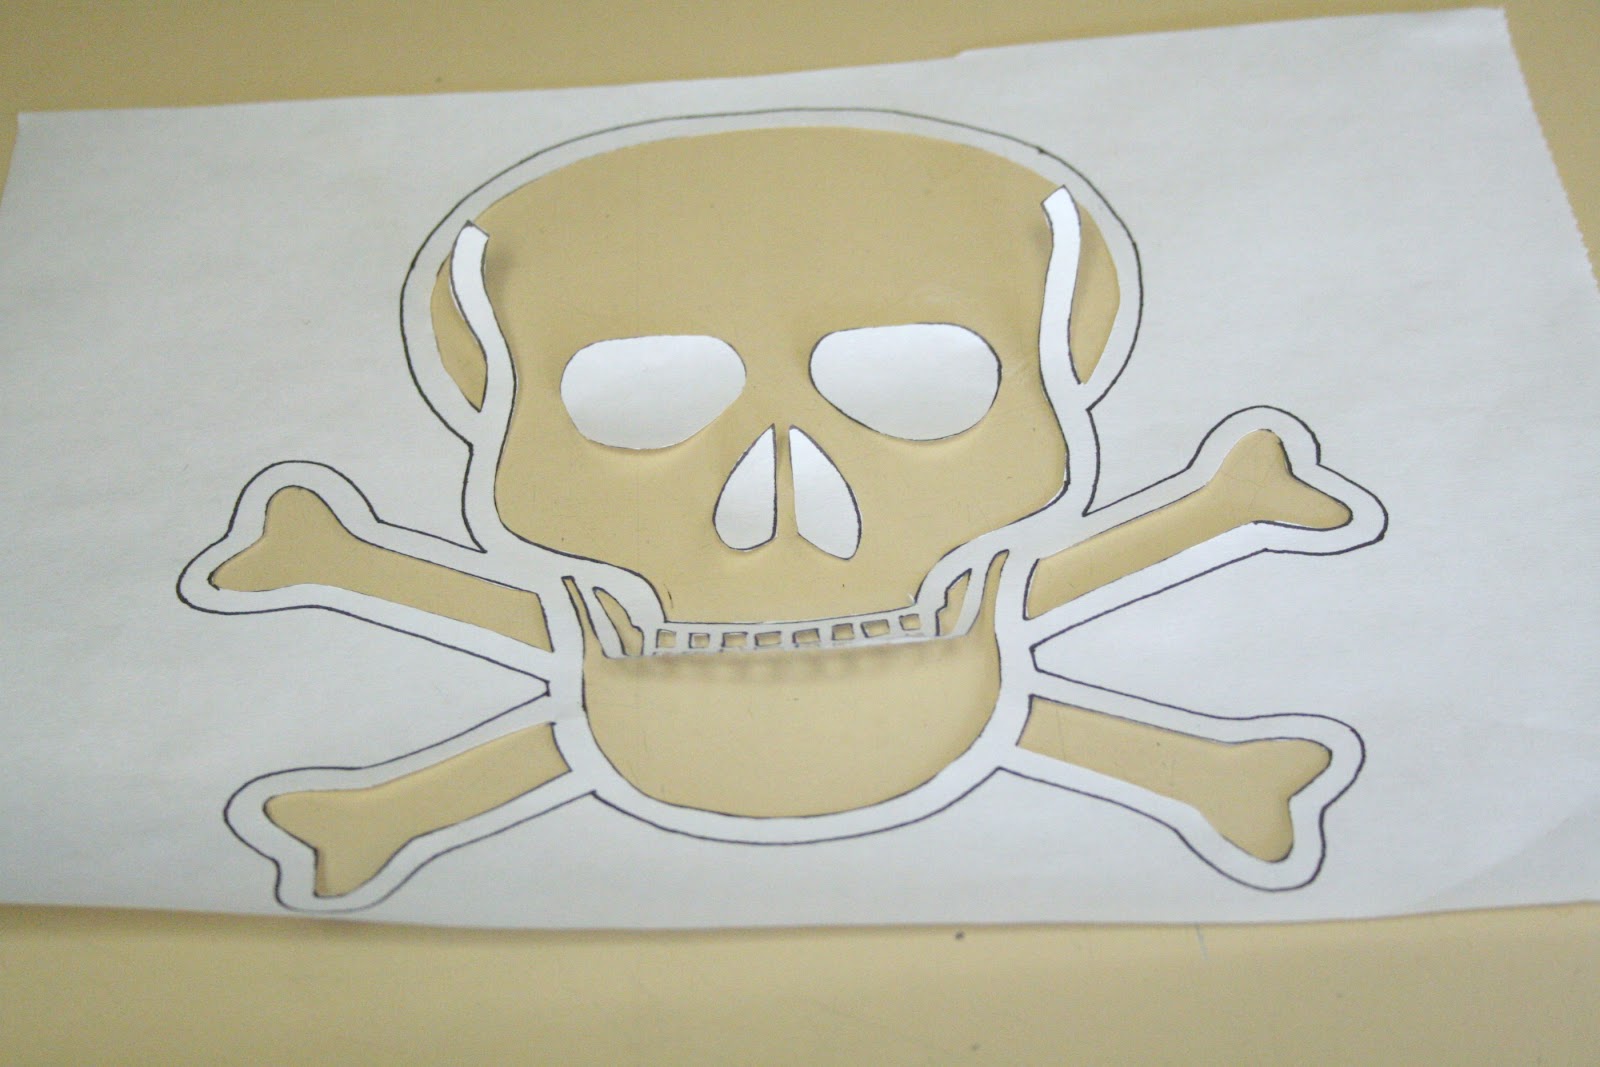
    how may I get a copy of your skull template please? [email protected]

    Reply

Leave a Reply Cancel reply

Your email address will not be published. Required fields are marked *

This site uses Akismet to reduce spam. Learn how your comment data is processed.

  • Email
  • Facebook
  • Google+
  • Instagram
  • Pinterest
  • Twitter

Copyright © 2023 · Genesis Framework · Design By: Key Lime Digital Designs · Privacy Policy · Log in