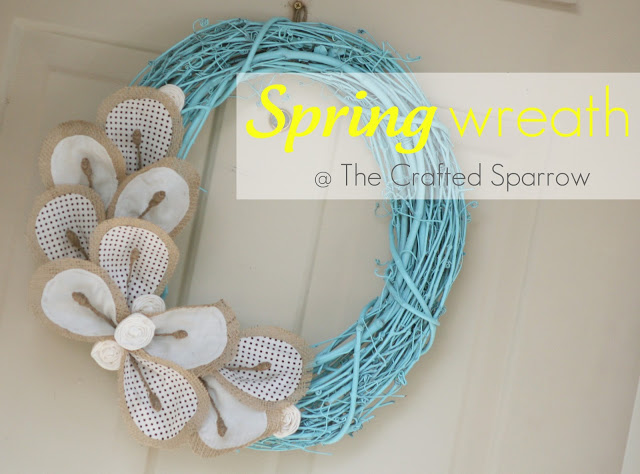
When I started thinking about making a spring wreath I knew I wanted to use a grapevine wreath. I wanted something fresh in color. I really love the color I chose to spray paint it, Krylon – Blue Ocean Breeze. I love turquoise! I also knew I wanted to use some of the burlap that has been laying around my craft cupboards, eyeballing me every time I choose another fabric for a project. Originally I was going to do yellow on the wreath, but chose to keep it simple and fresh with the light colors. I really love the way my Grapevine & Burlap Spring Wreath turned out, the petals remind me of a calla lilies.
Supplies:
– Grapevine wreath
– Burlap
– Cotton print/solid fabric for inside of petals
– Cardstock for template
– Fabric shears
– Floral wire
– Jute twine
– Glue gun
– Burlap
– Cotton print/solid fabric for inside of petals
– Cardstock for template
– Fabric shears
– Floral wire
– Jute twine
– Glue gun

Take a piece of card stock or a manila folder and create a template for the larger burlap petal, and a smaller one for the fabric piece that goes on top of the burlap. Cut them out.
Trace using the templates on to the burlap and the fabric/s of your choice. I made 9 petals for my grapevine wreath, they are about 6″ long and about 3″ wide at the top for the burlap pieces.
Cut all the pieces out.
Using a glue gun, glue all the fabric pieces to the burlap petals.
I put a dab of hot glue at the ends of the petals so they look like this.
Now it’s time to make the stamen for the petals. I cut a bunch of floral wire in to 3″ lengths. I was originally going to do 3 stamen per petal, but then I realized how much time that would take and quickly scrapped that idea! I used my glue gun to glue some twine on to the wire. Making one end of it bulkier and then just twisting the twine the rest of the way down the wire, putting a little hot glue on the wire as I went so the twine stayed put. They should sort of look like a twine q-tip. Like the photo below:
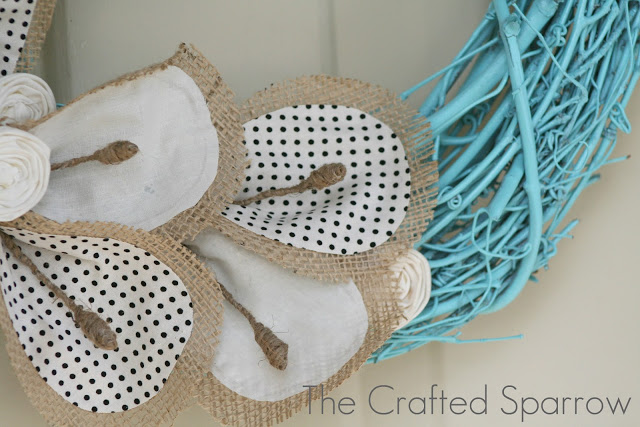
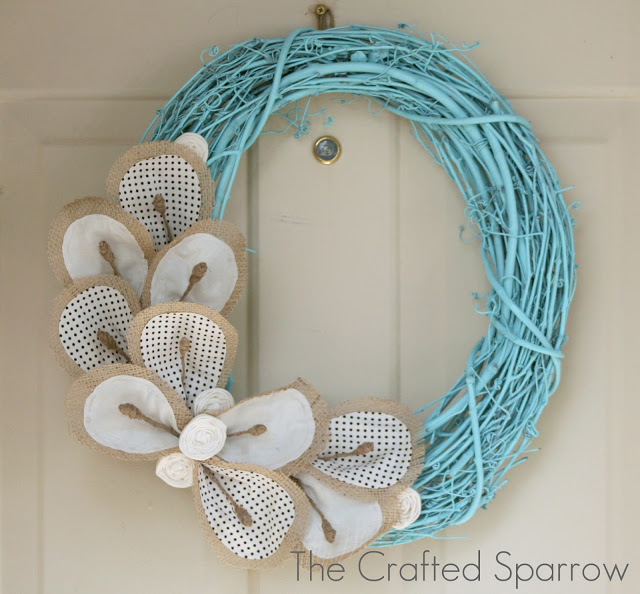
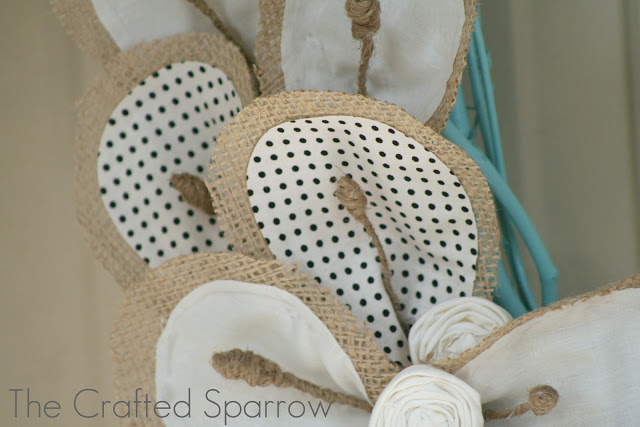
Then glue the stamen in to the petals, glue your petals on to your wreath in whatever pattern you like. I added some linen rosettes I had torn off another wreath just for a little extra something. Lastly I glued a bit of twine to the back to make a hanger. And then I had this as my finished wreath. Lovely isn’t it?!


İ really like this:) so cute and also colors very nice.
I LOVE this wreath and I love the color you chose to paint it!!! I’m in need of a fun spring wreath… you’ve got my mind brewing with ideas now!
Oh good! I’m smitten with this wreath myself! It was the perfect pop of color for our front door this spring!
Oh-my Gosh that is beautiful! and so is your blog. I’m your new follower. And I would like to invite you to come link up at my Sunday Round Up party every Sunday. @ http://www.arosiesweethome.com/
I hope you stop by to see if you would like to follow me too.
Thanks
Rose
Thanks for linking to Take-A-Look Tuesday – you were featured today!!
–Mandy, http://www.SugarBeeCrafts.com
Not sure why I never thought of painting the vine/stick wreaths… great job!
The wreath is so unique! The petals are soo different. Painting the grapevine wreath the teal is just perfect:) I’m pinning your wreath!!!
That is a very cute wreath! I love the color combo!!!
Found you on TT & J and would love for you to come by join us on our linky party and link this up! 🙂
http://www.littleinspiration.com/2012/03/create-inspire-party-features_23.html
Thanks!!!
Angie from ALI
HELLO FRIEND YOUR TALENT IS IN TODAY’S SATURDAY SPOTLIGHT TALENT SHOW! WOO-HOO! winks, jen
PS. I ADORE THE NAME OF YOUR BLOG! 😉
O my! I love it! SO smart to spray paint the wreath – it’s perfect! I love the color. I hope to copy your idea soon 🙂 Thanks for sharing!!
Brie @ BreezyPinkDaisies
Very cute, I love that color blue! =) New follower, hope you had a good weekend!!
http://www.TheLatestFind.com
So pretty! I thought the petals are butterflies! The linen rosettes look like it’s body, lol!
Love the color!!!
This wreath is adorable! I love the colors! found you through a linky party and I am a new facebook follower! I hope you will visit my site if you get a chance!
Chrissy
http://www.theataylor-house.com
I have literally NEVER thought of spray painting a vine wreath. This is smart and super inspiring! Easter wreath coming to my door soon thanks to your awesome inspiration!