
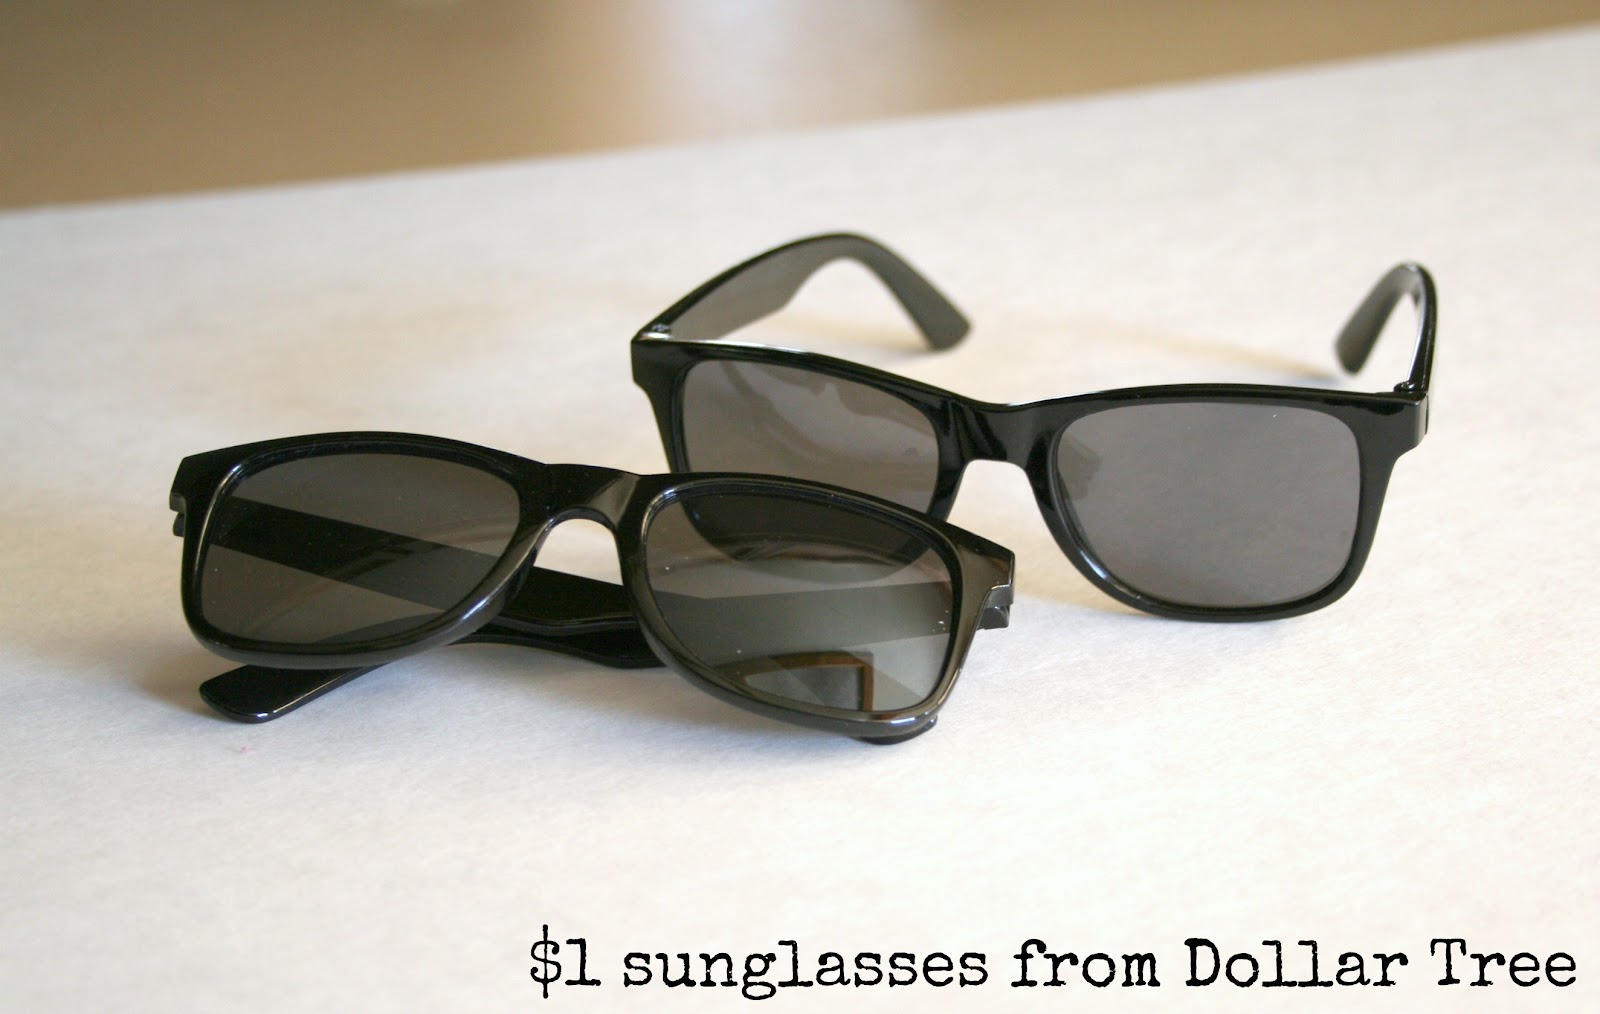
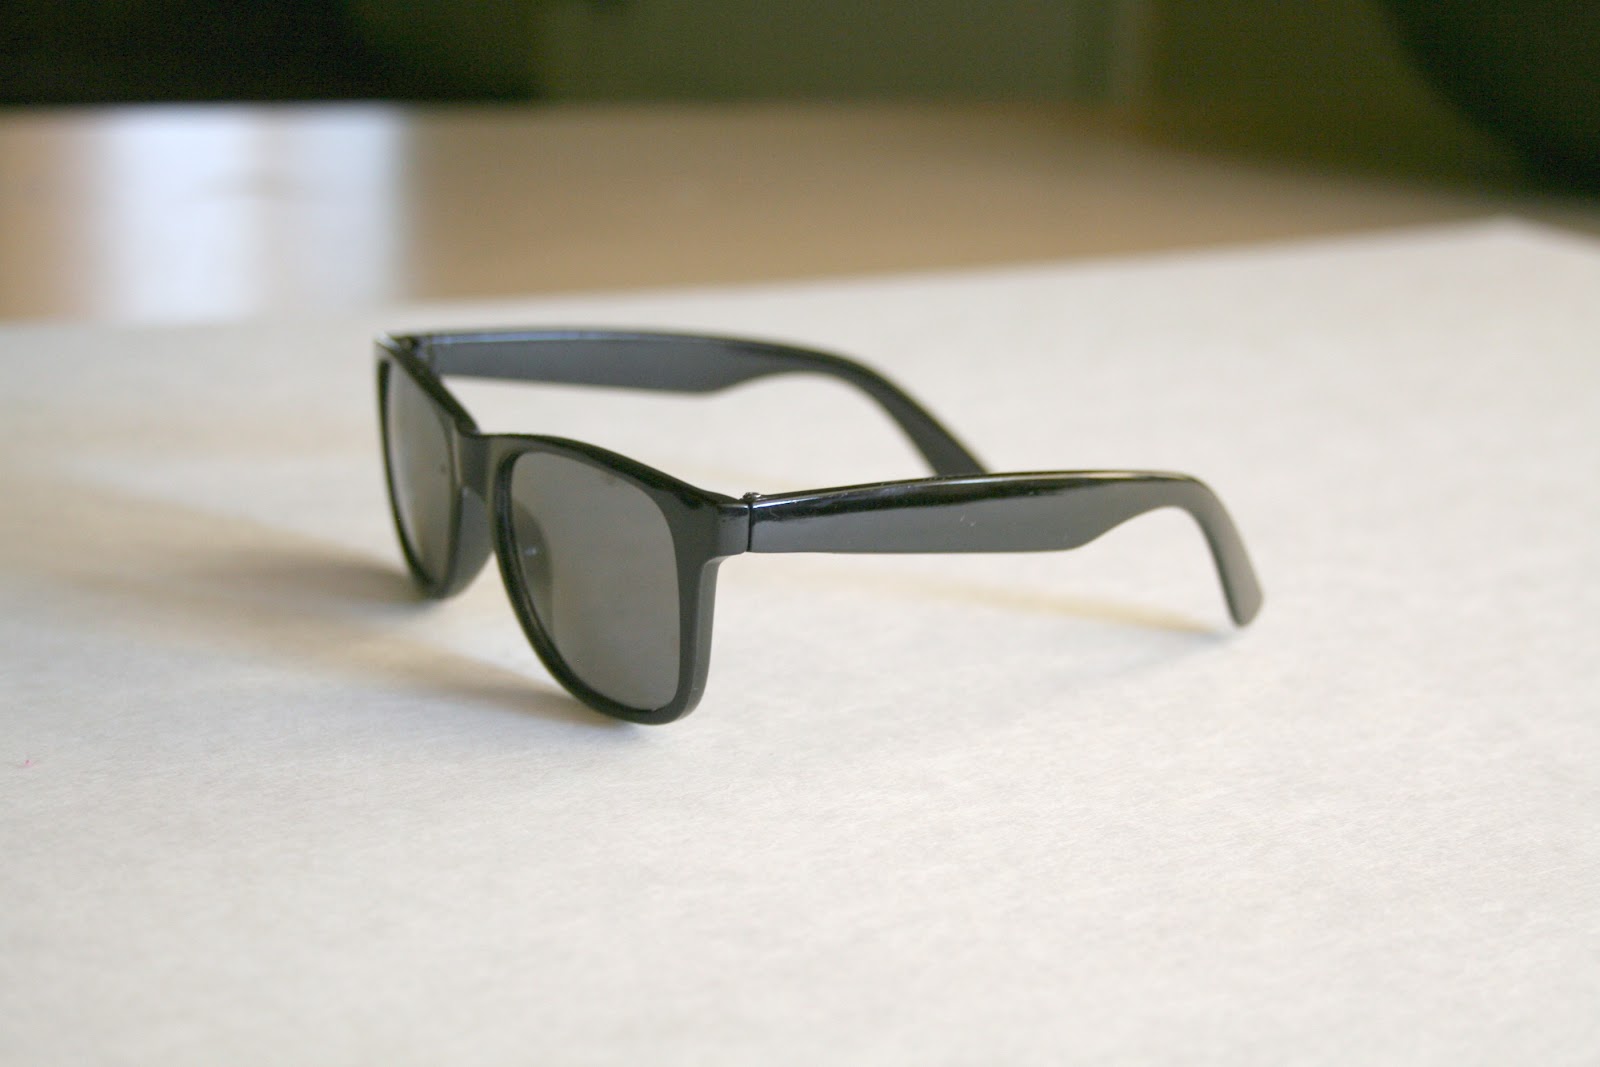
Okay so I’m totally obsessed all the sudden with my boys wearing Ray Ban inspired sunglasses. By far they are the coolest shape of glasses out there for kids, except maybe some aviators. And I’ve totally lucked out and found some cute glasses lately at Dollar Tree. I found these plain black fake Ray Ban’s for a buck!
I’ve also found these aviator style glasses at Dollar Tree. I think the dollar stores are finally catching on to the trends, thank goodness.

Recently while shopping I’ve found these two pairs of glasses for the boys, the green & black checkered ones were from Walmart for $5 and the toddler black & red ones were from Target for $5 as well.


So when I saw the plain black ones for $1 at Dollar Tree I was sold. I knew I could make them pop a little. I decided right away that nail polish would come in quite handy with this project. So I got to work.
{Note: This is to be done on ALL sunglasses, Adults & Children}
Here’s what you’ll need:
– Any pair of solid colored sunglasses
{any color}
– Nail polish in your color choices
{you can use as many different colors as you like}
– Tape {masking or painters}
– Optional Supplies: Toothpicks, Q-Tips
There are several ways you can create your own personalized sunglasses. You can tape off a design and use it as a stencil of sorts. Or you can just free hand it and be creative. Polka dots for a girls pair of glasses would be adorable.
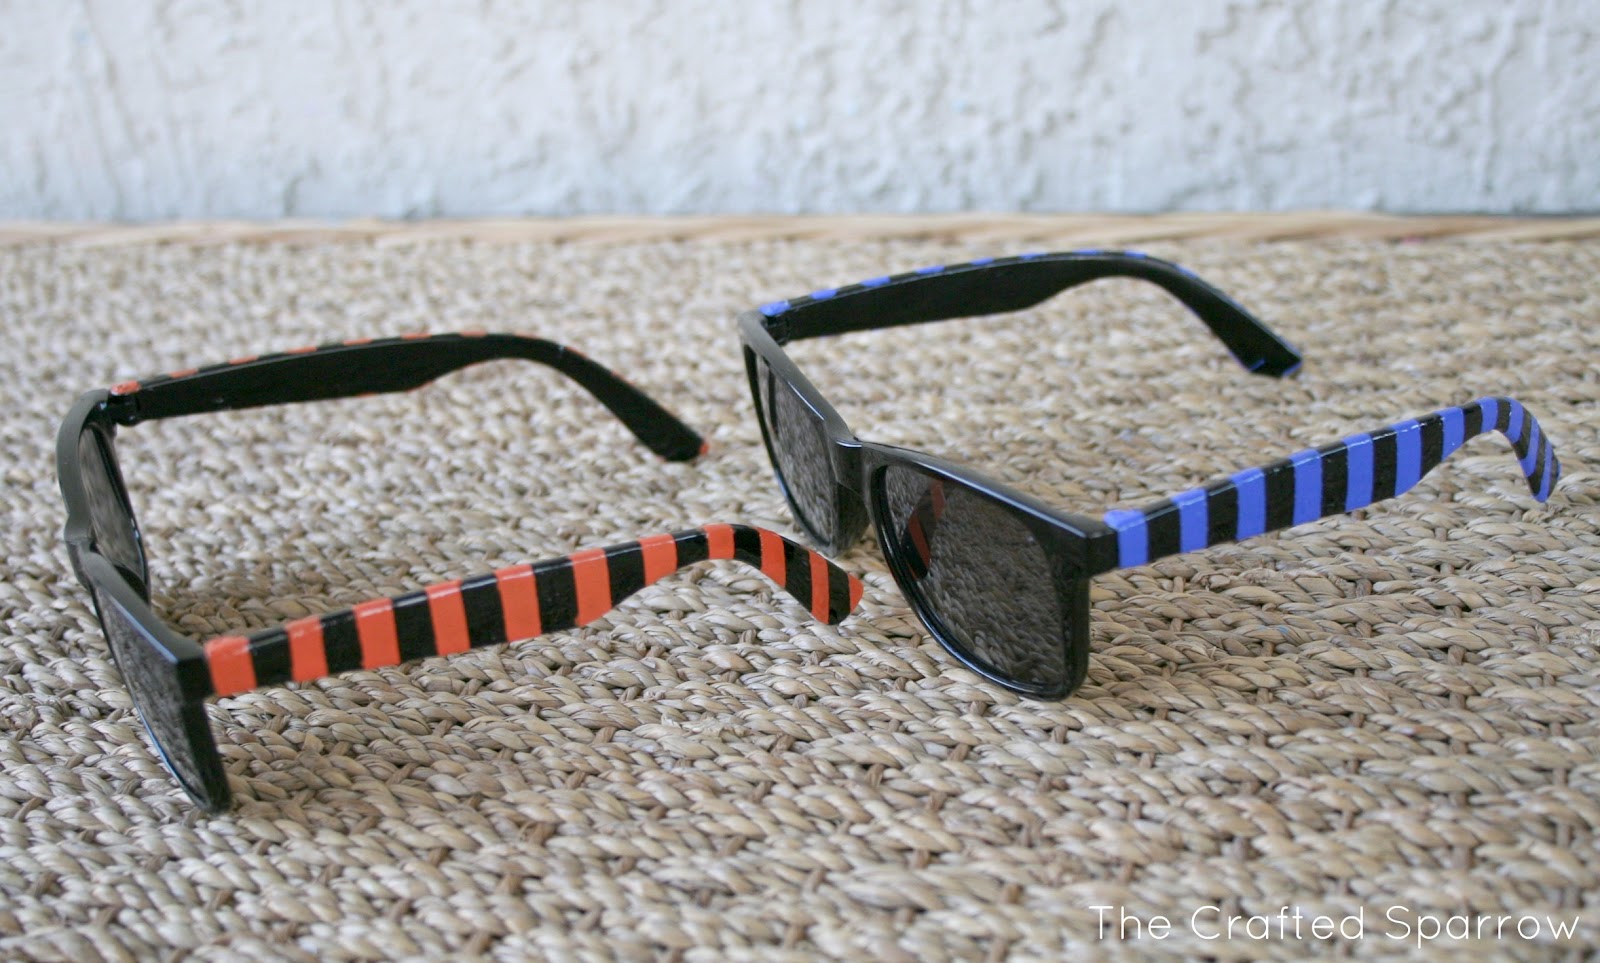
Start by taping off your design. Then simply just paint your first layer of nail polish where you want it to be applied. Wait for it to dry completely. It helps if you have a fan and something to set the glasses on. I used some mason jars I had laying around to prop the glasses on top of.

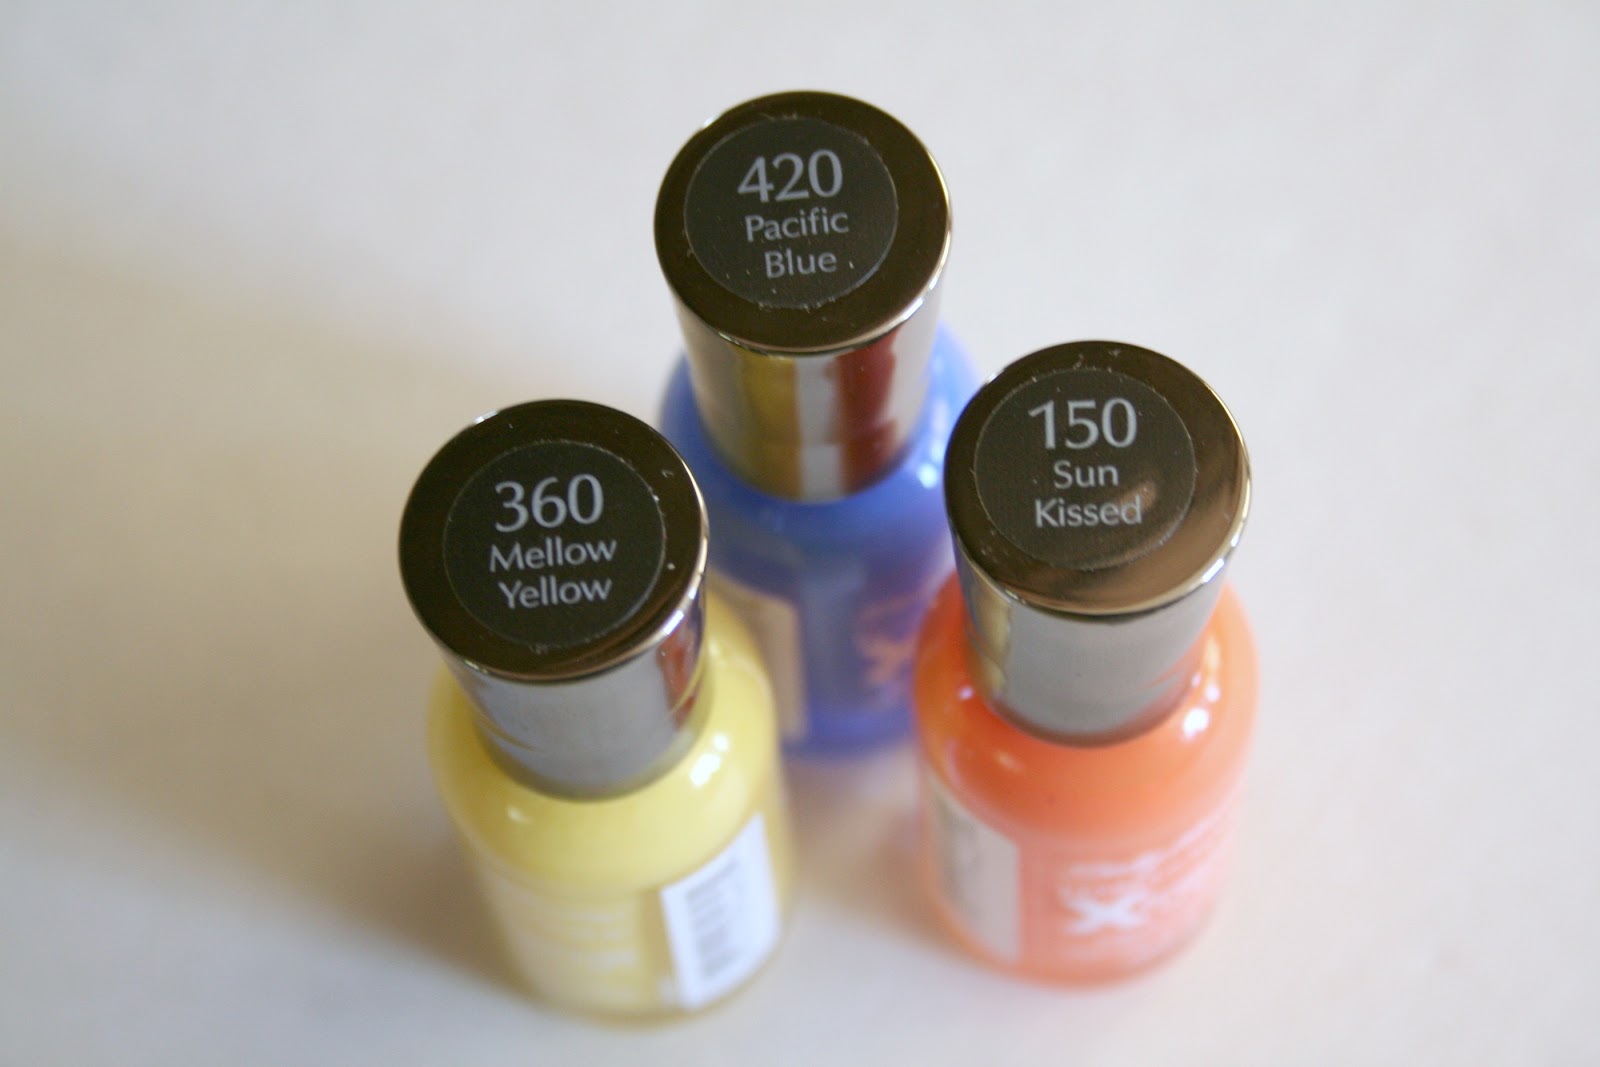
Here are the colors I used.

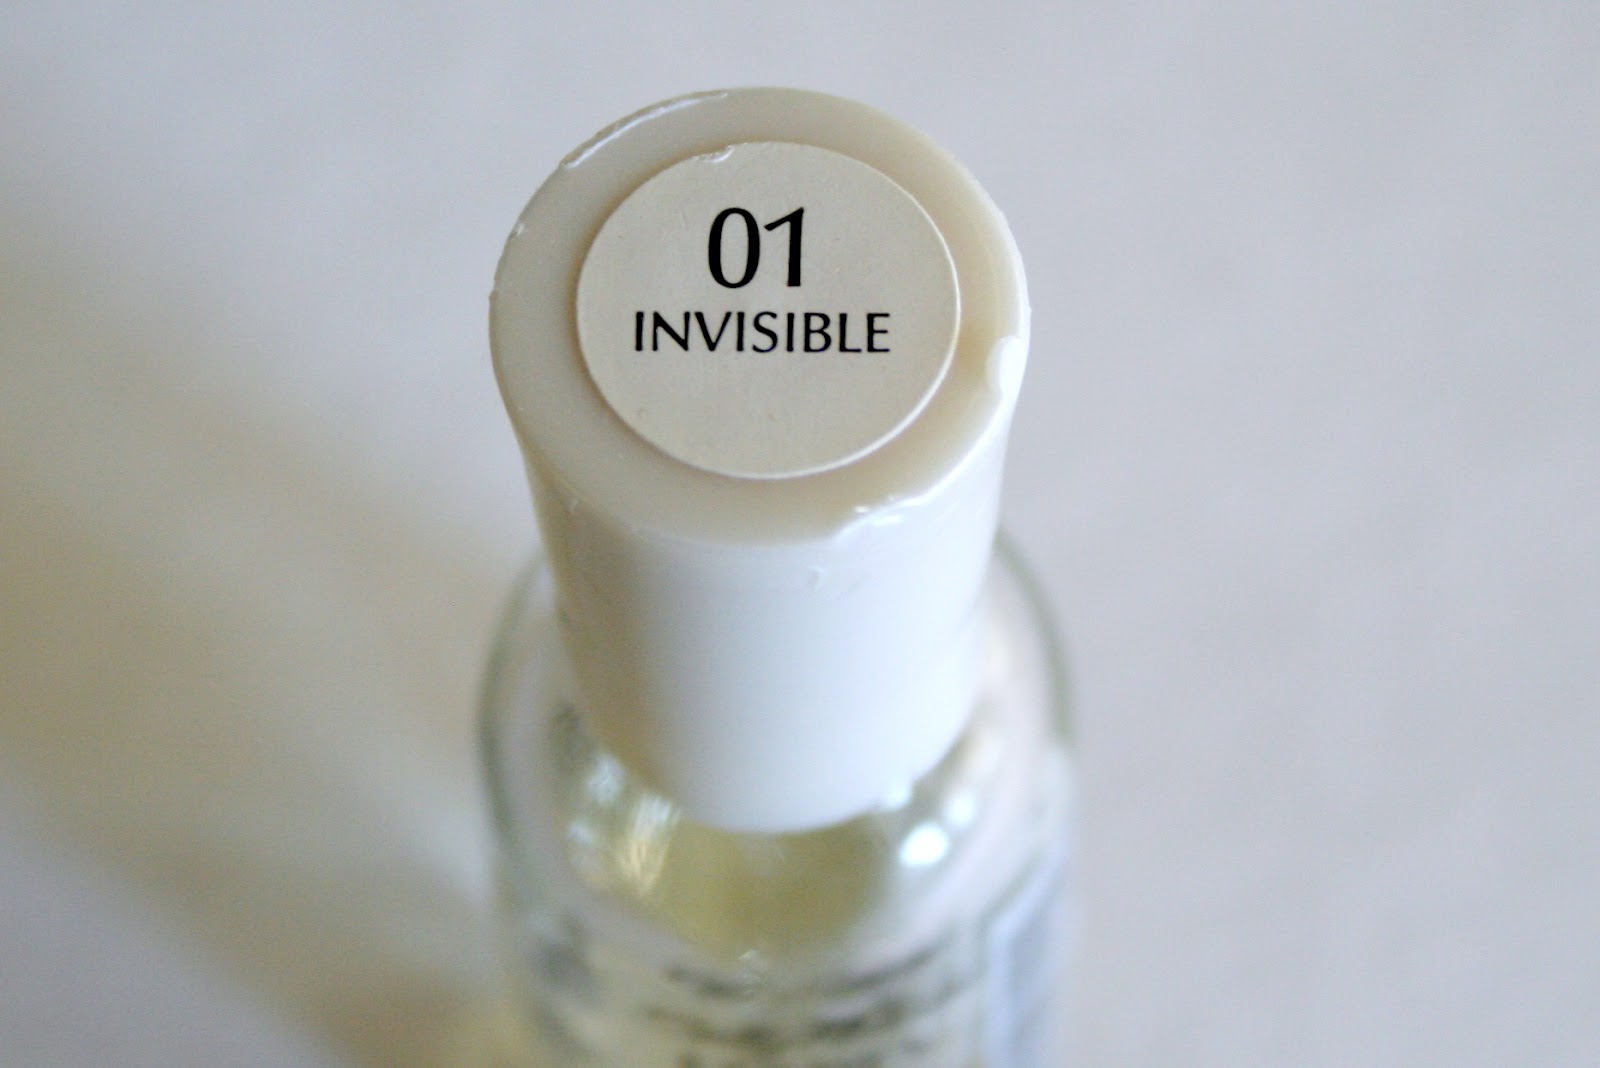
When your first coat is dry, paint a second coat and let that dry completely. Once the second coat is dry then finish the whole design off with a coat of clear top coat to protect it all.
Once it’s all dry your left with some one of a kind awesome shades.


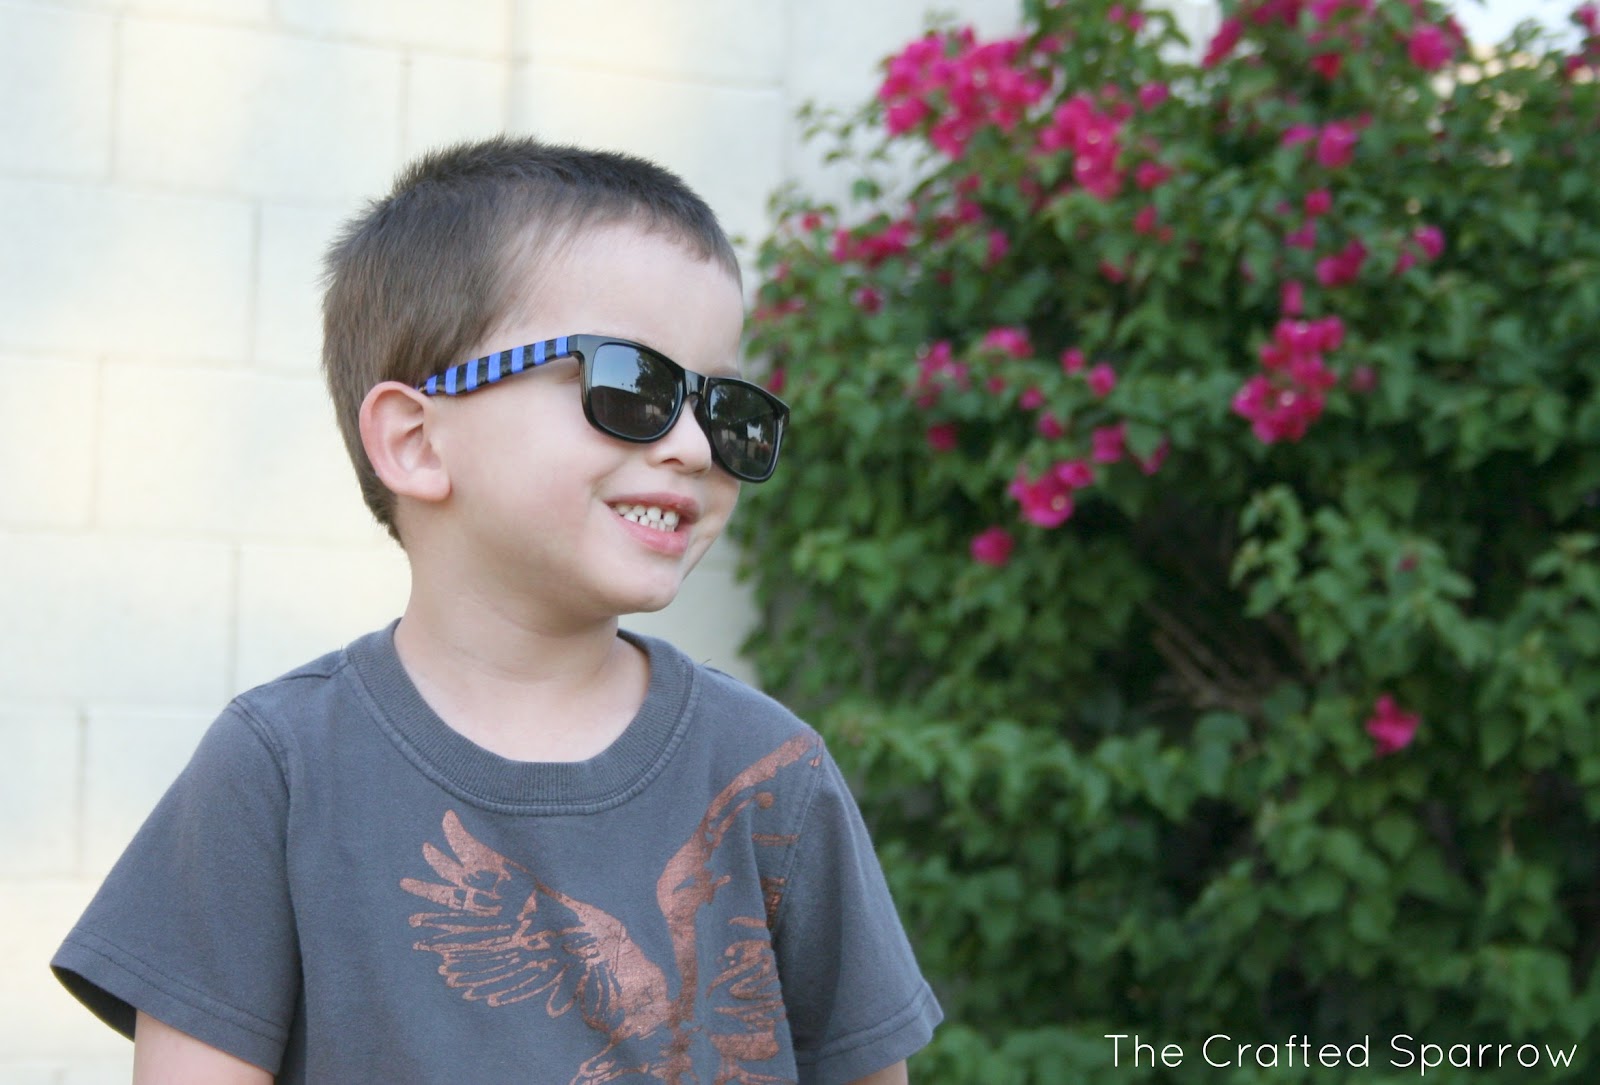

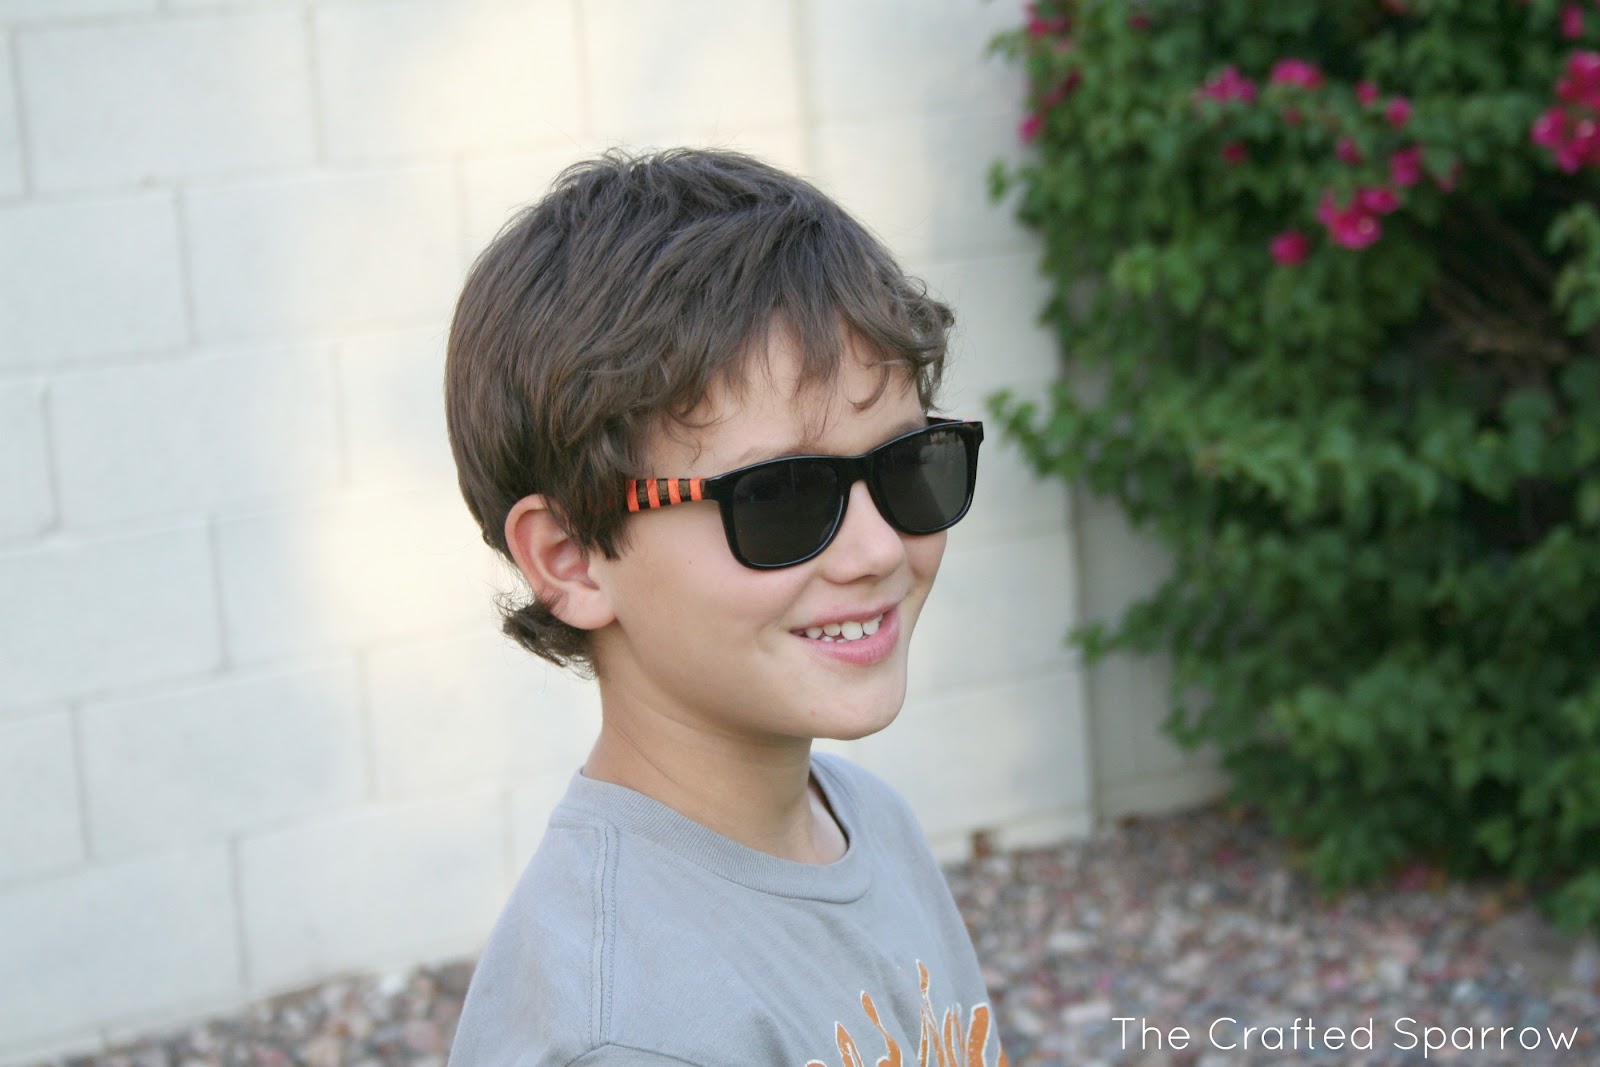

Sorry for all the pics, but they are so handsome I couldn’t help myself.


Love the glasses, I agree, very handsome boys!
Not sure I would go for stripes, Might have to try polka dots…
Cute glasses and adorable guys! I would love for you to share this (and any other creations) at Pin It and Win It Wednesday @ http://www.cheapcraftymama.com– where you can win free ad-space on my blog!
Thanks guys! 🙂
These are ”freaken” cool!!! Such a great idea to decorate them with nail polish!!!!
Thanks for sharing at The DIY Dreamer.. From Dream To Reality!! I can’t wait to see what you link up tomorrow!
Thanks for the great idea, it looks wonderful 🙂
The process of making sunglasses and glasses accessory has come a long way from when Roman Emperor Nero held polished light emerald glass gems up to his eyes and Chinese attached ceramic weights to the ends of ribbons draped over the ears in order to keep on their cool sunglasses.
Crystal Custom
Promotional Sunglasses
Promo Sunglasses
Personalized sunglasses
Customized sunglasses