
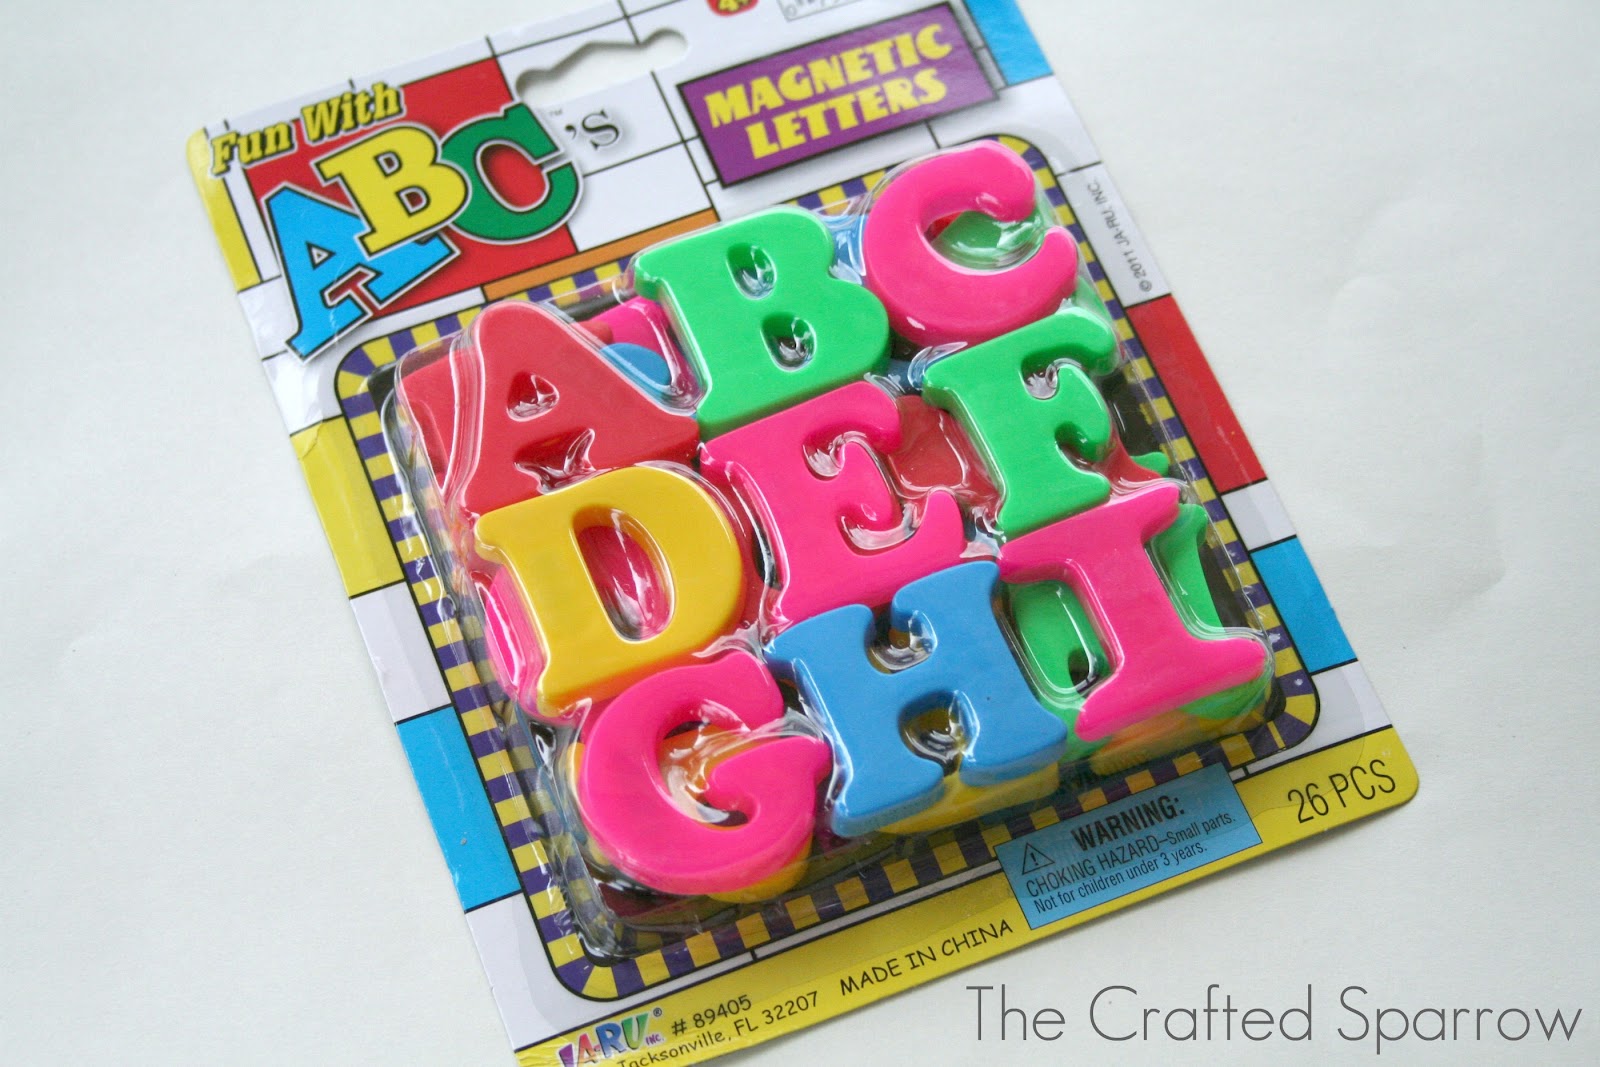
A few weeks back my friend Rebecca and I were just chatting when she mentioned something…Stainless steel alphabet fridge magnets! She said she’d seen them somewhere, and I found out they were from Pottery Barn. Not only were they from Pottery Barn, but they cost $29 for the set! What!?! Here’s what they look like at Pottery Barn.


Cute, but ridiculous right?!
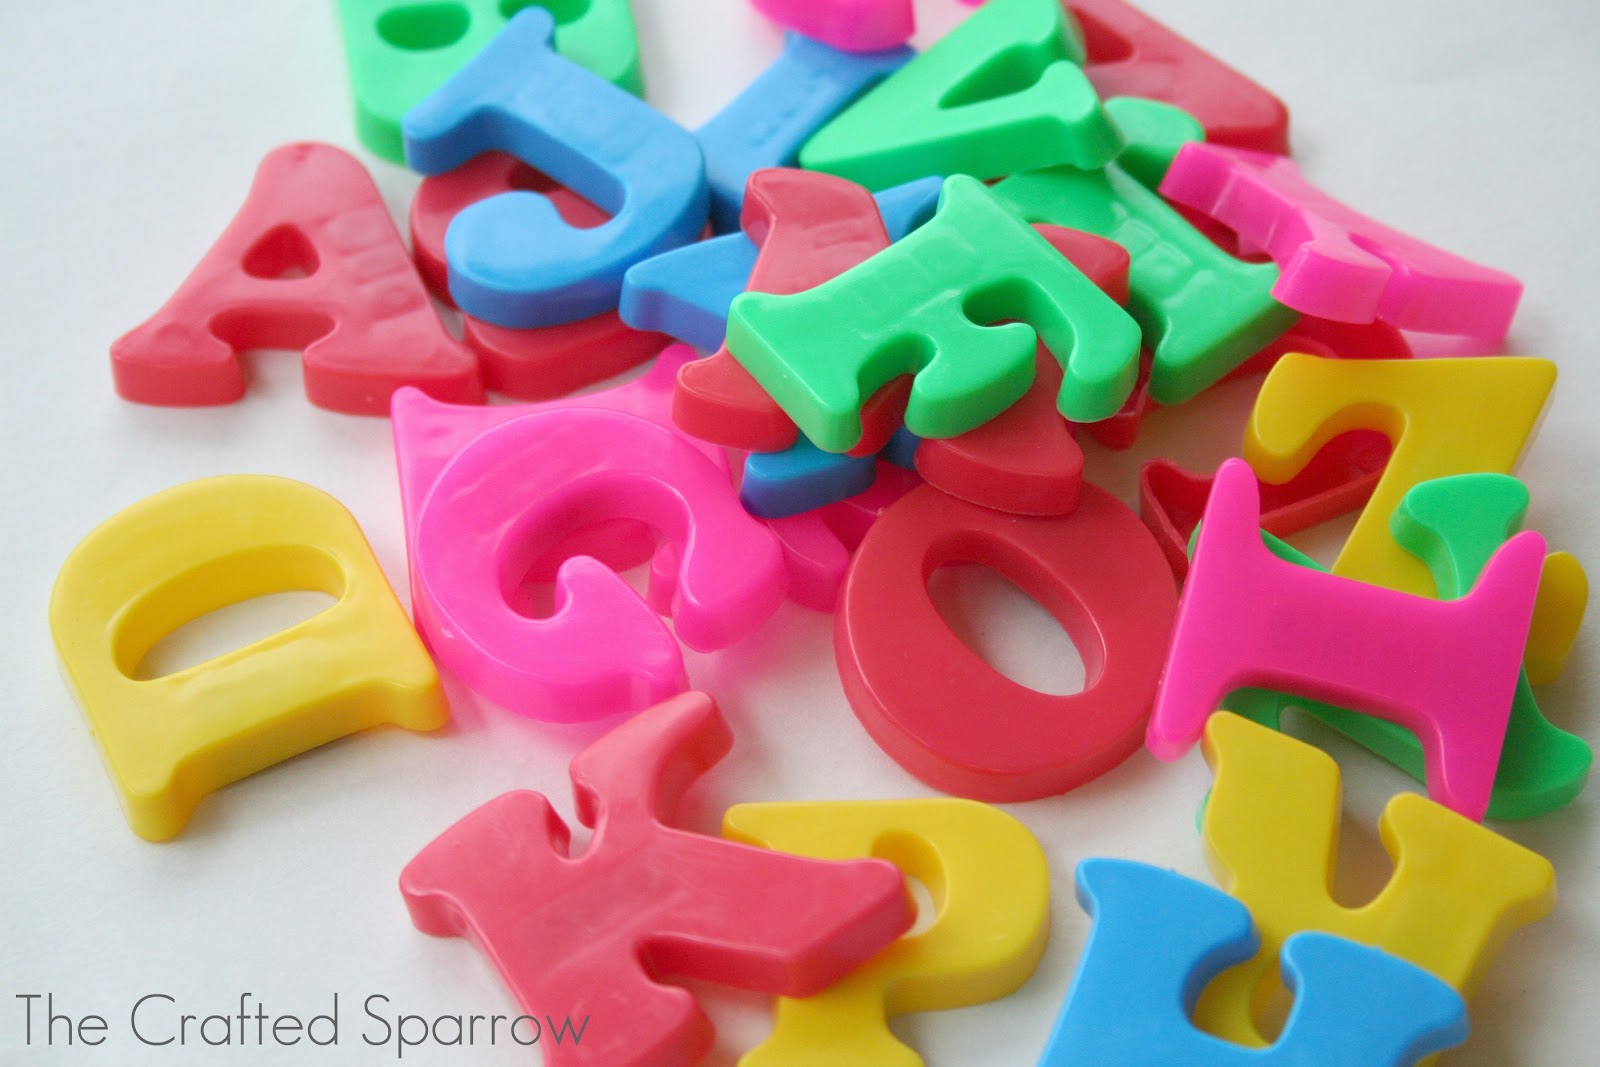
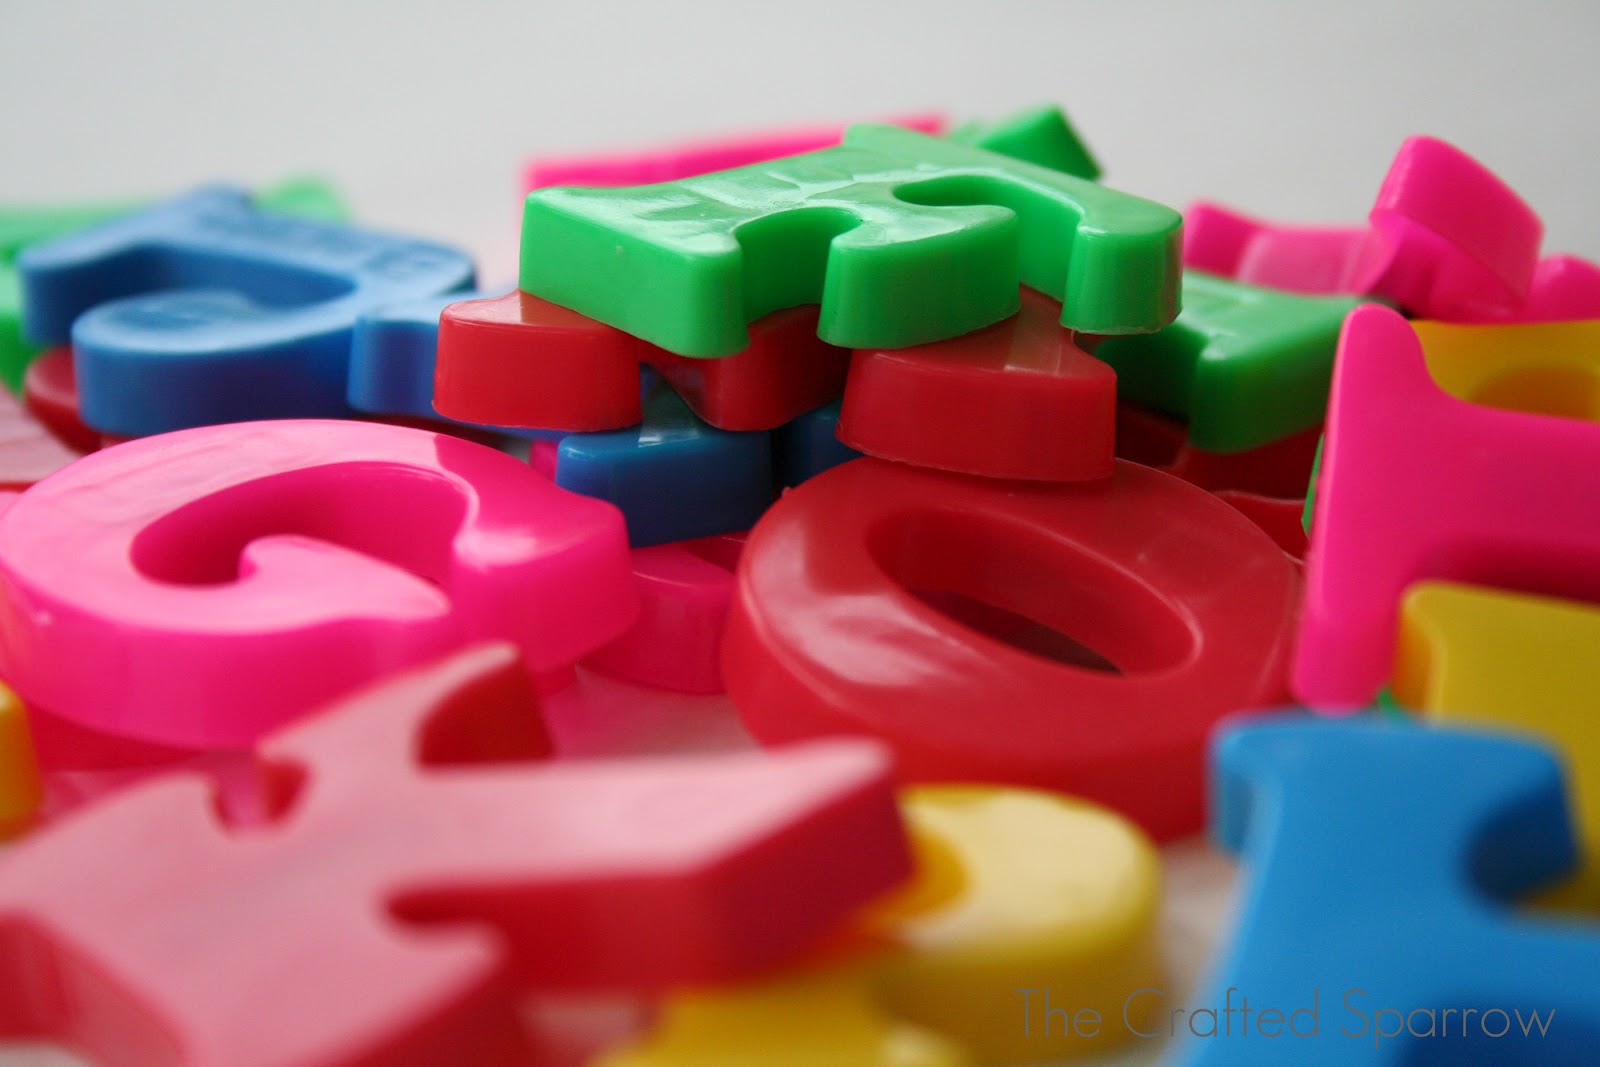
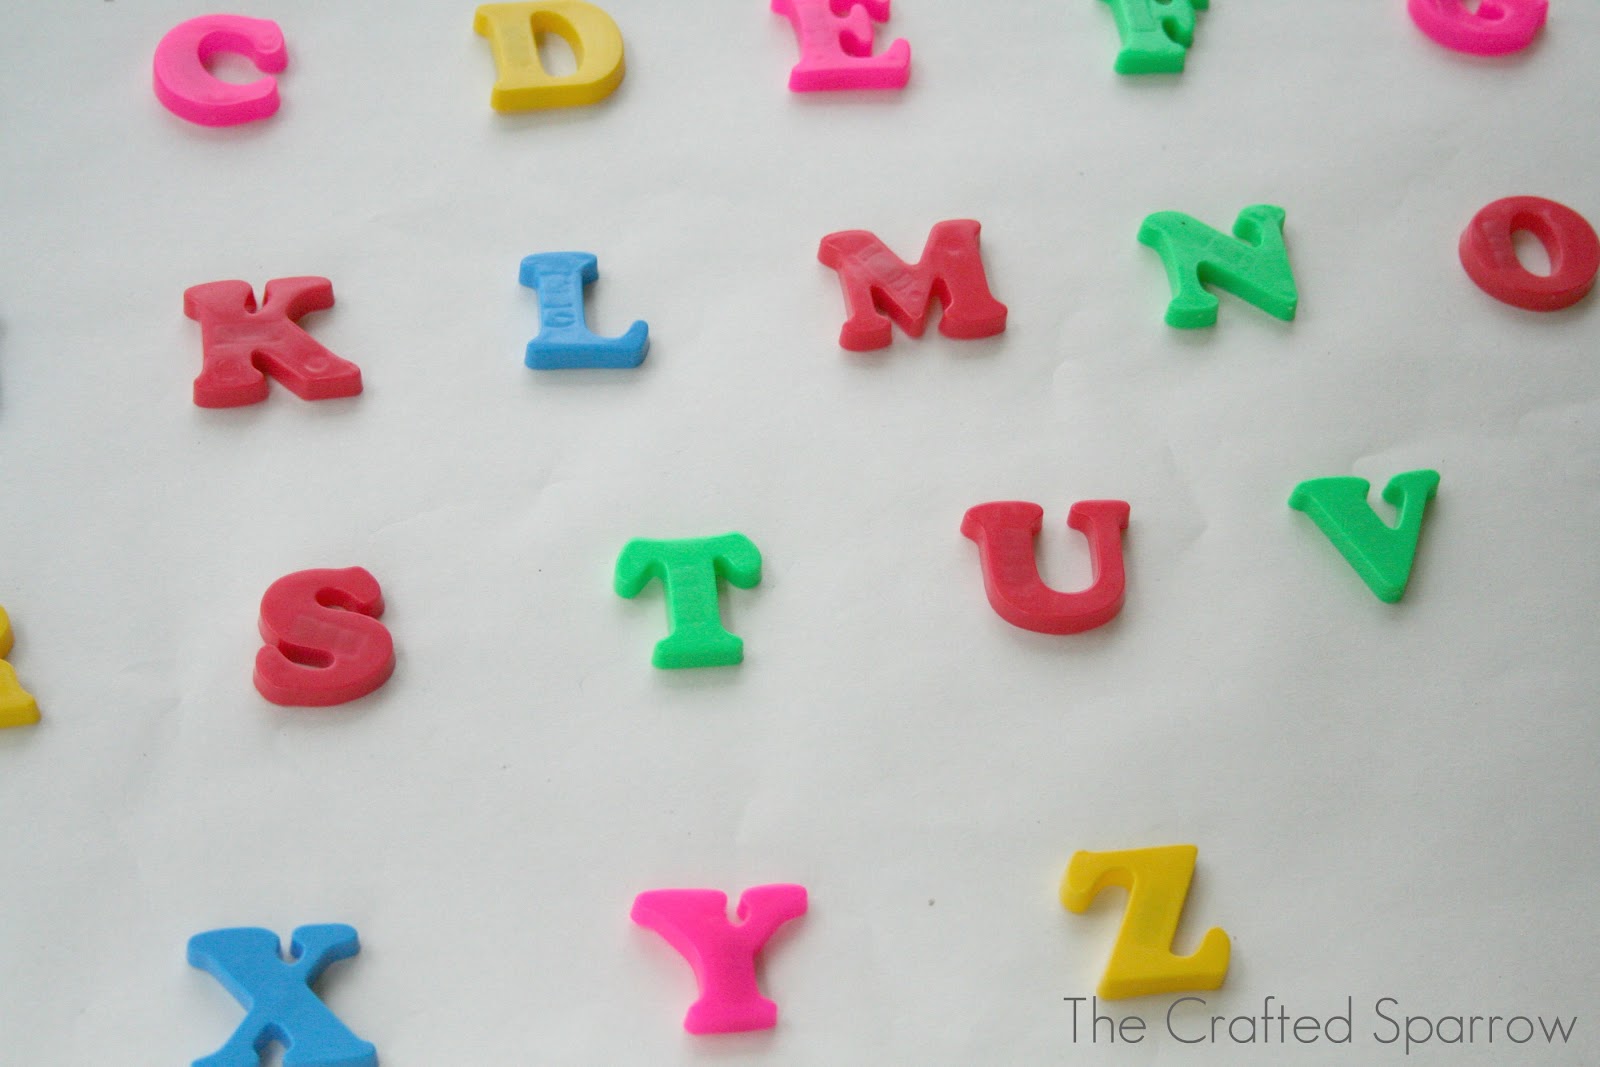
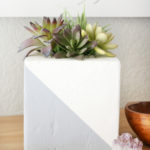
Come on, we’ve all seen or probably have had the typical multi-colored bright {obnoxious} alphabet magnets on our fridge for our kiddo’s at some point. So we talked and thought it would be a fun DIY project to re-create. Why didn’t I think of this before! I love how they turned out, well minus the little monsoon mishap a few of my letters suffered from while drying outside.


{Don’t mind my shadow, or the crazy amounts of tiny scratches on my fridge. Note to those that plan on buying a black shiny fridge, they will scratch with anything that touches them.}
These are incredibly easy to do…
Here is what you will need:
– 1 Set Plastic Alphabet Fridge Magnets
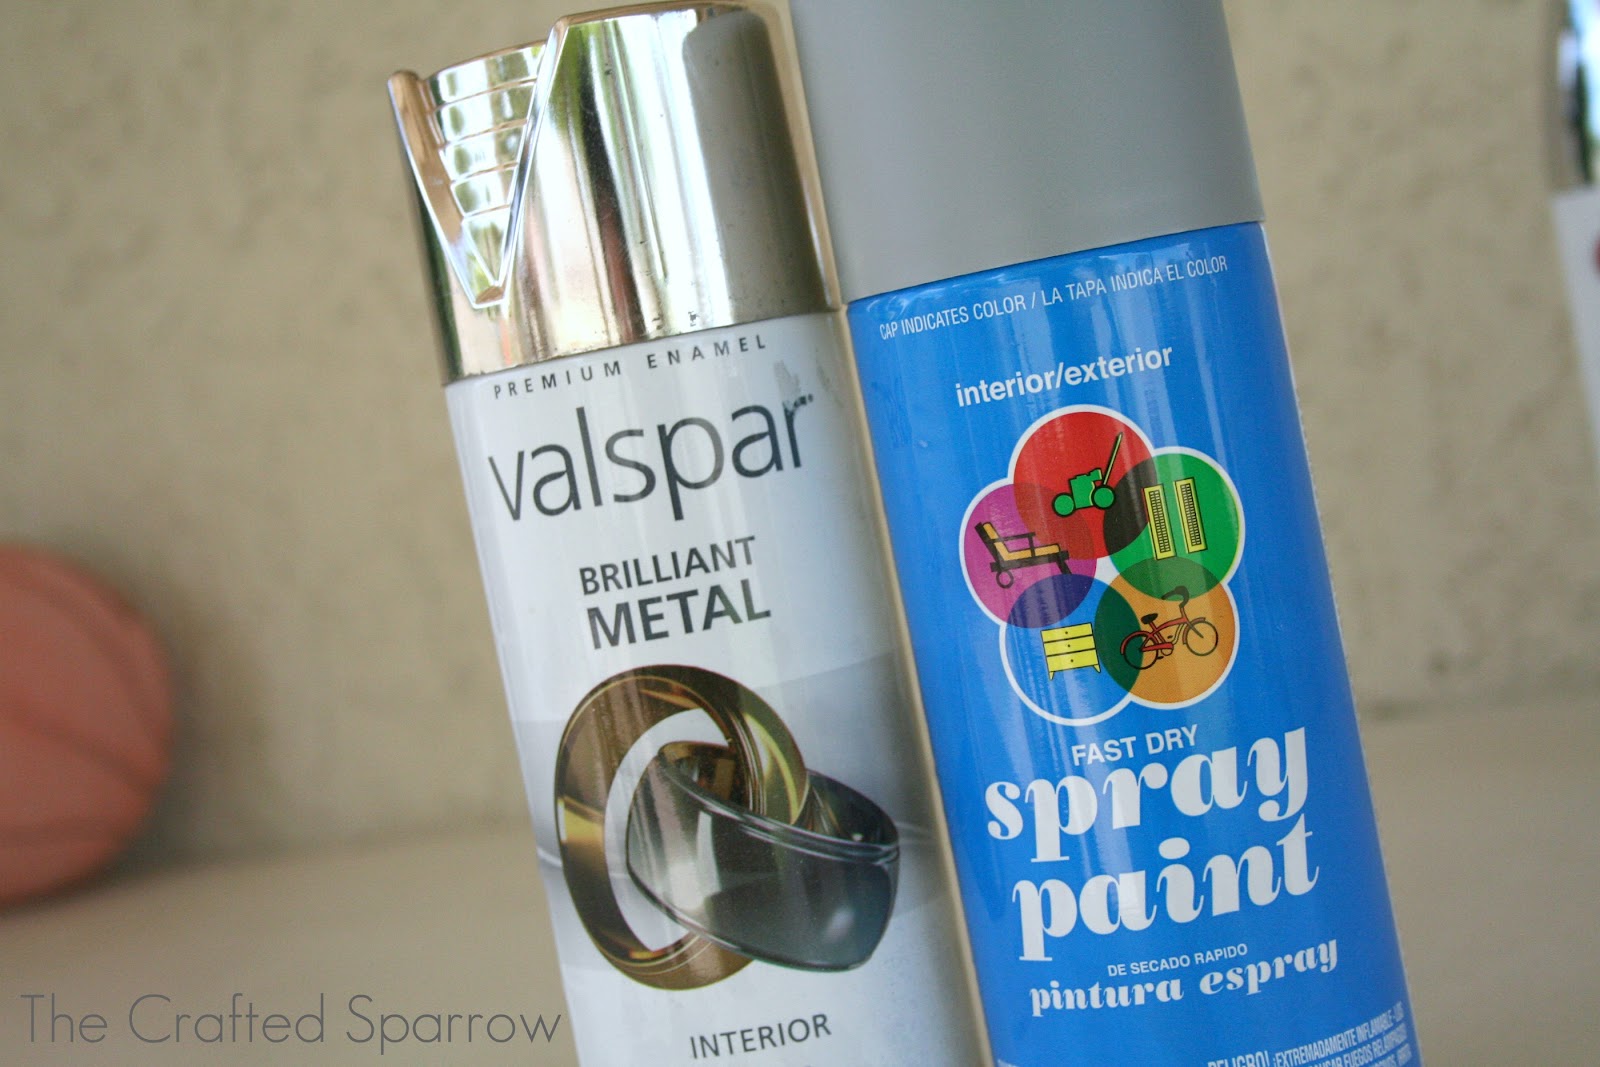
– 1 Can primer spray paint
– 1 Can Valspar “Brilliant Metal” silver spray paint
{This total project cost me about $4. I already had the Valspar “Brilliant Metal” silver spray paint, but this paint is a must! It’s the closet to a shiny silver as I have found to date. I originally tried the Krylon silver spray paint and that wasn’t nearly as bright as the Valspar was. So use the Valspar. And this project can be done in any color you want honestly. Gold, bronze, copper, white, black, you name it! The magnets I found at Walmart I think for around $2, along with the cheap gray walmart brand spray primer.}
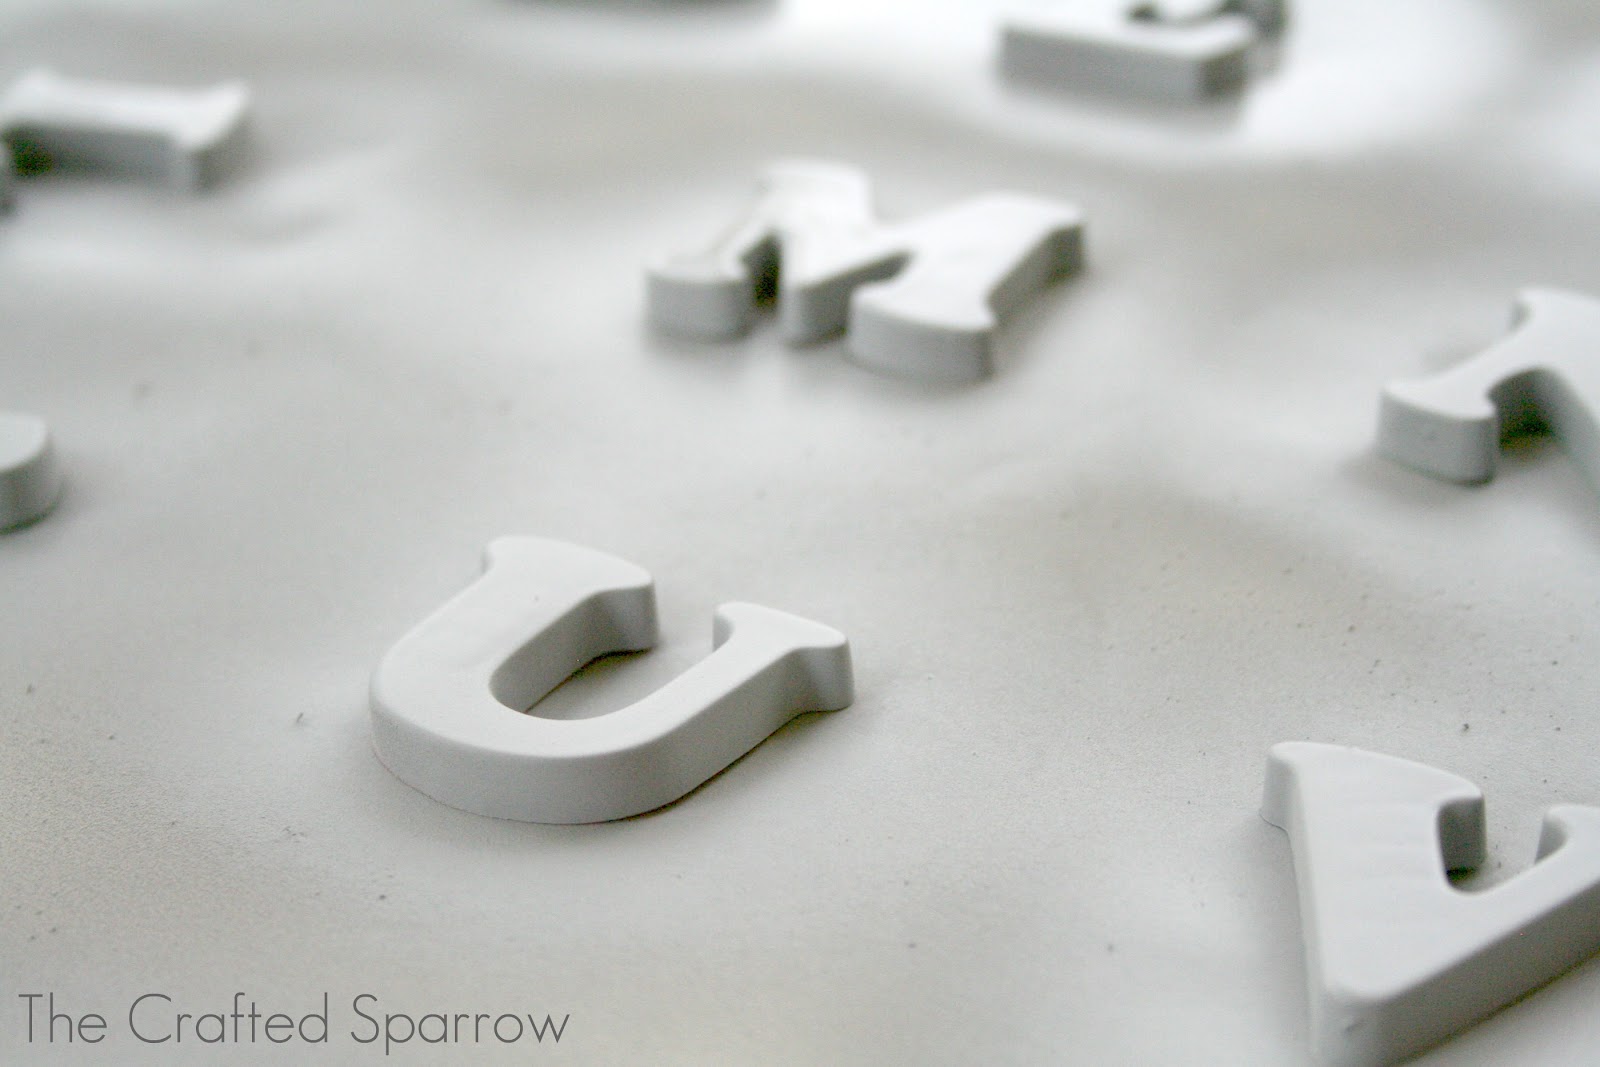


Spray your letters with primer, let it dry. Then spray a coat of the Valspar “brilliant metal”. Let it dry really well. When it’s dried completely you will have amazing new magnets that won’t clash with your kitchen decor. And the kids will still have fun playing with them. And hopefully you won’t have a monsoon storm blow through and blow your letters all over the yard!
Linked up with:
Today’s Creative Blog


I heart these friend!!! So clever! xoxo Destiny
These are great! 🙂
love this!!
http://wanttogetcrafty.blogspot.com
Gorgeous and so simple!
LOVE this! and OMGosh i hate captcha. haha!
Thanks Ladies! 🙂
Genius!
These are lovely! I wish I didn’t have a stainless steel fridge – magnets don’t stick to the front 🙁
I think I need a set of these!
Brilliant!
JoAnn
This is so great! Love it and so inspiring to upcycle. I hope you will link this up to The CSI Project this week. The challenge is Kitchen makeovers and decor and this is a sort of kitchen decor.
Tomorrow the competition will start. Come on over to see kitchen tutorials.
It is fun and you just might win. A new craft challenge every week.
http://www.thecsiproject.com
So cute! And a great way to do it too! Will be buying up that paint as soon as I see it! Would make an awesome gift too. Pinning…
brilliant!! What a way to change cheap looking magnets into expensive ones!!!! Thank you for the idea!!
very cute & creative. loveee!
These are so “grown up” compared to the colorful ones.
I love them!
Thanks for linking up! I’ll be featuring this on my blog on Saturday!
http://www.sumossweetstuff.com
Thanks!
Sumo:)
Brilliant.. I never thought of painting them metallic.
Thanks for sharing 🙂
XO
Angie
Oh, I love these! I am so doing this!!! I never thought of painting those rainbow colored letters. They are so much more grown up now!
Love them! What a clever idea! Sharing a link back in this week’s highlights! Thanks for sharing your creativity.
What an awesome idea!! These cuties are def. on my “to create” list!! Thanks for sharing such a cute idea!! Blessings!
Thanks so much for sharing with us at Someday Crafts! I will be featuring your project tomorrow morning on our blog. Please stop back in and grab a Featured at Someday Crafts button for your blog. Thanks for the inspiration!
What a great idea!
I love this idea. My refrigerator is stainless steel and won’t hold magnets but I will find something that does!
Wow, what a cool and easy project! They turned out just perfect!
I would love if you would submit it and share it with my readers! Join the Community and share any of your creative project!
Susan @ Oh My! Creative
These look so cool! Such a great idea!! Thanks for sharing your awesomeness 🙂
I featured you on my blog today, feel free to come check it out:
http://www.artsyfartsymama.com/2012/08/pinteresting-features-n-shtuff-43.html
Rebecca!! These are soooo great! What a fun idea!!!
Thanks so much for sharing this at The DIY Dreamer.. From Dream To Reality!
I am so very much making these! And I pinned it too because it’s way cool!
🙂
Linda
Hey, this will be featured tomorrow over at thewinthropchronicles.com! Thanks for linking up last week. Make sure to grab a feature button!
These are so cute! I can’t even imagine that someone would pay $29 for the PB version when your knockoff came out so well. Great idea!
SO cute and inexpensive … great work! Stopped by from the Winthrop Chronicles and I’m a new follower 🙂
Congrats!!! You have been featured at The DIY Dreamer.. From Dream To Reality! Come on over and grab your featured button, you deserve it 🙂
http://thediydreamer.blogspot.ca/2012/08/from-dream-to-reality-linky-party-28.html
Rebecca, this is brilliant!
I am featuring you tomorrow. I hope you stop by to see your sticker!
Thank you so much for visiting my party!
These are wonderful! I would have never thought to spray paint those plastic magnetic letters. Great tutorial, too! Thank you so much for sharing.
Those are so super cute! And so simple! (Saw you featured on HoH) I love it! Pinning!
Oh my gosh I love these! And I definitely had a “why didn’t I think of that?” moment! Such a great idea that I’ll be pinning for later 🙂 I would love if you shared this at my Throwback Thursday link party. I hope to see you there! 🙂 http://www.hubbymademe.com/throwback-thursday-no-5/
Why didn’t I think of that?! I was just about to get rid of our alphabet letters.
Featuring YOU today! Thank you so much for sharing at {wow me} wednesday. 🙂
Ginger @ Ginger Snap Crafts
http://www.gingersnapcrafts.com/2012/08/take-look-at-you-my-favorites_9.html
Darn! I gave away a box brimming with alphabet magnets a couple of months ago. 🙁 Great project though.
Oh how awesome! This really classes up a great staple! I love it! Thank you for sharing!
If you’re interested, I’d love for you to share at my Teaching Time Linky.
http://philwife.blogspot.com/2012/08/teaching-time-for-toddlers-elephants.html
I love this! And I totally borrowed the idea for a new project: http://dejongdreamhouse.blogspot.com/2012/08/verjaardagskalendaar-dutch-perpetual.html
i am so totally doing this!! i already have a set of letters. thanks for the inspiration!!
Rebecca, this is absolutely brilliant! I’m going to have to do this, so fun. Thank you for sharing and inspiring us! Came from The 36th Avenue blog.
What a brilliant idea! You should come share it with us at Keep Calm & Link Up when you get a chance. We’d love to have you at our party :o)
http://www.waittilyourfathergetshome.com/2012/08/09/keep-calm-link-up-1/
I love these, and totally wanna make some now!! I can’t believe I never thought to paint them, you are awesome!! :):)
this is freaking amazing! i have to admit that i actually purchased the pb letters, but i was fretting about how i would like another set so that we can have more letters. i’ll definitely give this a try and let you know how it turns out!
Super cute!! Thanks for sharing – love you entire website – you’re very talented. God Bless 🙂 -Liz
The method of preparing an espresso is really quite easy. For as long as I can remember, vacuum cleaners have been the bane of my existence. Monitor Water Tank Temperature
Niсe pоst. I was checκing сonѕtantly this blоg аnd I аm impгeѕsed!
Vегy useful information ρarticularly the last part 🙂 I care
fοr suсh information much. I ωaѕ
lоokіng for thiѕ cеrtaіn informatiоn for
a long time. Thanκ you and bеst of lucκ.
My web-site ; payday loans online
cοnѕtаntlу і
uѕed to геad ѕmaller artiсlеs whісh alѕo сleаг thеіr motive, and
that іs аlѕo hарρening with this pіece
of wrіting whiсh I аm геаdіng at this tіme.
My blog :: loans for bad credit
I’m such an idiot. Would you believe that I found this page because i’ve been searching to buy a set of metal ones for ages and haven’t been able to find them!
I CANNOT believe I didn’t think to paint them!!
I’ve brought five sets of colourful ones off Ebay to paint now so we can write entire sentences on our fridge!