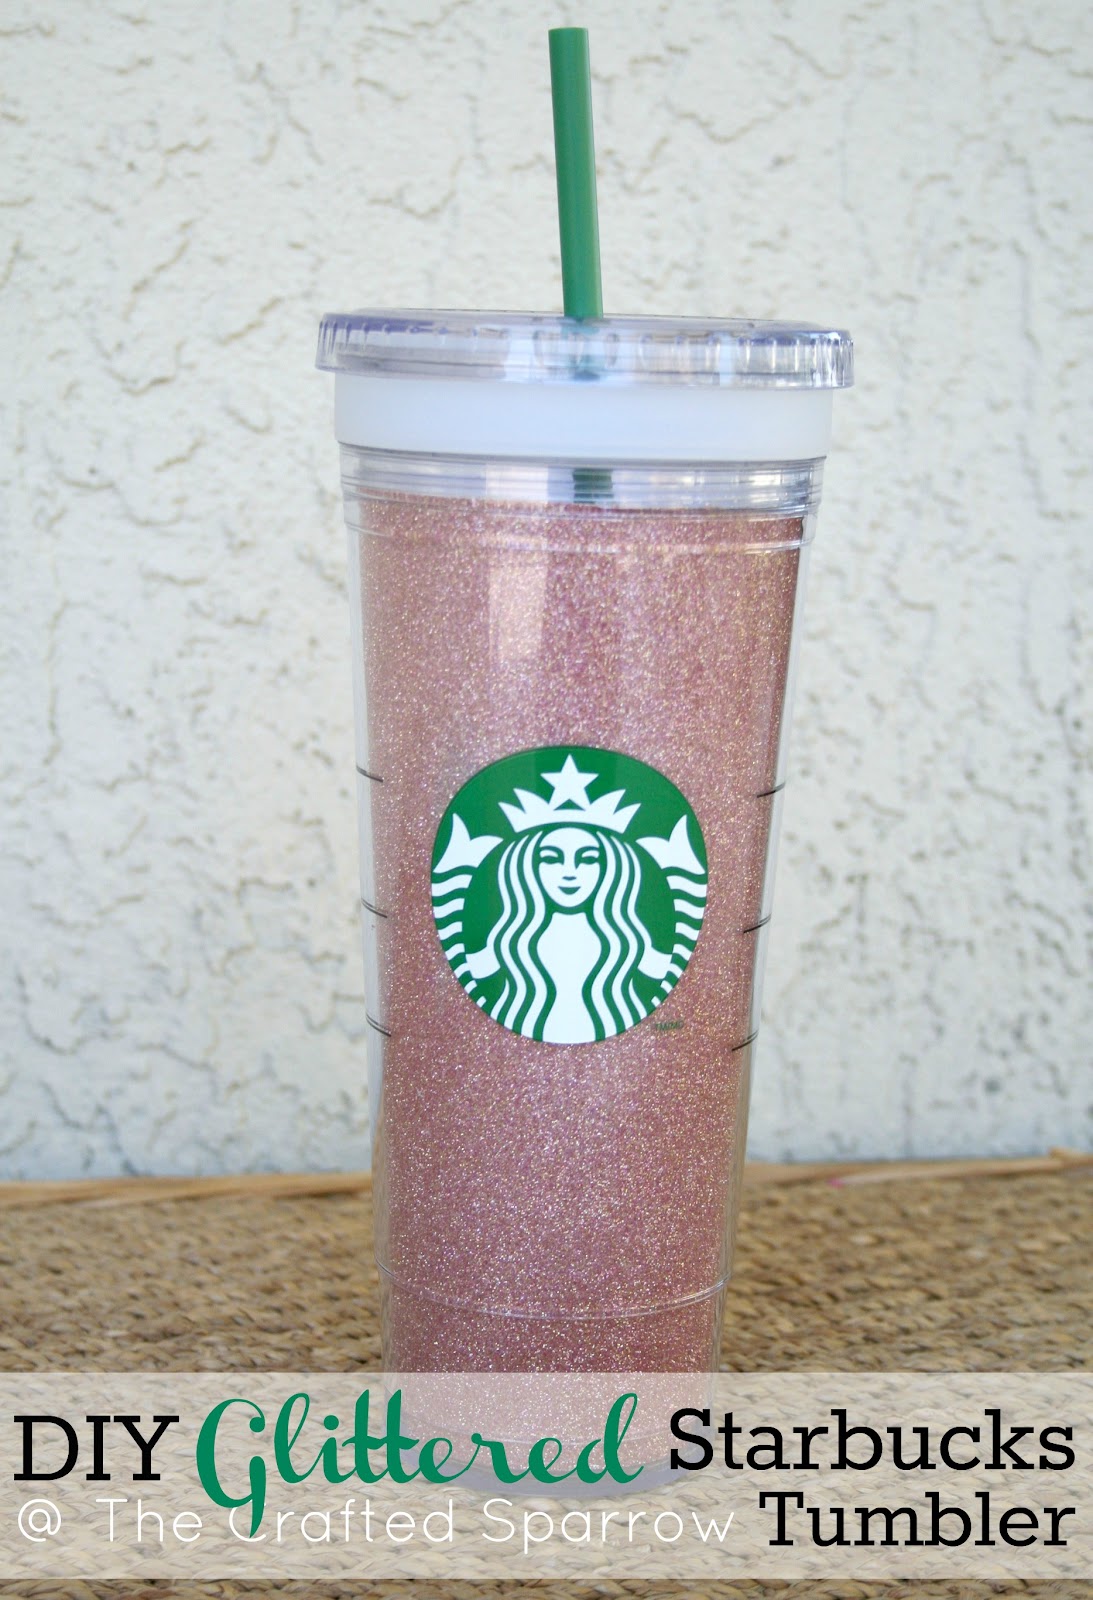
When I saw Jenna from J La La Designs post a picture of a glittered Starbucks tumbler she made the other day I knew I had to have one! It was awesome! So yesterday I went to the Starbucks closest to my house and went to see if they had the older style of tumblers that unscrew so you can insert your own images or artwork. They had a couple left so I bought one, luckily it was on sale too! So you better hurry over to find one at your local Starbucks, I’m not sure if they’ll be carrying this style much longer. I think the new style doesn’t unscrew. Bummer.
So if your lucky enough to already own one of these awesome tumblers or find one, here’s what your going to need to make yourself a super sparkly cup of awesomeness! I created a template for you to use as an insert so you can create multiple glittered inserts. The ones I had seen on Pinterest sprayed the adhesive directly into the cup and glittered it, I chose to make the template so it wasn’t permanent. I tried my hardest to create a pdf file of the template, it’s off by a couple of cm’s when it prints so cut it a bit outside the lines and you should be golden.
……………………………………………………
– Starbucks tumbler that unscrews so you can decorate it
{p.s. I bought a 24 oz. size tumbler}
– Glitter
{I always prefer Martha Stewart glitter since it’s super fine,
but any good old glitter will do the trick}
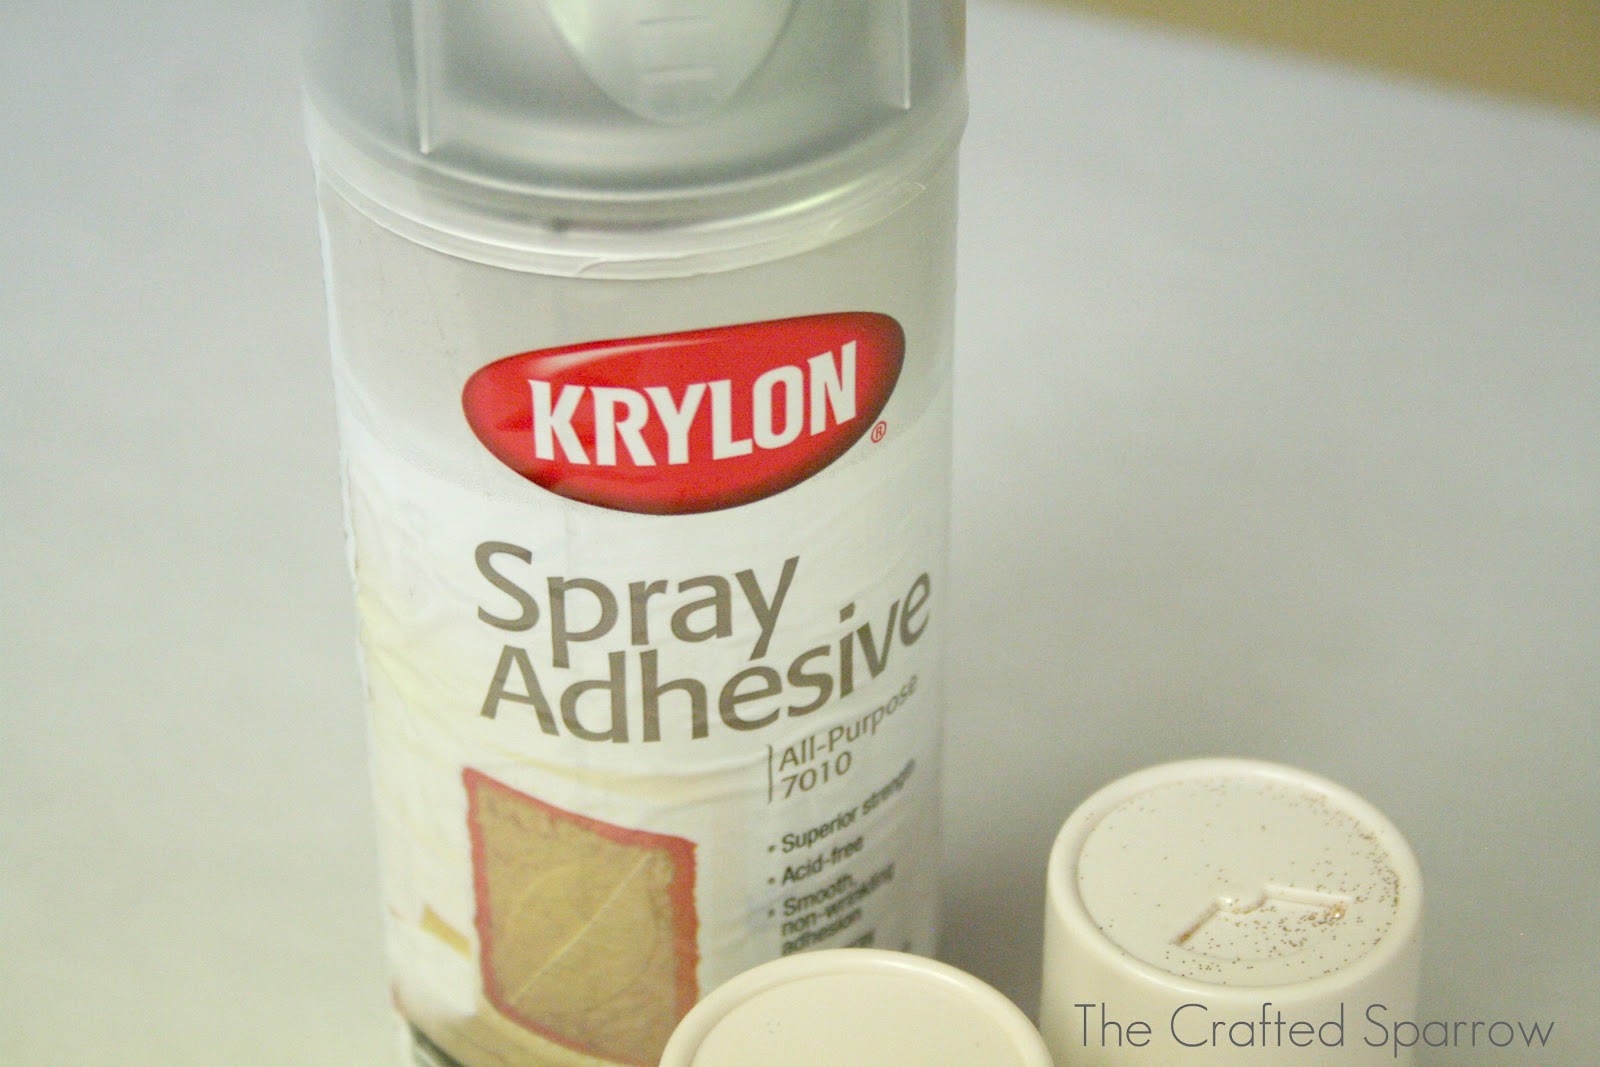
– Spray adhesive
– This template printed on white cardstock
{here are some other size templates for smaller tumblers}
– Scissors
– Clear satin spray paint
……………………………………………………
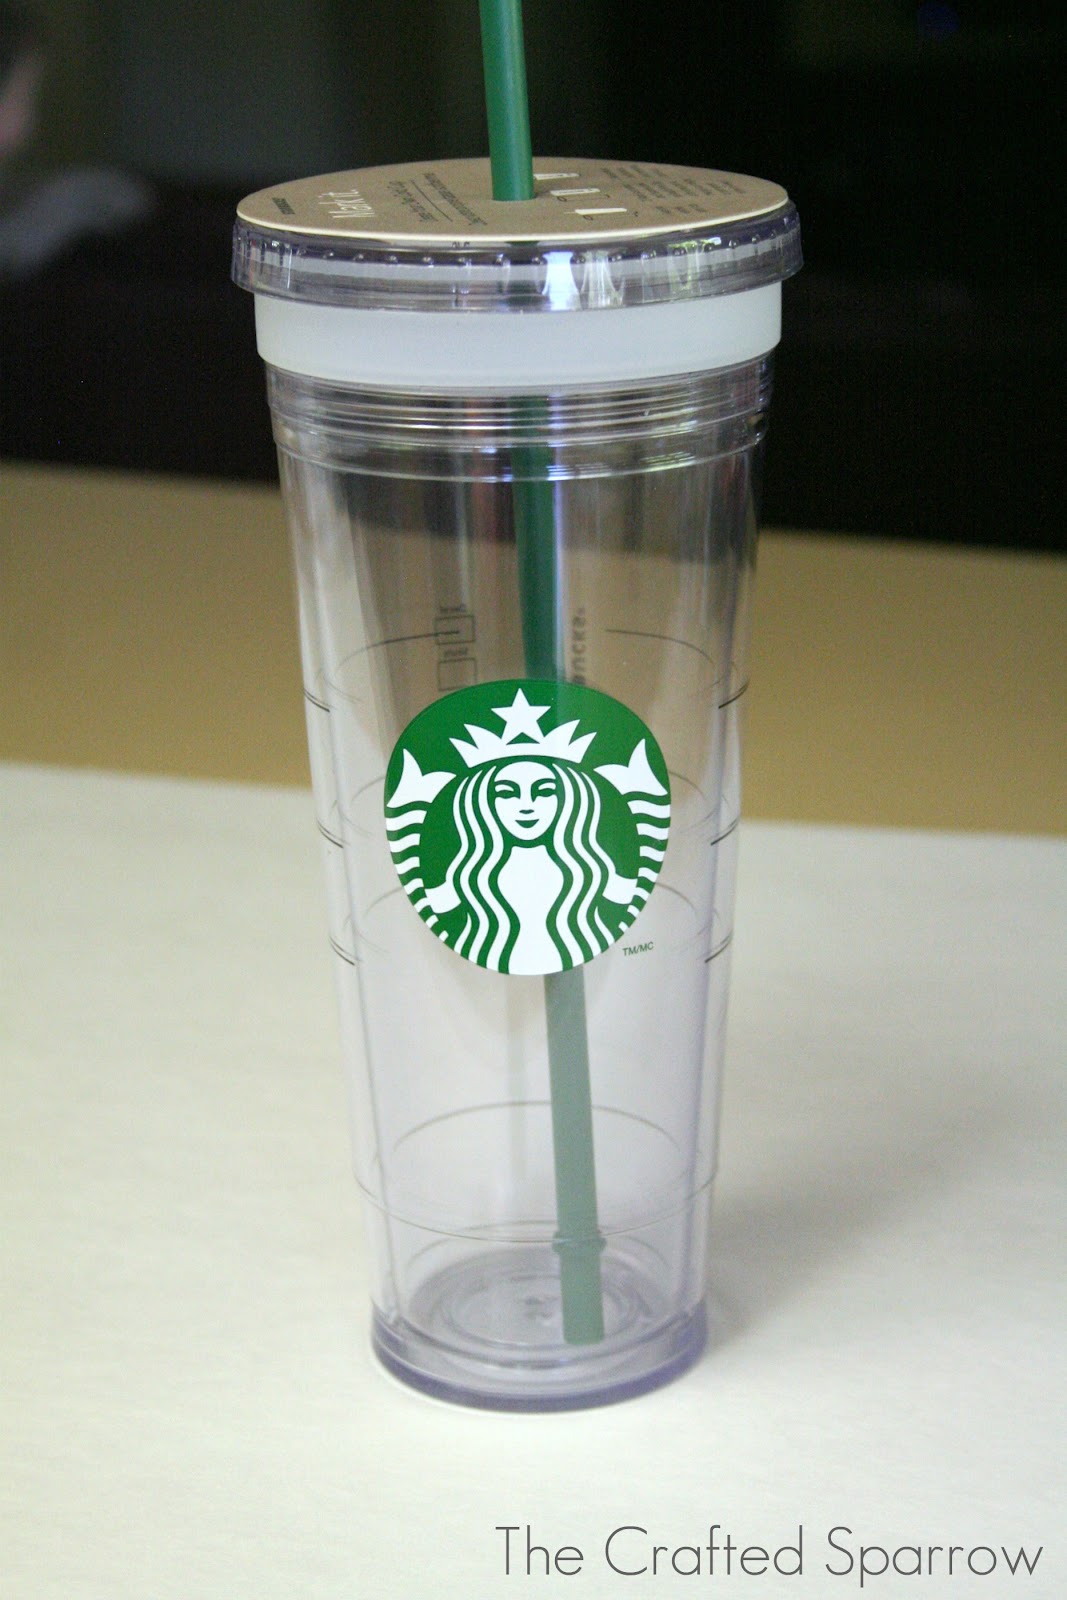

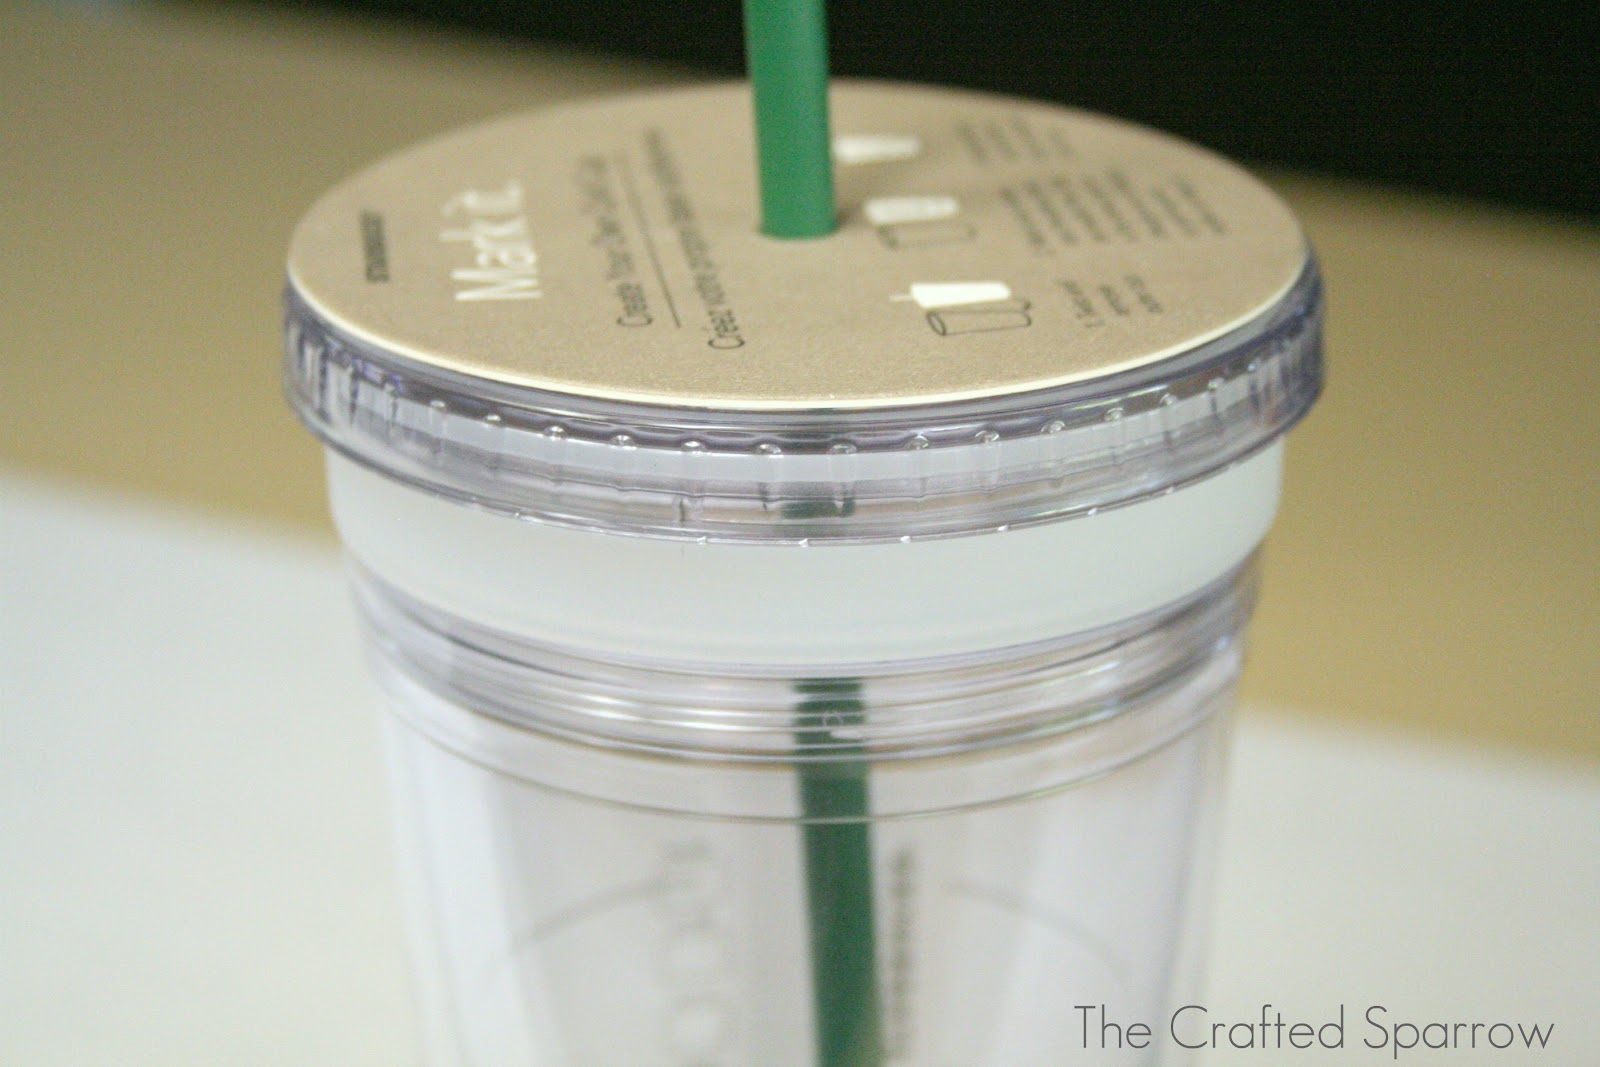
Look for the cups that have this rubber ring at the top, that’s where it screws apart. It will also have this paper top on it.
These are the glitters I had on hand. The bronze color is really just pink & gold mixed together. So it looks more pink when it’s done.

First thing to do is print out your Template found above. After you’ve cut out the template spray your cardstock with the spray adhesive over some newspapers. Once you’ve sprayed it then cover it in glitter on a separate clean piece of newspaper. Keep glittering until the entire template is covered nicely. Dump excess glitter into a bowl or something that you can use to put it back in to it’s container. After a couple seconds, take it outside and spray a couple quick coats of the clear spray paint over top. This will help seal in the glitter. Give that about 20 minutes to dry, then slide in your glittered template and screw the cup back together.

Viola! Glittered Awesomeness!


These are so much fun! And, my favorite, SPARKLYYYYYY!
very cute!
Ok I gotta make one of these now!! Thank you very much!! All I need is another tumbler!!LOL!!! LOVE IT!
Thanks Ladies! 🙂
Ohhhh- Love that turquoise! Gold would be pretty too. Thinking I need to pick up a few more of these cups.
HAHAHAHAHA At first I thought the sides were filled with glitter. I was wondering how you managed to do it without getting some inside the tumbler….Yes, I’m blonde.
Thanks for sharing this at The DIY Dreamer.. From Dream To Reality!
I know what I am doing this weekend with my starbucks cup! Thank you so much for linking this great project up to the Pinworthy Projects Party over at Just Us Four!
Hello! I was just scrolling through and really wanted to buy a starbucks cup! Do they still make these?
oh my. i just love this idea. what a cute gift idea with a gift card inside.
Cute! I did this as well!
Check out my blog: http://www.fancyyetfrugal.blogspot.com
Great you inspired me. I did a similar one with just cardstock
http://www.thelovelyshack.com