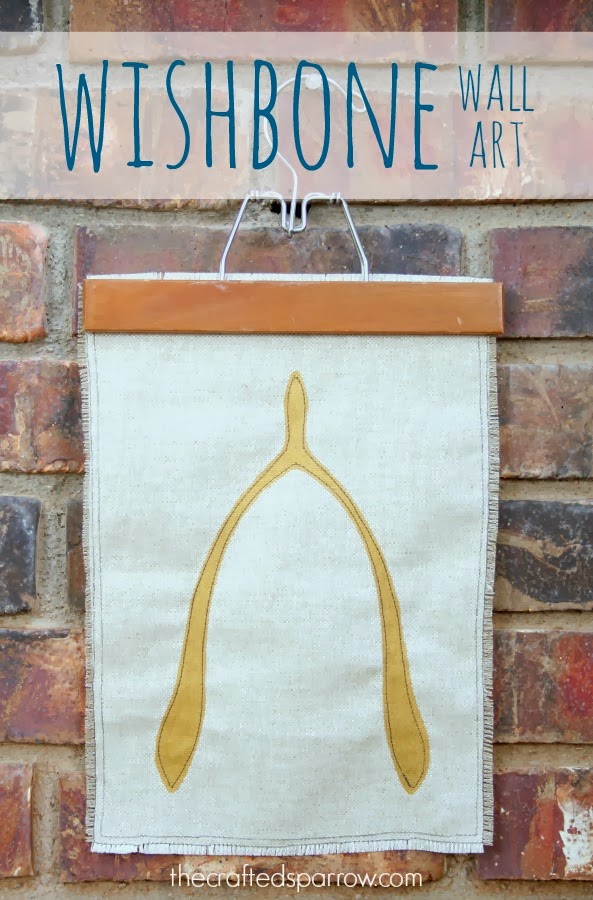
If you are still looking for some decor ideas for the upcoming Thanksgiving holiday this Wishbone Wall Art is the perfect fun & easy project. I love that I can be used in everyday home decor too, wishbones and gold seem to be everywhere.
Supplies:
– Any type of fabric, but a thicker fabric will work better
– Gold Acrylic Paint
– Freezer Paper or Vinyl Stencil
– Foam Paint Brush
– Sewing Machine & Thread
– Vintage Style Hanger {you can find similar ones to the one I used at Ikea}
Cut your fabric to a large rectangle, mine is approximately 12 x 15″
Find a wishbone image online to use with your cutting machines, or if you are doing a freezer paper stencil like I did you can draw it on the paper.
Cut your design either by hand with a xacto knife or your favorite cutting machine, I used my silhouette. I chose to use freezer paper to ensure I got a crisp and clean image once painted. If you’d like a tutorial on using freezer paper go HERE.

If using freezer paper you will need to iron your design in place, shiny side down on a high heat with no steam setting. If you’re using vinyl apply your stencil to your fabric with your transfer tape.
Using the paint color of your choice stencil your design. I chose gold since it’s a hot trend color and perfect for Thanksgiving.

Once paint is dry remove your stencil carefully.
I used a contrasting colored thread to sew an outline around my painted wishbone design. I also sewed a double stitch around all four sides of my fabric to create a frame.
I decided to fray my fabric by pulling threads one at a time. The first seam will actually stop your fabric from fraying and keep things even.

Now just hang your wall art with a vintage style hanger, or frame it if you prefer. There are a lot of possibilities to display your new fun wall art. This would also make a great hostess gift if you have someone who is loving the gold, or wishbone trends.


Leave a Reply