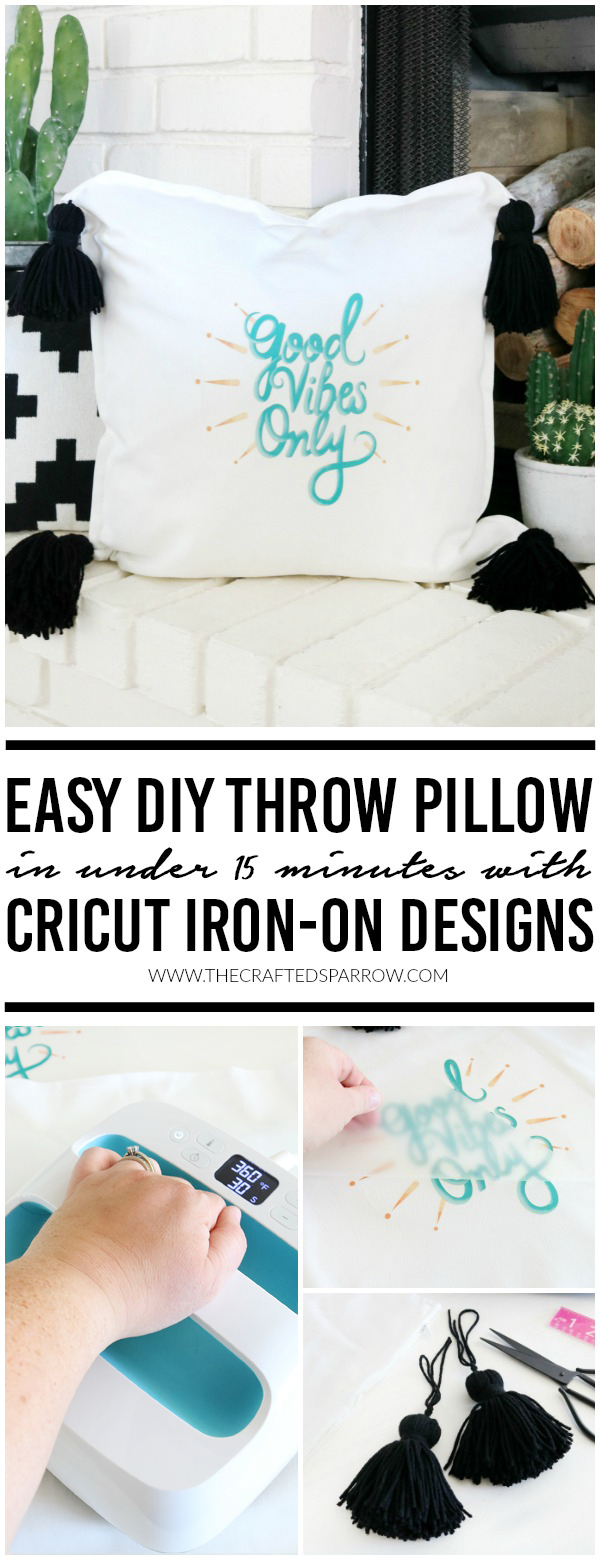
Creating fun home decor is always at the top of my to-do list, especially throw pillows. From time to time I love creating a pillow cover from scratch, but more often than not I love an Easy DIY Pillow!
Switching out throw pillows in a space is one of the first things I usually do to freshen up my decor. I definitely love buying new throw pillows, but sometimes I’m looking for something specific, or different than what everyone else has so I end up making something.
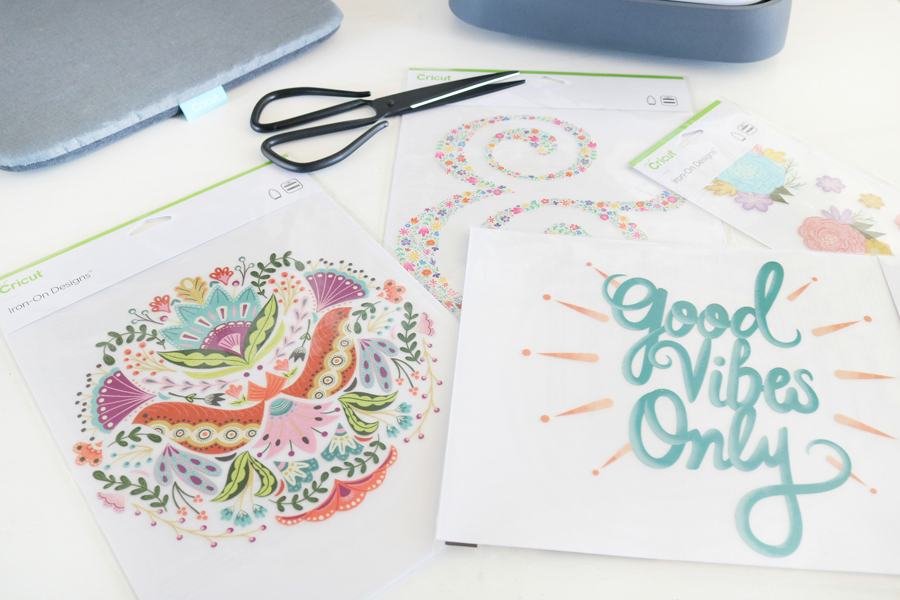
When you are making something from scratch it can sometimes be really time-consuming, I really love a good quick and easy pillow DIY which is why I love the new Cricut Iron-On Designs. Pair the new Iron-On Designs with the Cricut EasyPress and the pillow making process is even better! The iron-on designs come in two sizes; large and small. They are great for apparel, home decor, creating cute artwork, and so much more. There are currently over 50 designs available, with even more designs coming soon.
 Here’s how to make this fun Easy DIY Throw Pillow in Under 15 Minutes with Cricut Iron-On Designs!
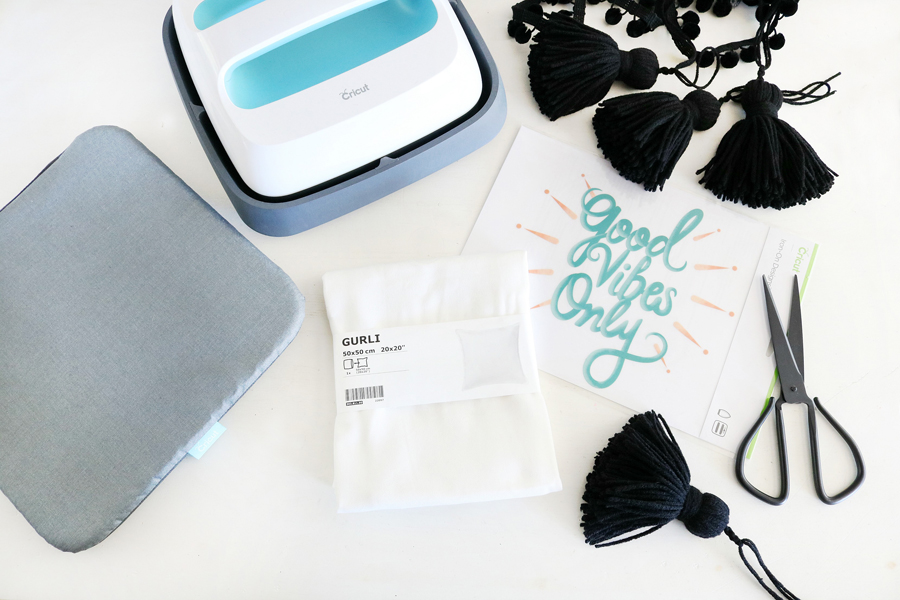
SUPPLIES:
- Cricut Iron-On Designs
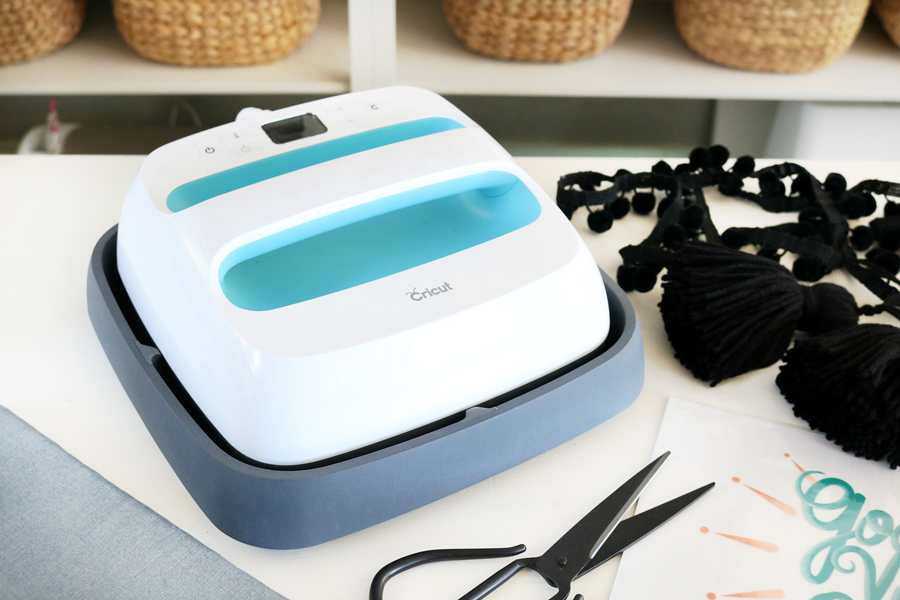
- Cricut EasyPress™
- Cricut EasyPress Mat™
- Ikea Pillow Cover or any premade pillow cover
- Pillow Insert
- Yarn Tassels or Extra Large Pom-Poms
 DIRECTIONS:
Start by making sure your pillow cover is smooth and ready for the Cricut Iron-On Designs. I heat my EasyPress to the highest setting and it’s perfect for smoothing out all the wrinkles.
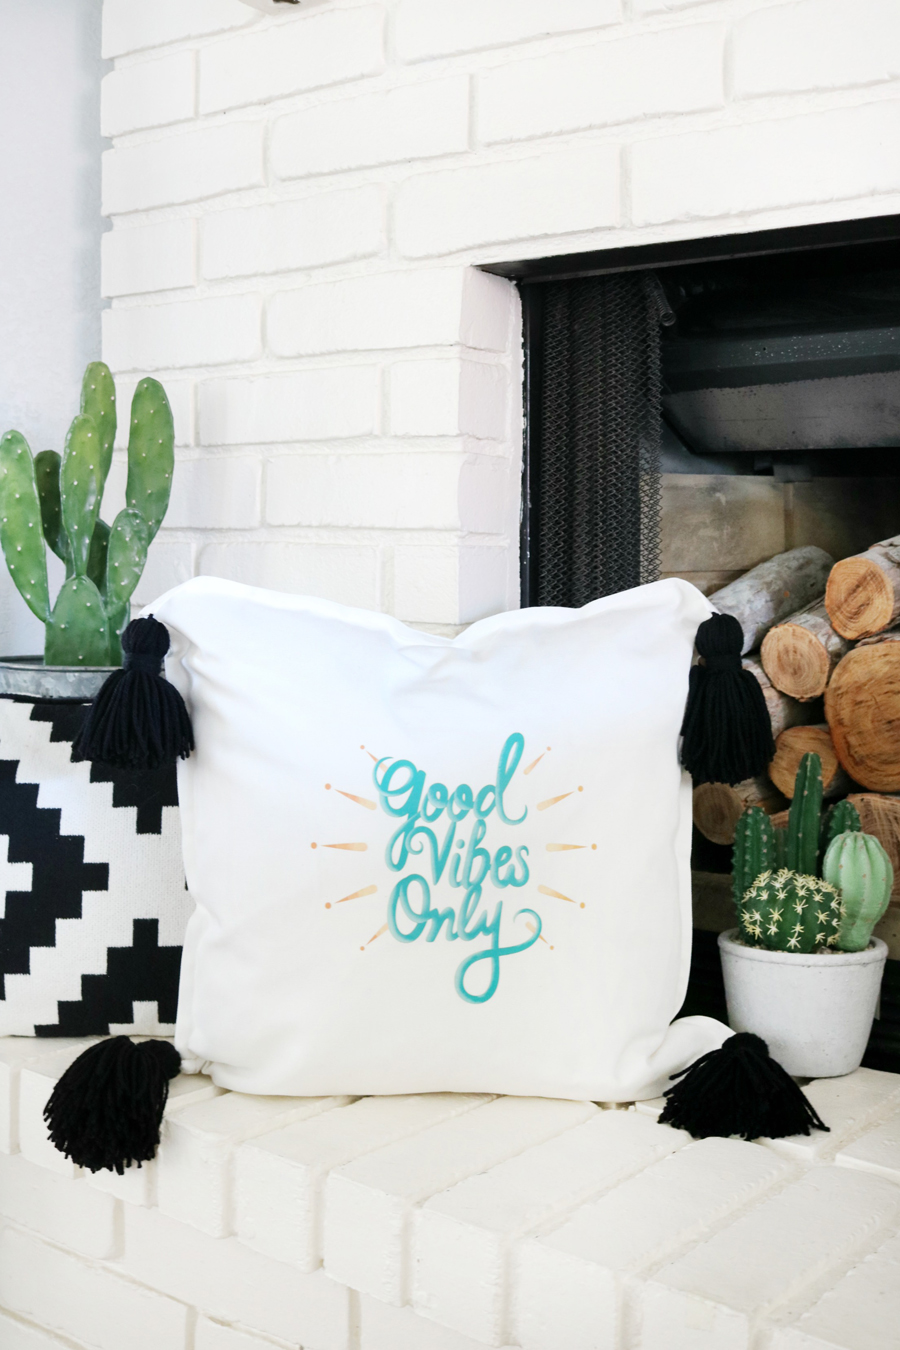
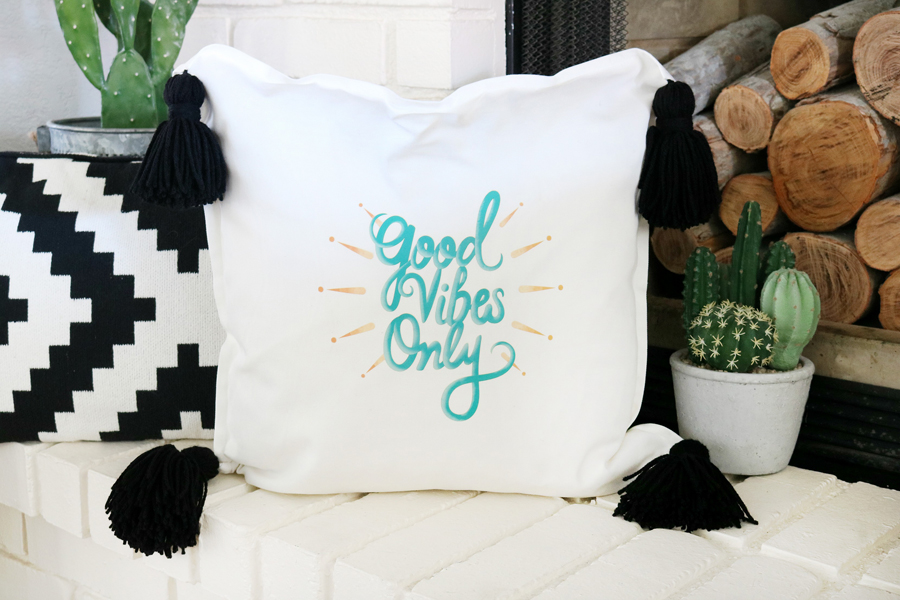
For this easy DIY pillow I chose to use the “Good Vibes Only” Cricut Design…while this design is currently not available – don’t worry it will be soon, there are a ton of other awesome designs available HERE.
Since the design is already made for you there is no need to get your Cricut Maker or Cricut Explore Air 2 out for this project. Hello time saver!
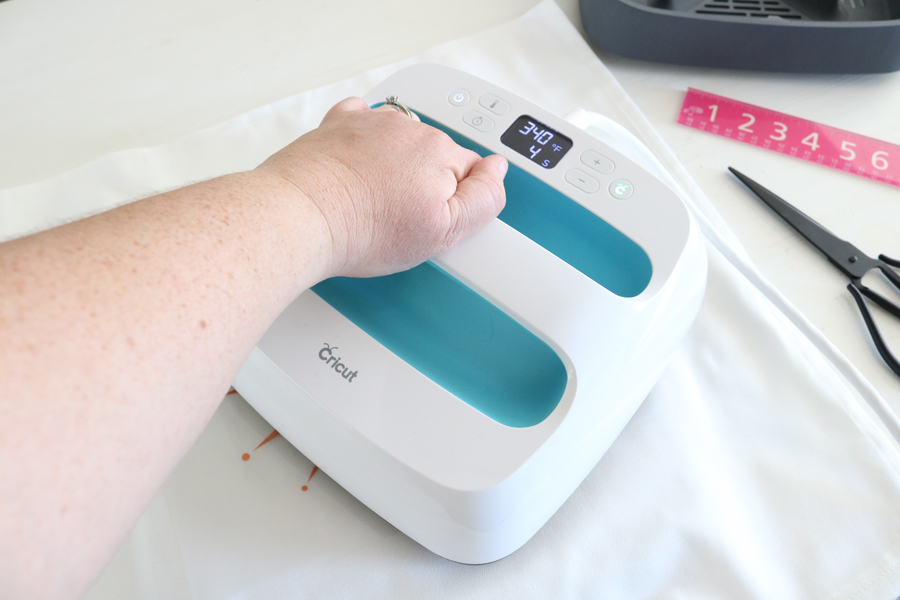
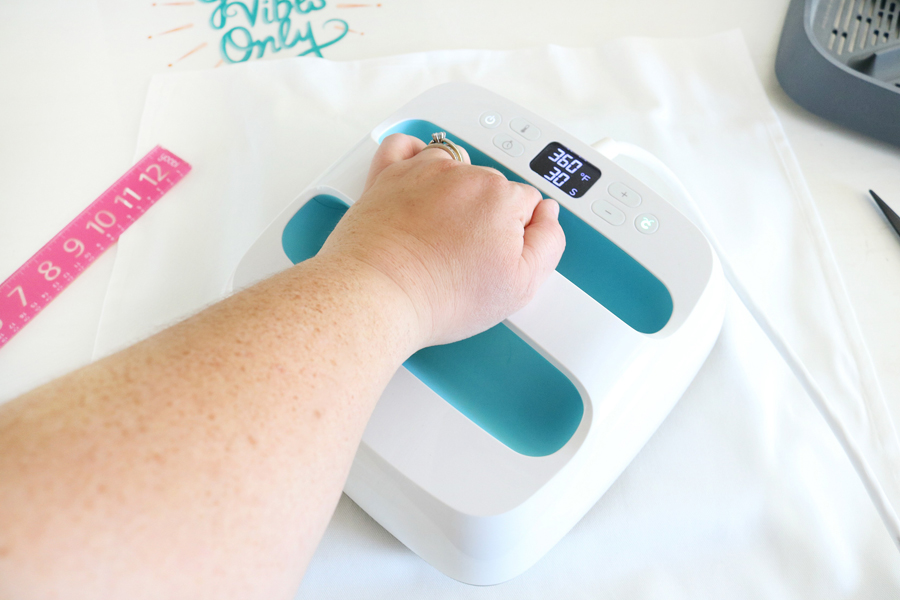 Before I iron on the design I set my EasyPress to the correct temperature for my materials. Since my pillow cover is cotton I set the EasyPress to 340° with a timer setting of 30 seconds. You can find a complete list of settings for the EasyPress HERE, be sure to note if you’re using the EasyPress Mat or a towel when ironing on your design – it might change your heat setting requirements. They have divided up the heat settings for each of those surfaces.
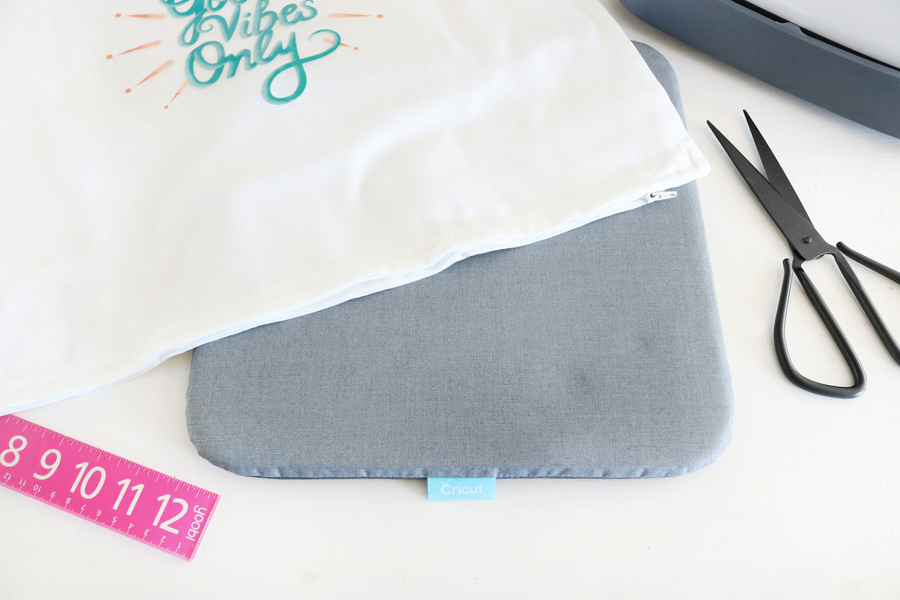
Using the EasyPress Mat really helps to not only protect my surfaces from the heat of the EasyPress but it also helps to heat the design during the application process.
 Center the iron-on design on your pillow cover then place your EasyPress over the design and hold firmly in place and press your 30-second timer. Once it beeps and the time is up move on to the next section of the design to iron on and repeat.
 I can’t even begin to tell you how much I really love my Cricut EasyPress – it’s so convenient and is so easy to store when I’m not using it. If I had a huge traditional heat press it would have to be a permanent fixture in my studio and they aren’t really that pretty to look at. Did you know that you can use the EasyPress for everyday ironing too? I don’t typically iron a whole lot of stuff, but every once in a while I have cloth napkins or pillow covers that need to be ironed. The EasyPress works great and I love that it covers a larger surface area than a typical iron.
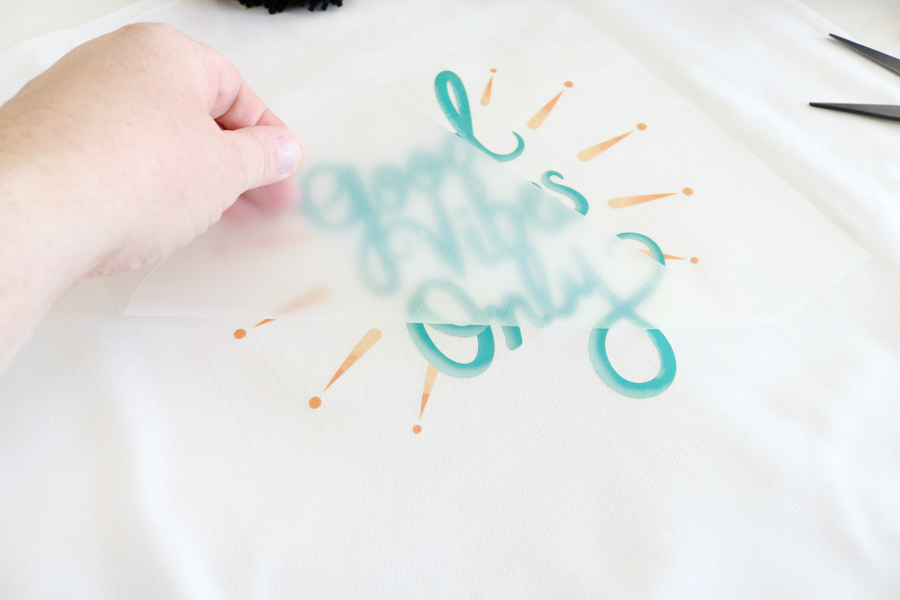 Time to reveal your iron-on design. Be sure to follow instructions for your materials, for these iron-on designs you will need to do a “cold peel”. That basically means let it cool down completely before removing the protective clear sheet.
When it comes to embellishing your pillow that’s completely up to you. Since I was working with a premade pillow cover I opted for something simple and easy. I decided on DIY yarn tassels for this project. You can do pom-poms, pom-pom trim, or just leave it plain. Totally up to you!
If you want to make tassels you basically just wrap yarn around a piece of cardboard. I wrapped mine around 100 times so they’d be big chunky tassels, then I tied them and trimmed with some sewing shears.
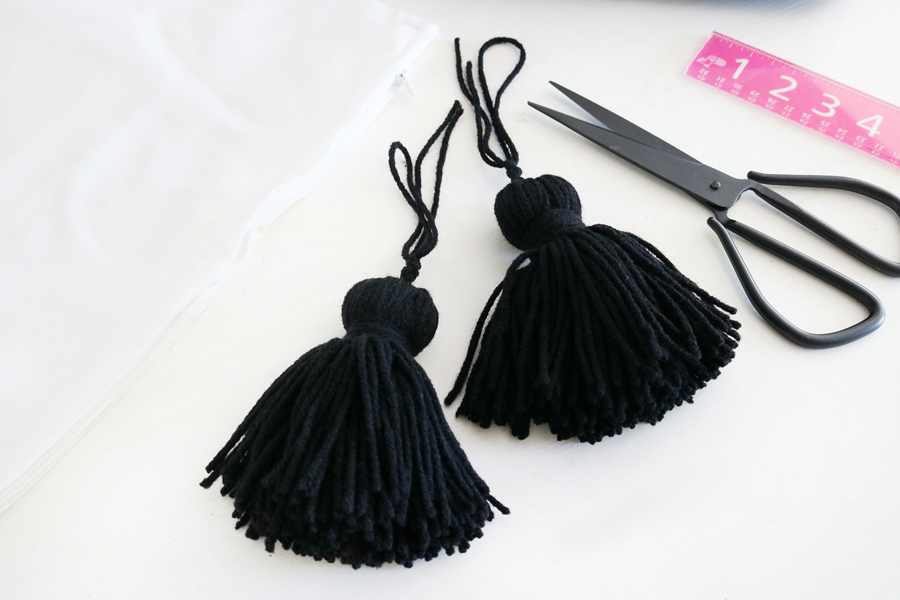 To add the tassels to my pillow I just unstitched a very tiny spot on each of the four corners of my pillow cover with a seam ripper. Then I inserted the short tassel string with some hot glue to seal it shut and secure it. You can also stitch them into place if you want, I went for the quick and easy route with hot glue.
Finally, add your pillow form inside the pillow cover and you’re done! What did I tell you…Easy DIY Pillow!
 If you loved this DIY Pillow idea be sure to check out these other Easy DIY Pillows:
- DIY Cactus Pillow
- Leather Geometric Buffalo Pillow
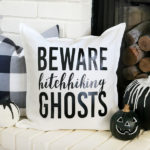
- Trick or Treat Yo Self Halloween Pillow
- Vintage Truck Christmas Pillow
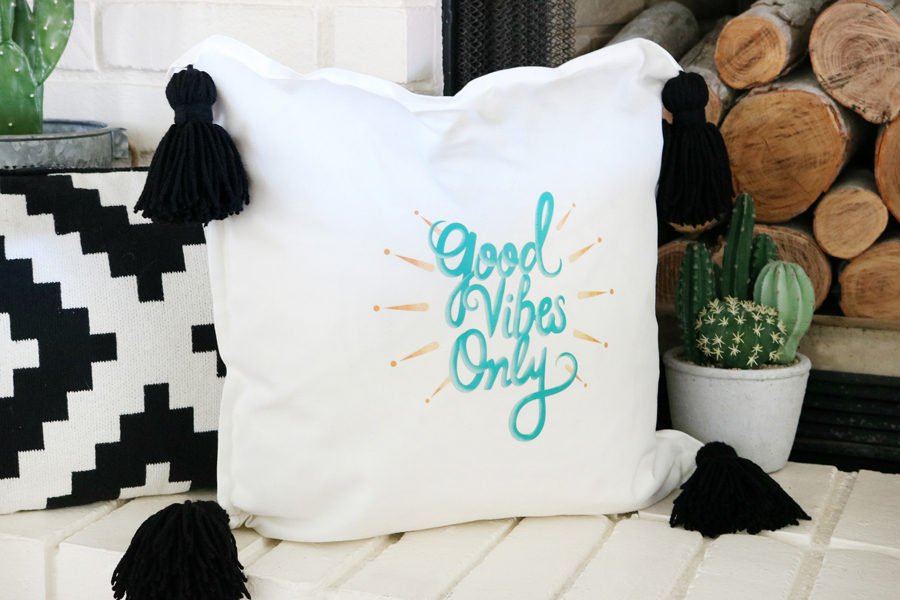 So cute right?! I love that I can make something this fun in no time at all. This cute design is perfect on a pillow as a reminder to keep it positive and enjoy the day!
NOTE: Here are some basic care instructions for your new pillow. Allow 24 hours after application before washing your pillow. Wash and tumble dry inside out, I sometimes prefer to line dry my items. Do not bleach. If an iron is needed only iron on the backside of the iron-on design.
This is a sponsored conversation written by me on behalf of Cricut. The opinions and text are all mine.


Leave a Reply