Disclosure | This post is being sponsored by Make It: Fun Crafts. All opinions and ideas are my own.
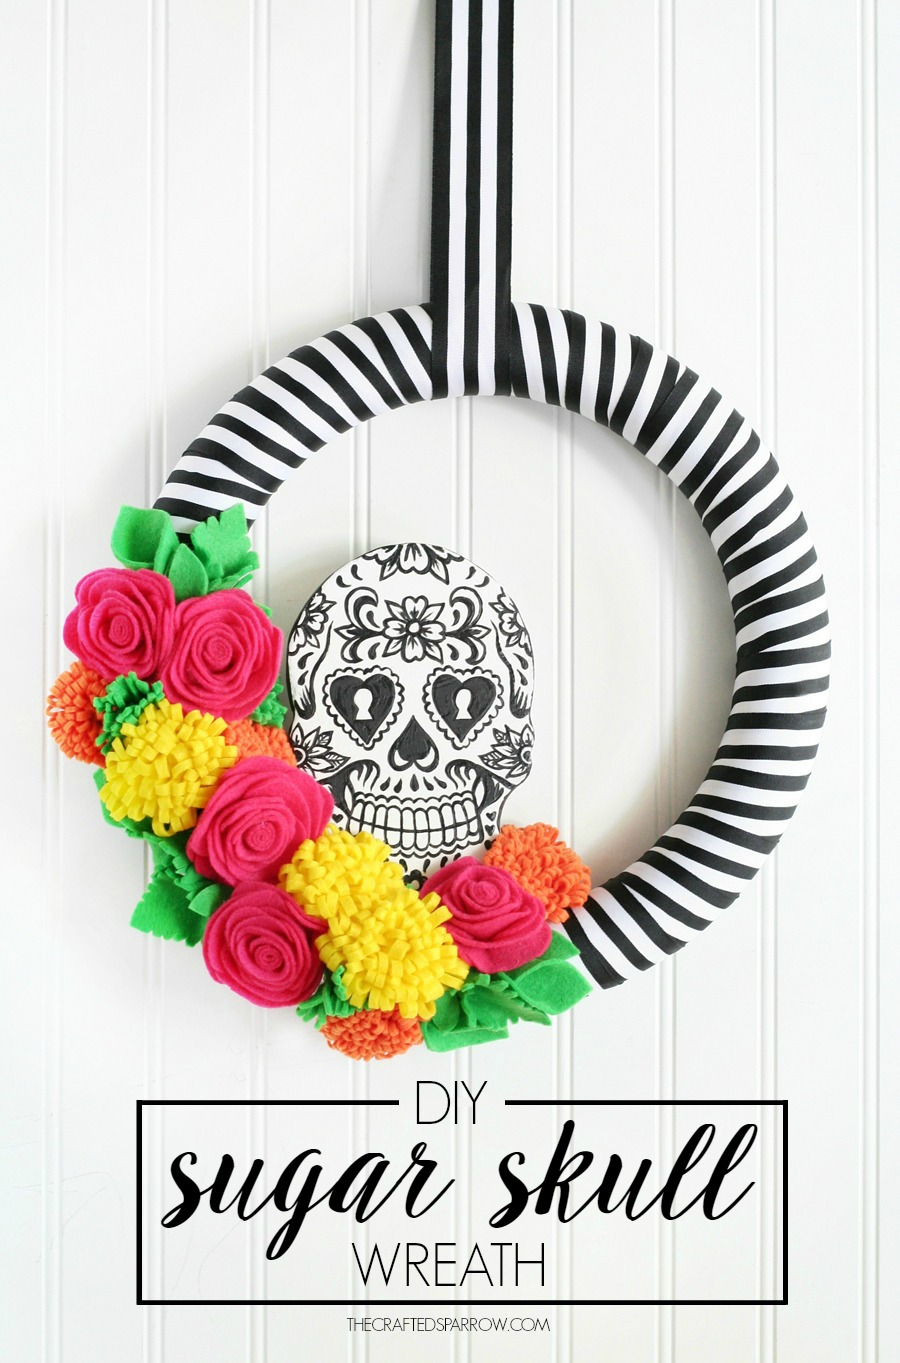 For years I’ve been in love with sugar skulls, they’re so fun and colorful. So naturally when I saw a popular store I shop in on a weekly basis put out some super fun Halloween decor inspired by sugar skulls I got inspired. I’m showing you how I made this DIY Sugar Skull Wreath just in time for Halloween.
Supplies:
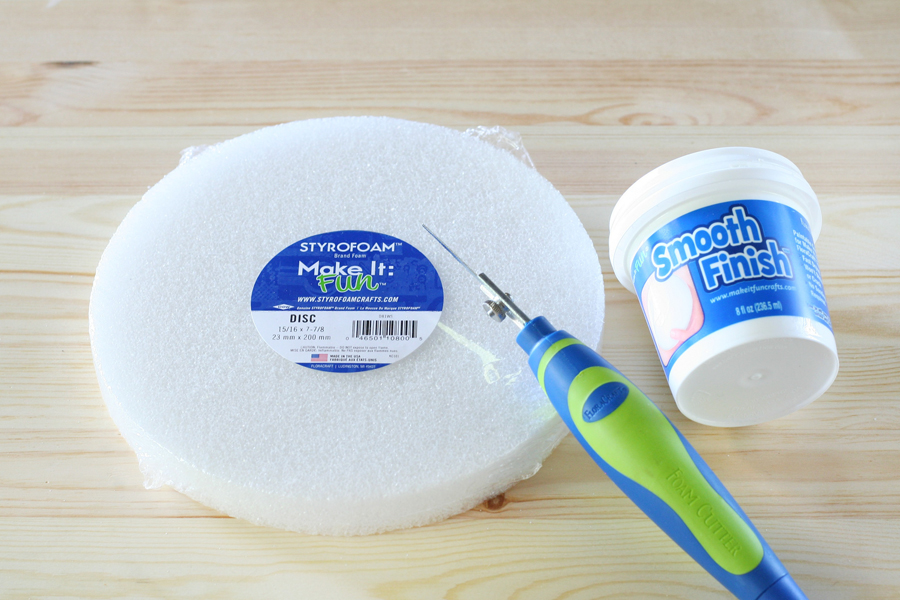
Make It: Fun Styrofoam Disc (15/16 x 7-7/8)
Make It: Fun Smooth Finish
Make It: Fun Foam Cutter
Foam Wreath
Small spatula
Marker
Pencil
Sanding block or sandpaper
Sugar Skull Template found below
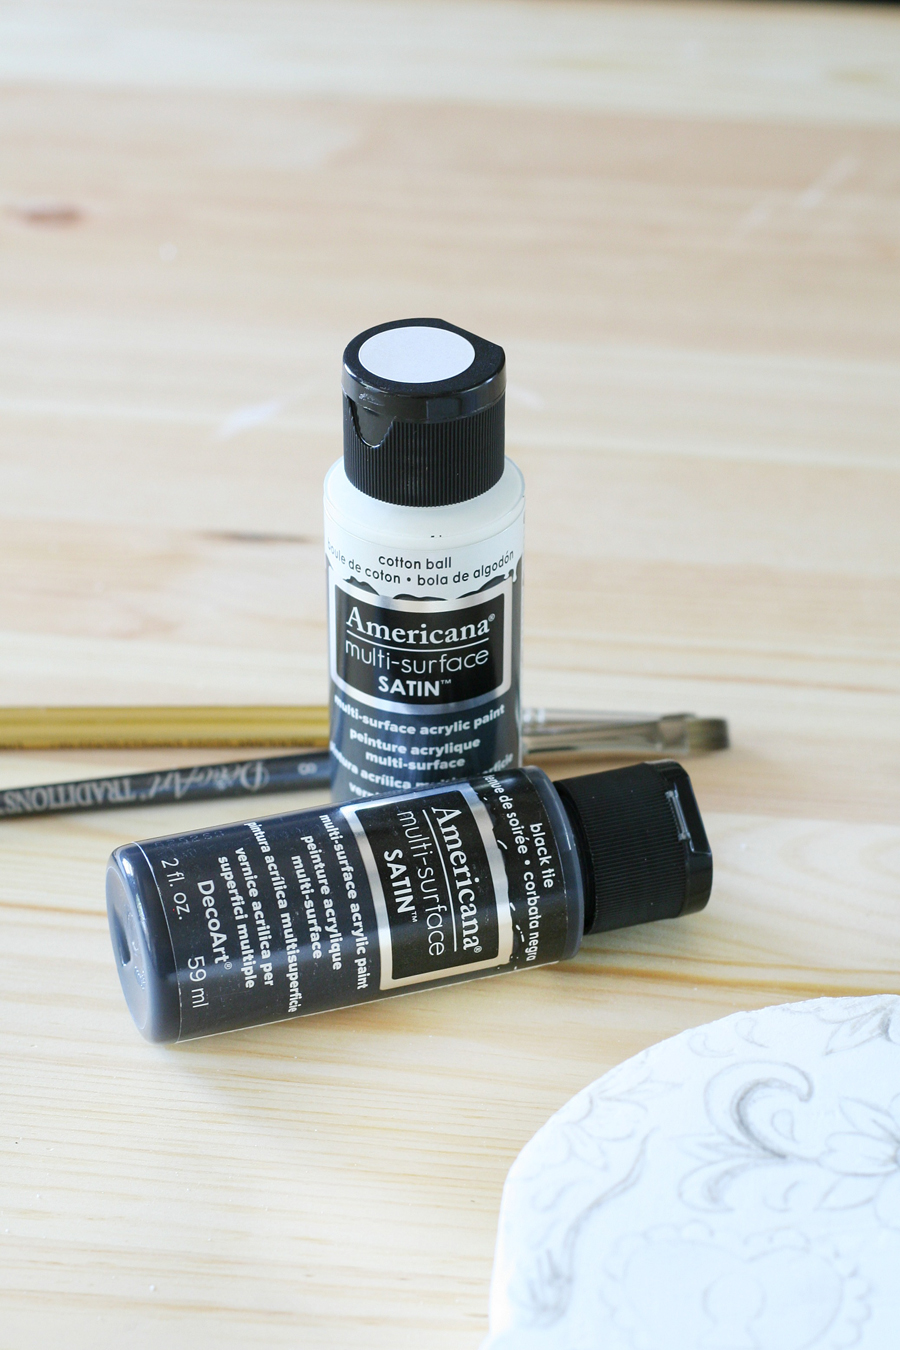
White acrylic paint
Black acrylic paint
Small detail paint brush
Felt Flowers, tutorials found HERE and HERE
A couple of toothpicks
 Begin by printing the sugar skull template found at the bottom of this post. Once you have it printed just cut it out.
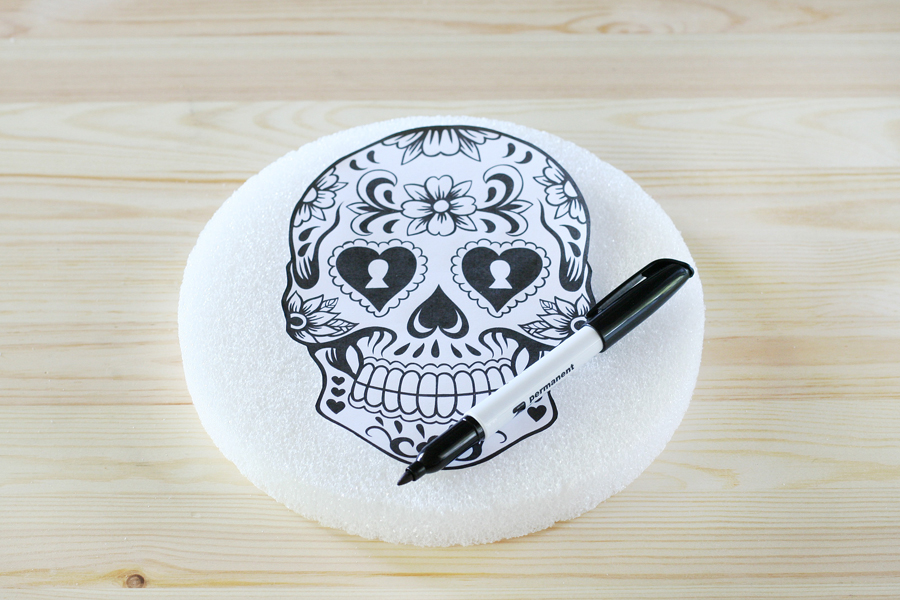
Using a black marker just trace the shape of your template onto your foam disc. Don’t toss the template just yet, you will need it in a couple steps.
Then use your foam cutter to cut out the shape of your sugar skull. If you don’t have a foam cutter an Xacto knife will also work great.
 Now we’re going to make this foam surface smooth using the Smooth Finish and a small spatula. This stuff is just awesome! If you’ve ever tried to paint styrofoam you know what a pain it is, this puts a smooth topcoat over the whole thing and creates almost a plaster feel to your foam.
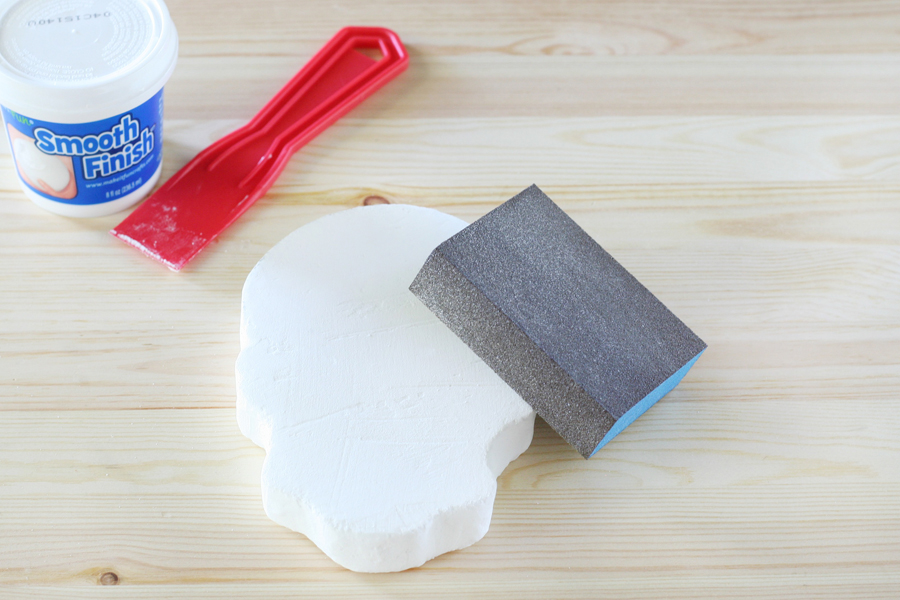
I applied two coats of the Smooth Finish, be sure you let the first coat dry completely before applying the second coat. Try and apply the layers as evenly as you can, you want to try and get your finish to be as smooth as possible. Cover the front and sides of the sugar skull, the back is optional.
 Once both coats of the Smooth Finish are dry use a sanding block to smooth out the bumps and any texture you don’t want. You don’t have to go crazy with the sanding block, the Smooth Finish sands pretty easily.
Grab your white acrylic paint and give it a coat of paint to prep for your sugar skull design. Let it dry.
 Grab that sugar skull template again. Using a pencil, trace over the entire design. Be sure that you color in any solid portions. You’re going to use this as a transfer.
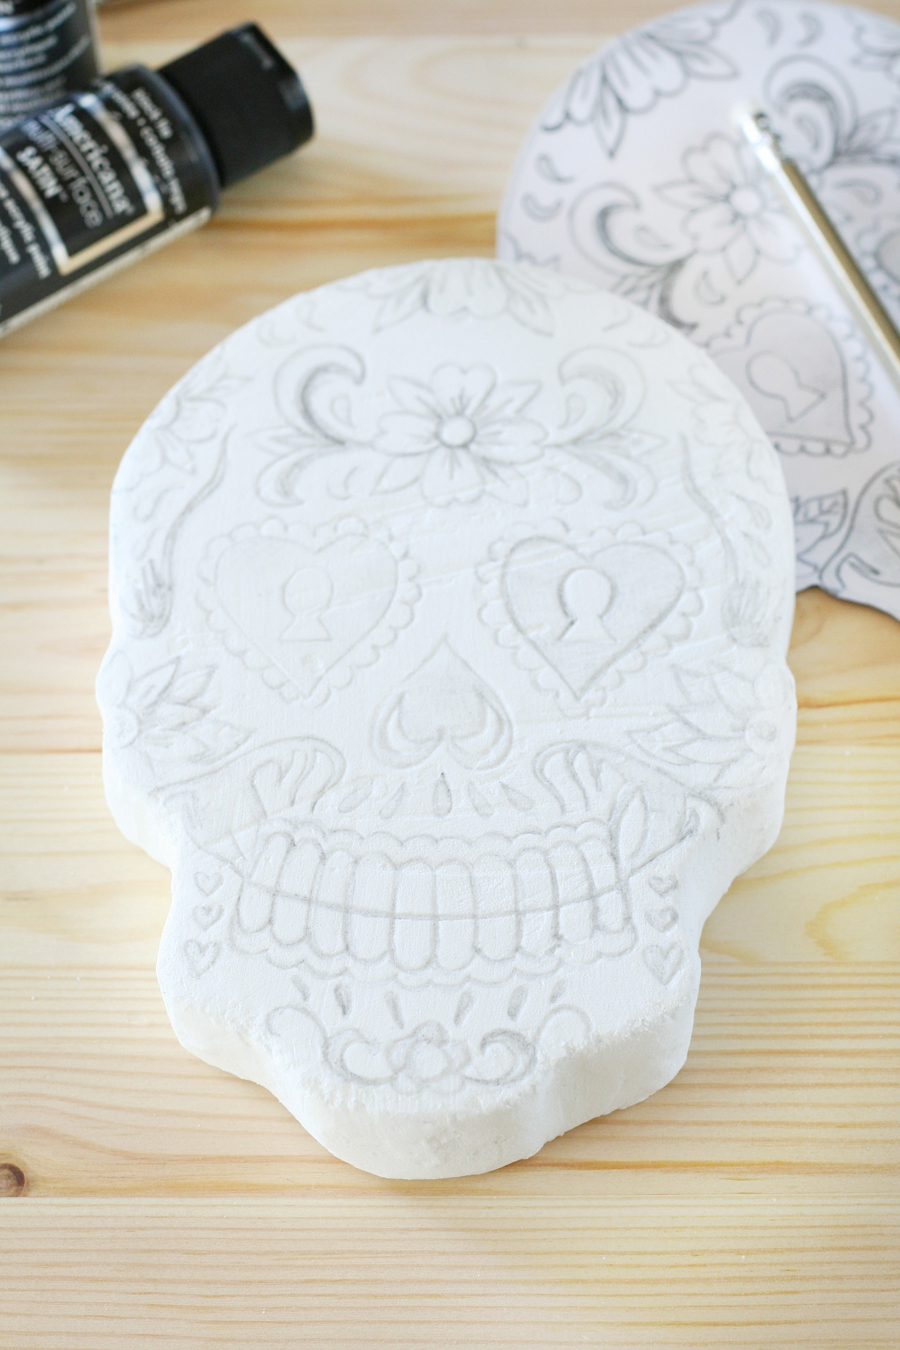
 Flip your design over and place on the foam skull, the side you colored in with pencil should be down.
Use your pencil to trace the entire design onto the foam. It should be pretty easy to see through the paper. Be sure you don’t press too hard though, you will imprint the foam with your pencil.
It should look like the photo below. This step just made it easier for you to paint an awesome sugar skull design!
 With a small detail paint brush and the black acrylic paint just fill in the design.
If you don’t like a black and white design feel free to paint your sugar skull whatever colors you like. You could always paint the outlines black and add color to the details.
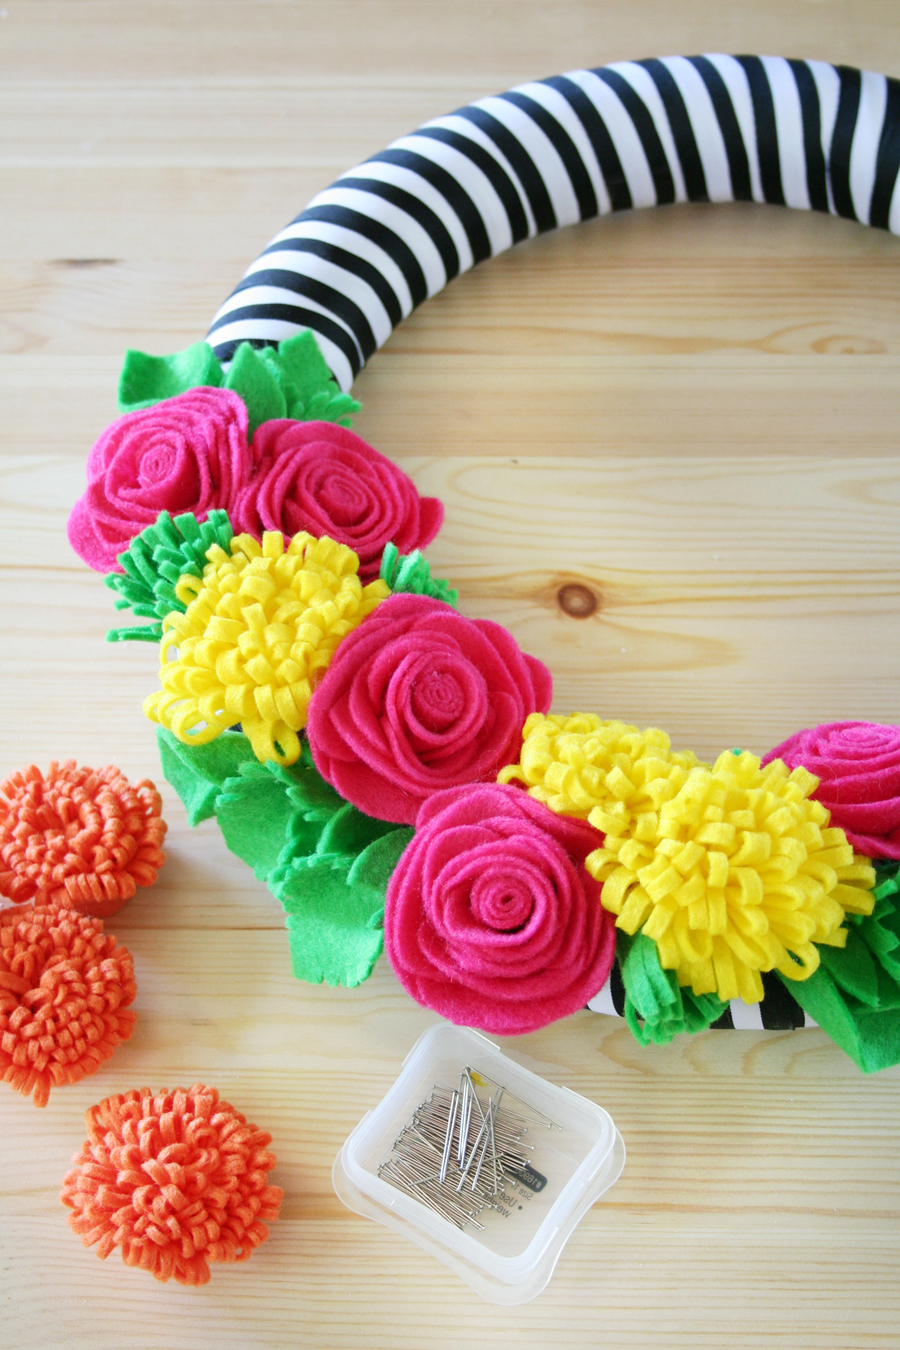
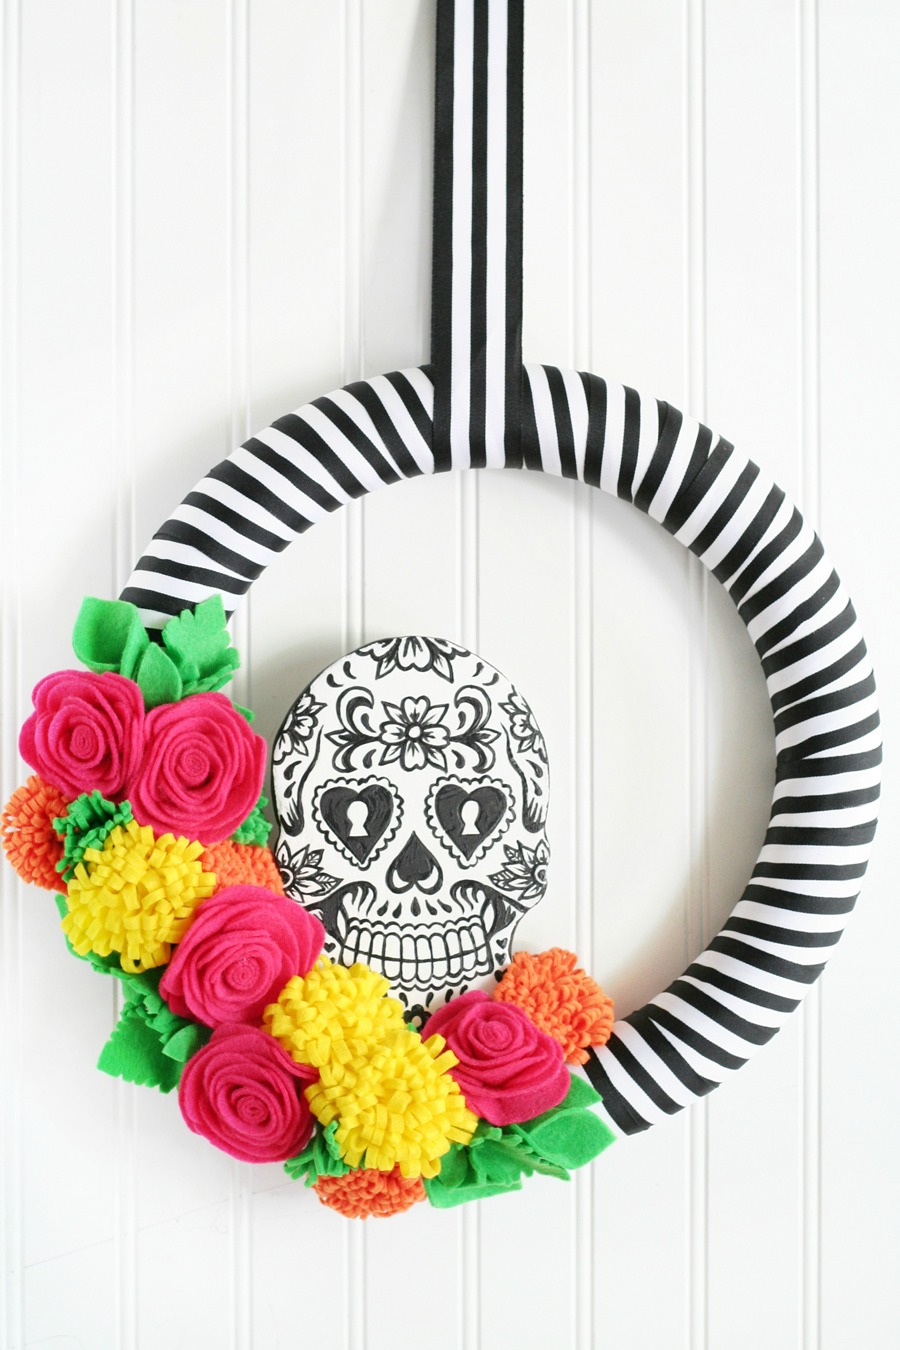
 I had an old foam wreath on hand so I grabbed my favorite black and white striped ribbon and wrapped my wreath.
Tip: If you want to re-use your wreaths just pin the ribbon to the wreath for easy removal. The same goes for the flowers.
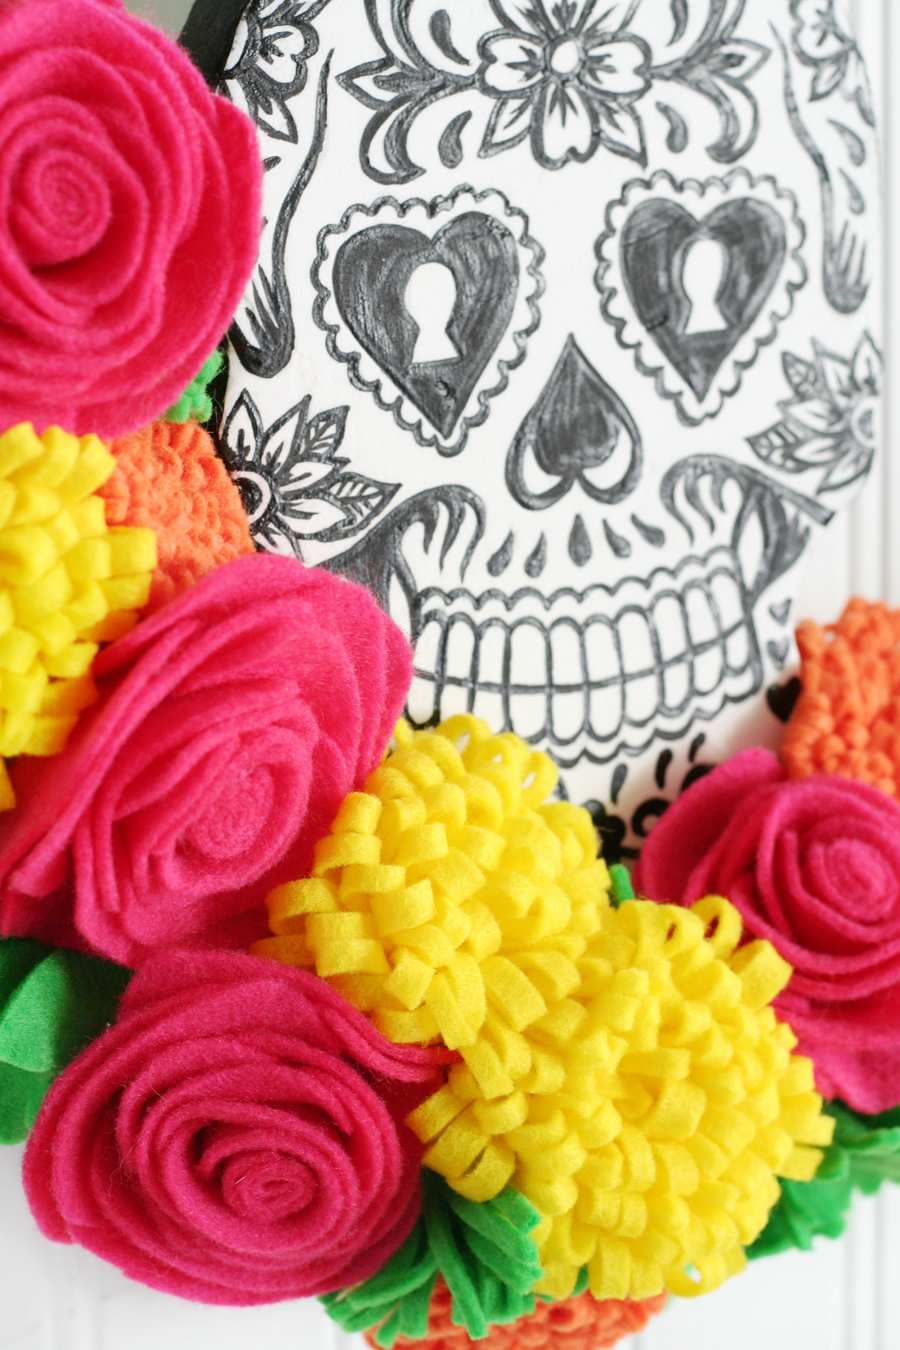
Aren’t the felt flowers just awesome? The colors go so perfectly with the black and white striped ribbon. For most of the flowers you can use my popular tutorial found HERE. The super pretty rose tutorial is from Amy at Positively Splendid. The leaves are just a basic leaf shape cut and some I notched the edges.
Just pin all your felt flowers to the side of the wreath. You can totally hot glue things if you like, I just prefer to pin.
Last step, attach your sugar skull. You can either hot glue it to the wreath, or you can use a couple of toothpicks to attach it.
If you’re using the toothpicks just place a couple into the wreath behind the felt flowers, then slide the foam sugar skull on the toothpicks.
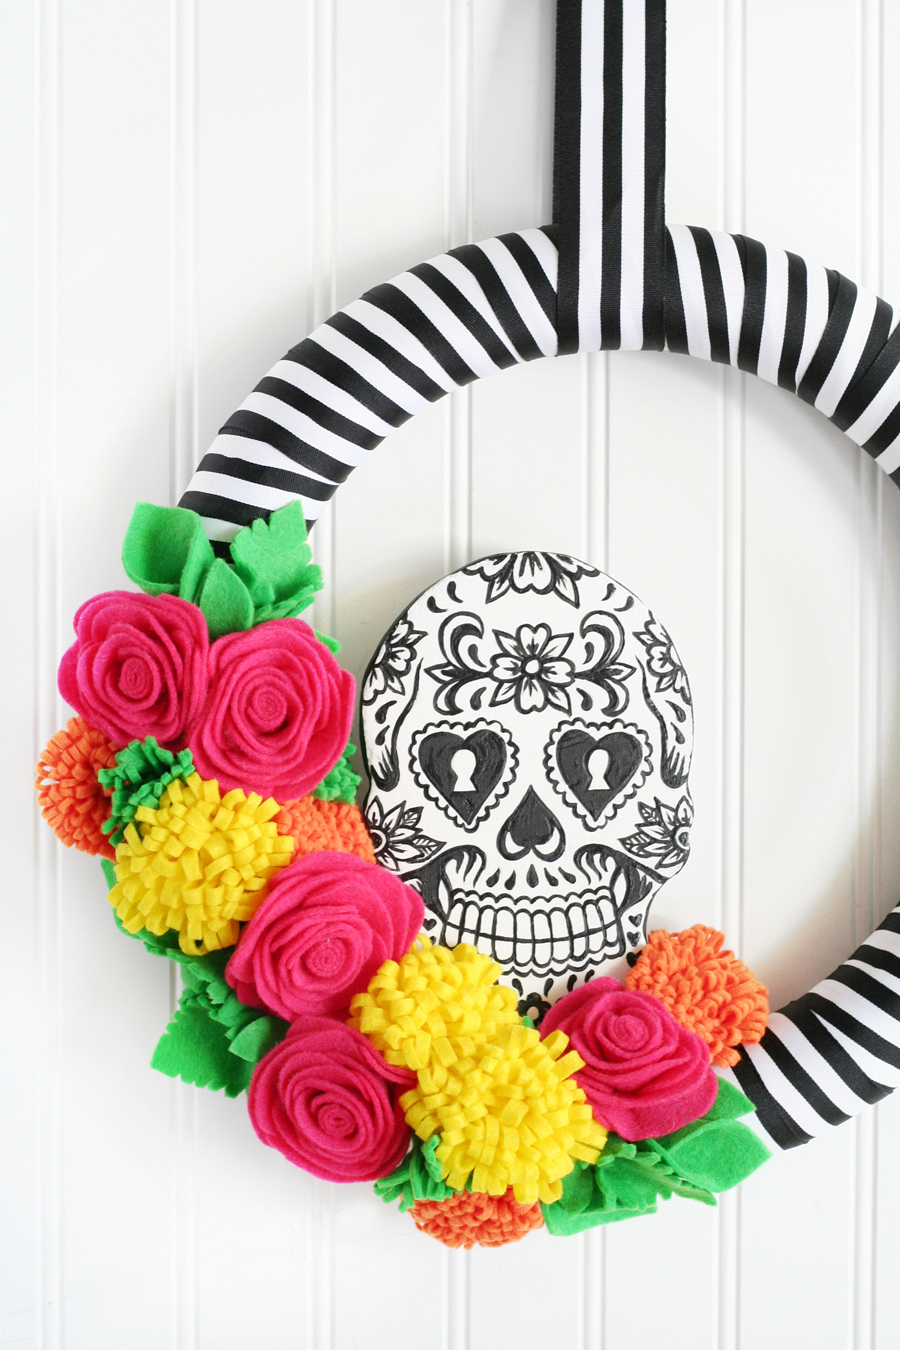

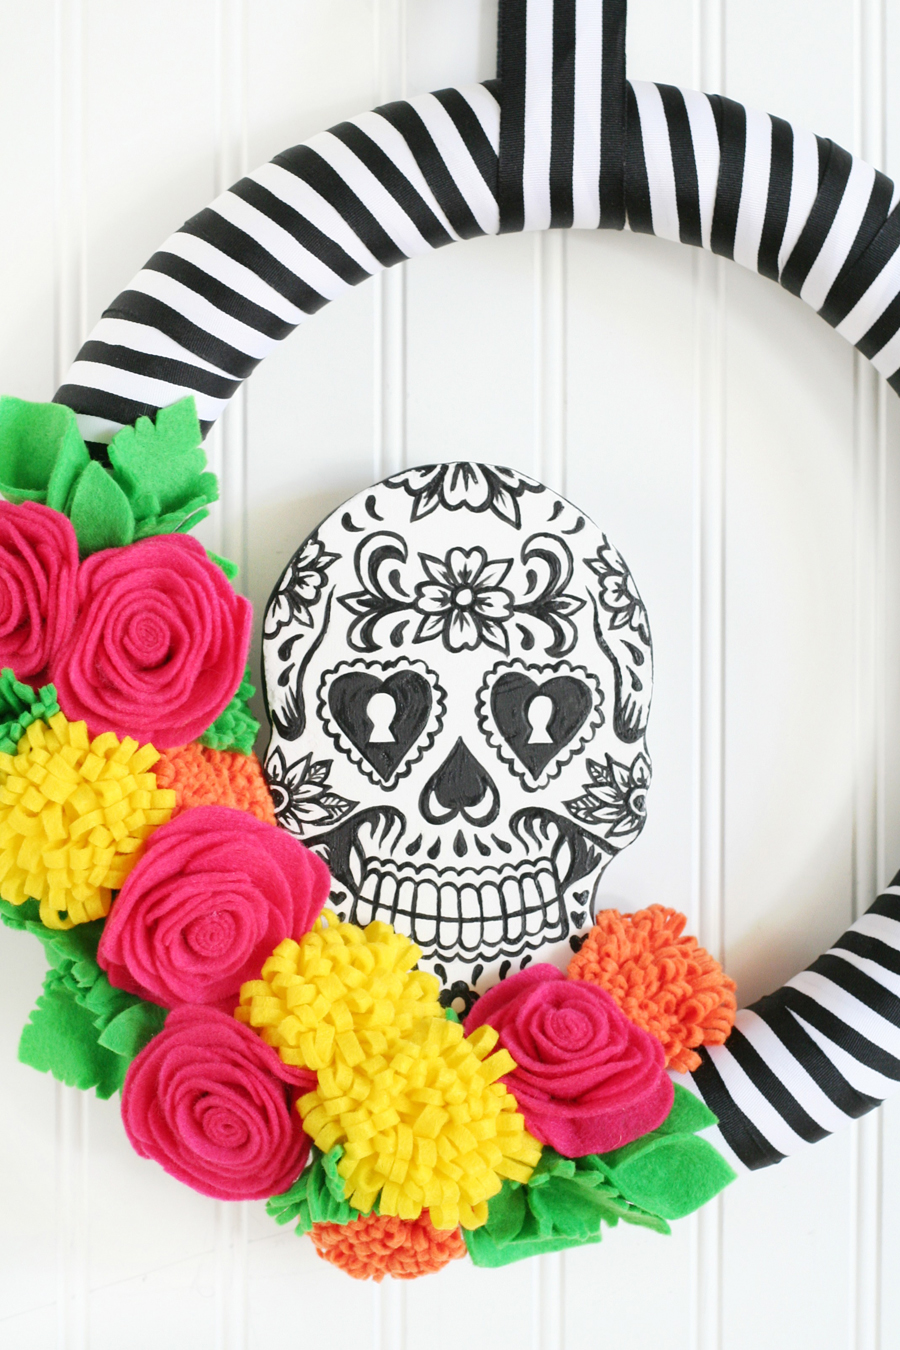
Isn’t it so fun?! I am so in love with how this wreath turned out, I may keep it up well past Halloween!

If you loved this wreath be sure to check out these other wreath ideas:
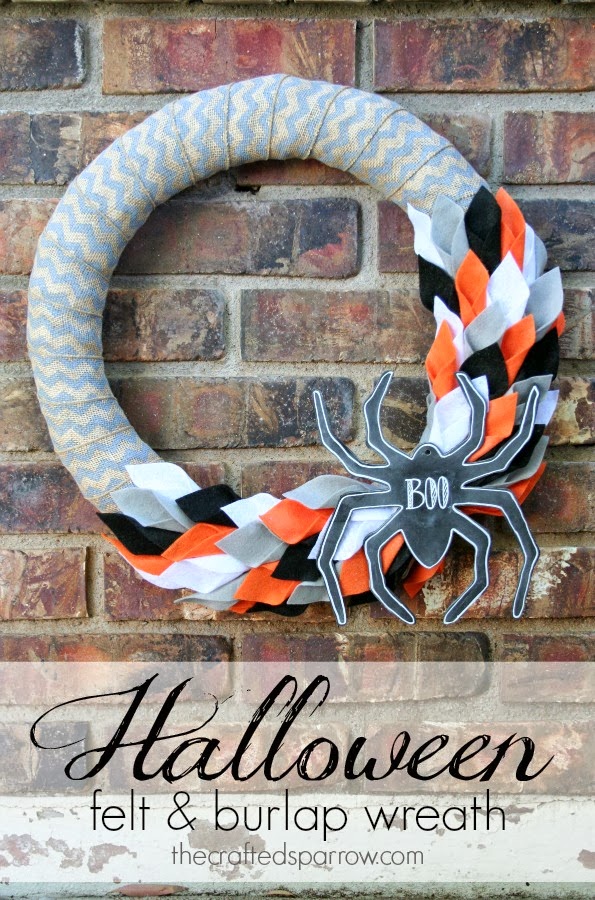
Halloween Felt & Burlap Wreath

Black & White Halloween Wreath
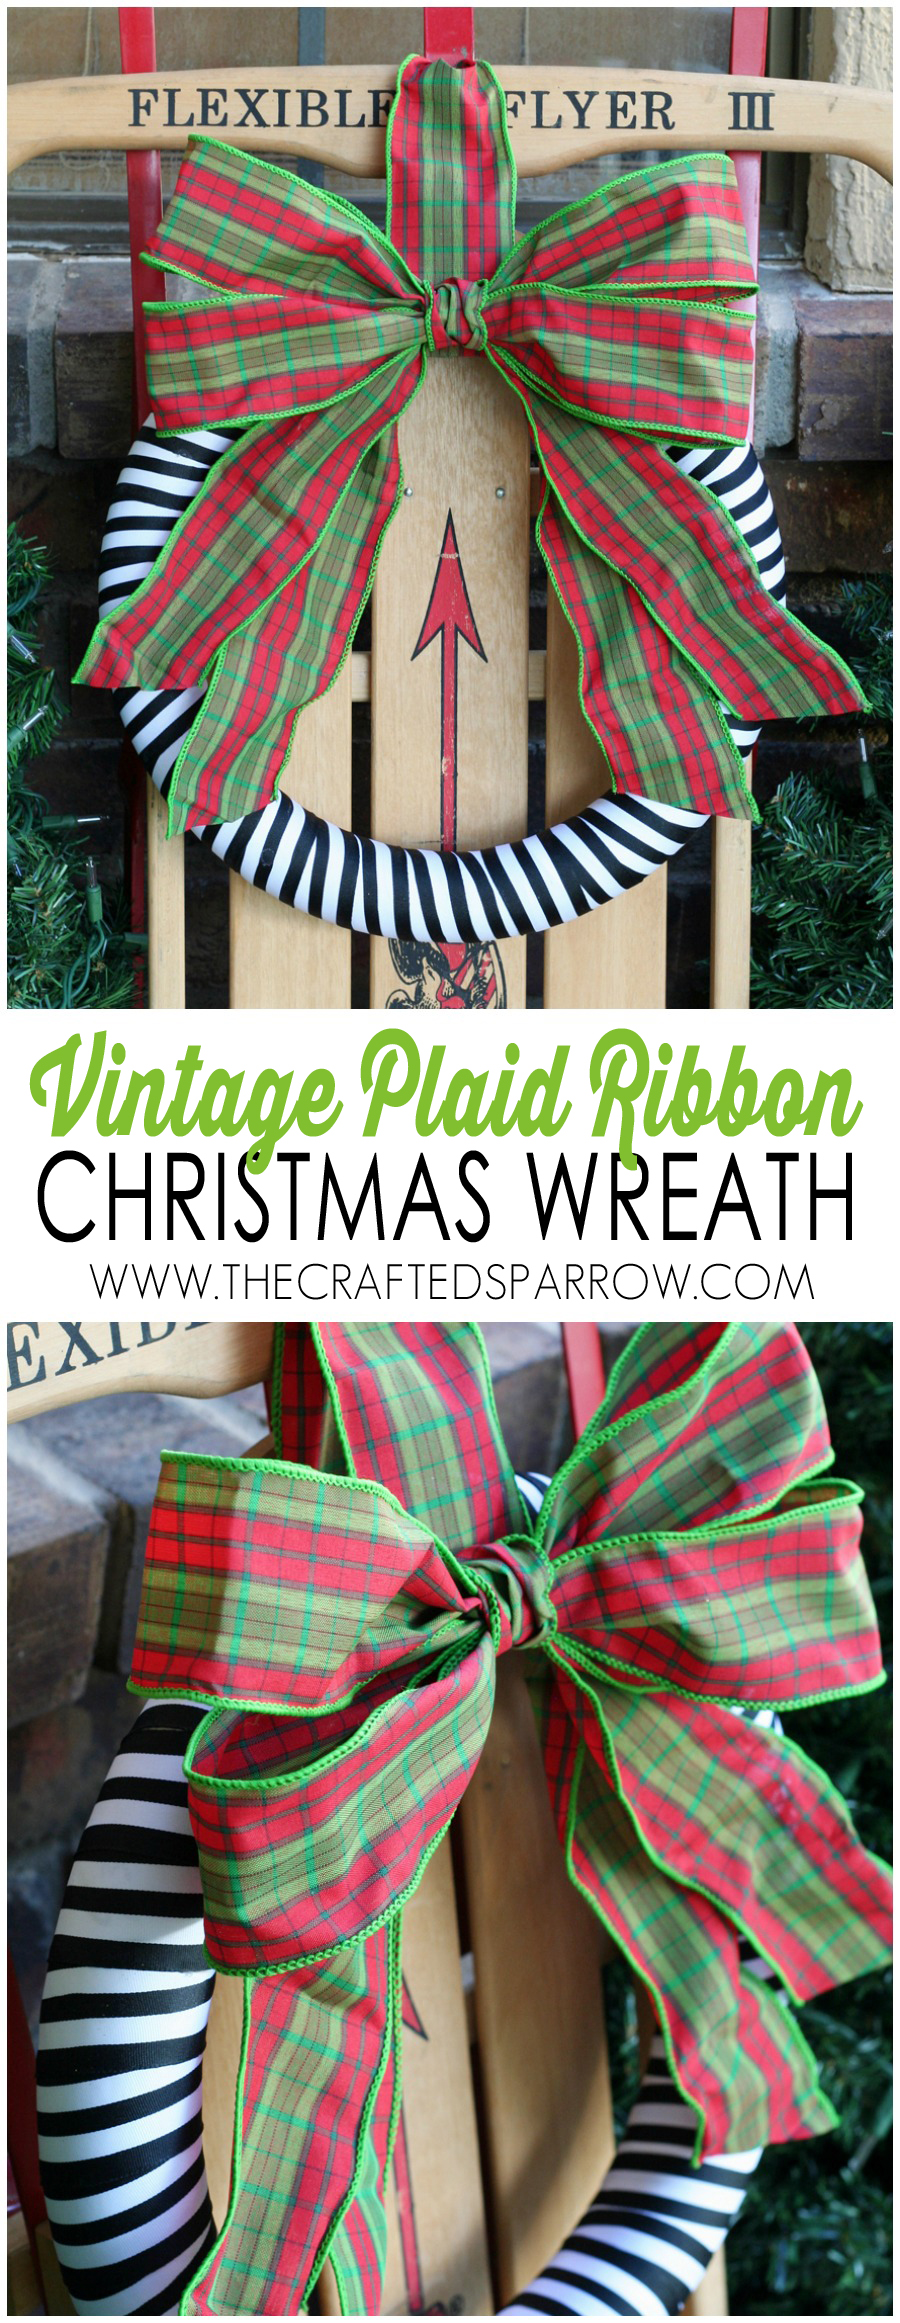
Vintage Plaid Ribbon Christmas Wreath


Gorgeous! I really love this. The bright colors POP. Thank you!
Thank you Sharon! Have a great week. 🙂
Rebecca, this wreath is awesome! Such a fun twist on the traditional orange and black that you always see at Halloween time. I have worked with foam before and I’m super excited to try out the Smooth Finish 🙂 thanks for sharing!
Shonee
http://www.hawthorneandmain.com
Thanks so much friend! I am so glad everyone loves how this turned out as much as I do, it honestly makes me happy to look at…is that weird? The colors are just so fun! Hope you have an awesome weekend! xoxoxoxo
Wow, I really love your wreath! Best Dia de los Muertos project I’ve seen this year!
Thank you so much Liz. 🙂